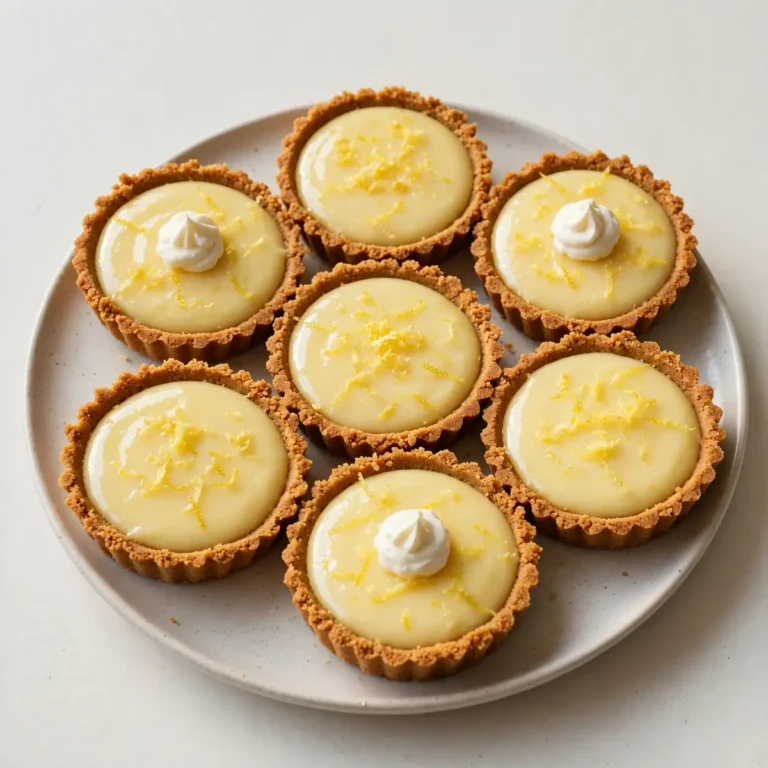
Quick No-Bake Oreo Cheesecake Bars

When the week has been long and the family is clamouring for something sweet, the last thing I want is to switch on the oven and wait. These No-Bake Oreo Cheesecake Bars come together in one bowl, chill overnight, and taste like you spent hours fussing. I make them on Tuesday nights, slice them after dinner on Wednesday, and nobody ever guesses how little effort went into them.
Recipe Overview
- Prep time: 20 minutes
- Cook time: 0 minutes (no oven required)
- Chill time: 4 hours minimum, ideally overnight
- Total time: 4 hours 20 minutes (mostly hands-off)
- Servings: 12 bars
- Difficulty: Easy
Why You’ll Love This No-Bake Oreo Cheesecake Bars
- The oven stays off. On a warm evening or a frantic weeknight, that matters more than anything else. No preheating, no watching, no burnt edges.
- One bowl, one pan. The filling mixes in a single bowl, and the crust presses straight into the tin. Cleanup takes five minutes.
- Made ahead by design. These bars actually improve after a night in the fridge, so you can make them on Sunday and serve them on Wednesday.
- Familiar flavours, impressive presentation. The contrast between the dark biscuit base and the pale, speckled filling looks like something from a bakery counter.
- Children can help. Crushing biscuits and pressing the base are jobs my two little ones fight over, and there is nothing hot to worry about.

Ingredients You’ll Need
- 300 g Oreo biscuits (about 30 biscuits), plus 6 extra for folding in
- 90 g unsalted butter, melted
- 500 g full-fat cream cheese, at room temperature
- 120 g caster sugar
- 200 ml double cream, cold
- 1 teaspoon vanilla extract
- 1 tablespoon lemon juice
- 1 pinch fine sea salt
- 2 tablespoons icing sugar, for the cream
- 50 g white chocolate, melted (optional, for the topping)
- Extra crushed Oreos, for scattering
Tip: Full-fat cream cheese is non-negotiable here. The lighter versions contain more water, and the bars will slump when you slice them. Take the cream cheese out of the fridge at least an hour before you start, or it will stay lumpy no matter how long you beat it.
Equipment You’ll Need
- Stand mixer or hand mixer
- 20 cm x 20 cm square baking tin
- Parchment paper
- Wire cooling rack
- Food processor or a sturdy freezer bag and rolling pin
- Spatula and offset knife
How to Make No-Bake Oreo Cheesecake Bars
- Line the tin. Cut two strips of parchment paper and lay them crossways in the tin so the ends hang over the sides. This sling is what lets you lift the whole slab out later without wrestling with it.
- Crush the biscuits. Pulse 300 g of Oreos in a food processor until they look like dark, damp sand. You want a few small pebbles left — that texture keeps the base from turning to paste. If you are doing this by hand, seal them in a freezer bag and bash them with a rolling pin until you hear fine crumbs rather than big chunks.
- Make the base. Tip the crumbs into a bowl, pour over the melted butter, and stir until every crumb looks glossy and slightly clumped. Press the mixture firmly into the lined tin using the base of a measuring cup. The surface should feel solid and level, not loose. Chill for 15 minutes while you make the filling.
- Beat the cream cheese. In your mixer, beat the cream cheese and caster sugar on medium speed for 2 minutes. The mixture should turn smooth, pale, and silky, with no visible lumps. Scrape down the bowl halfway through — there is always a pocket of uncreamed cheese hiding at the bottom.
- Whip the cream. In a separate bowl, whisk the cold double cream, icing sugar, and vanilla until soft peaks form. Lift the beaters and the cream should hold a gentle curl rather than dripping off. Overwhipping gives you a grainy texture, so stop early if in doubt.
- Fold everything together. Add the lemon juice and salt to the cream cheese, then fold in the whipped cream in three additions. Use a spatula and a gentle cutting motion. The mixture should look uniform, thick, and glossy, with no streaks of white cream remaining.
- Add the biscuit pieces. Roughly chop the 6 extra Oreos and fold them through with two or three turns. You want visible rubble, not a grey mush.
- Assemble the bars. Spoon the filling over the chilled base and smooth the top with an offset knife. Tap the tin twice on the counter to knock out air bubbles. Scatter a few crushed Oreos over the surface and press them in lightly with your fingertips.
- Chill. Cover with cling film and refrigerate for at least 4 hours, ideally overnight. The bars are ready when the surface feels firm and cool and the filling does not wobble when you nudge the tin.
- Slice and serve. Lift the slab out using the parchment sling, then cut into 12 bars with a hot, dry knife, wiping between cuts. The edges should be clean and sharp, and each slice should hold its shape on the plate.
Tips From My Kitchen
- Chill the tin before pressing the base. A cold tin keeps the butter firm, so the crust sets quickly and does not slide around when you add the filling. This is the single biggest difference between neat bars and messy ones.
- Room-temperature cream cheese is everything. Cold cream cheese stays lumpy no matter how long you beat it, and those lumps will show up in the final slice. Leave it on the counter for an hour, or cut it into cubes and give it 20 minutes.
- Whip the cream separately. Folding pre-whipped cream into the cheese mixture gives you a lighter, airier filling. If you whip everything together in one bowl, the mixture turns dense and heavy.
- Use a hot knife for clean slices. Run your knife under hot water, dry it, and cut. Wipe and repeat for each slice. It takes an extra minute and turns a homely tray bake into something you would happily take to a neighbour.
- Make it a day ahead. The flavour deepens overnight as the biscuit base softens slightly into the filling. I have served these at 4 hours and at 24 hours, and the 24-hour version wins every time.
- Freeze the bars individually. Wrap each square in parchment, then foil, and freeze for up to two months. They thaw in about 30 minutes on the counter, which makes them a brilliant emergency dessert.
Common Mistakes to Avoid
- Overcrowding the pan: If you pile the filling too high or press the base too thick, the bars will not set evenly and the middle stays soft. Stick to a 20 cm tin and keep the layers level so the cold air reaches every part of the mixture.
- Wrong temperature: Cream cheese should be around 20°C, and the double cream should be fridge-cold. Get this backwards and you will either have lumps or a filling that never firms up. Warm cream will not whip, and cold cheese will not blend.
- Skipping the rest time: Four hours is the absolute minimum, and overnight is far better. The filling needs time for the fat to solidify and the flavours to settle. Cutting too early gives you a soft, slumping slice that tastes flat.
Delicious Variations to Try
- Spicy Version: Add half a teaspoon of ground cinnamon and a quarter teaspoon of chilli powder to the biscuit base, and stir a tablespoon of finely chopped candied ginger into the filling. The warmth creeps up slowly and pairs beautifully with the dark chocolate biscuits.
- Vegetarian/Vegan Option: Use a plant-based cream cheese and coconut cream in place of the double cream, and check that your biscuits are free from dairy. Chill for at least 6 hours, as plant-based fillings need longer to firm up.
- Different Protein: Swap the cream cheese for a whipped mascarpone and Greek yogurt blend for a tangier, lighter bar. If you want a nutty twist, fold in two tablespoons of smooth peanut butter with the cream cheese — it adds richness and a lovely savoury edge.
What to Serve With No-Bake Oreo Cheesecake Bars
- A strong espresso or a mug of builder’s tea to cut through the richness
- Fresh raspberries or sliced strawberries for a sharp contrast
- A small scoop of vanilla ice cream on the side for a proper weekend treat
- For a fuller spread, pair them with a Mediterranean Grilled Chicken Recipe as the main course, then bring these out for pudding
Frequently Asked Questions
No-Bake Oreo Cheesecake Bars
Ingredients
Method
- Line the tin. Cut two strips of parchment paper and lay them crossways in the tin so the ends hang over the sides. This sling is what lets you lift the whole slab out later without wrestling with it.
- Crush the biscuits. Pulse 300 g of Oreos in a food processor until they look like dark, damp sand. You want a few small pebbles left — that texture keeps the base from turning to paste. If you are doing this by hand, seal them in a freezer bag and bash them with a rolling pin until you hear fine crumbs rather than big chunks.
- Make the base. Tip the crumbs into a bowl, pour over the melted butter, and stir until every crumb looks glossy and slightly clumped. Press the mixture firmly into the lined tin using the base of a measuring cup. The surface should feel solid and level, not loose. Chill for 15 minutes while you make the filling.
- Beat the cream cheese. In your mixer, beat the cream cheese and caster sugar on medium speed for 2 minutes. The mixture should turn smooth, pale, and silky, with no visible lumps. Scrape down the bowl halfway through — there is always a pocket of uncreamed cheese hiding at the bottom.
- Whip the cream. In a separate bowl, whisk the cold double cream, icing sugar, and vanilla until soft peaks form. Lift the beaters and the cream should hold a gentle curl rather than dripping off. Overwhipping gives you a grainy texture, so stop early if in doubt.
- Fold everything together. Add the lemon juice and salt to the cream cheese, then fold in the whipped cream in three additions. Use a spatula and a gentle cutting motion. The mixture should look uniform, thick, and glossy, with no streaks of white cream remaining.
- Add the biscuit pieces. Roughly chop the 6 extra Oreos and fold them through with two or three turns. You want visible rubble, not a grey mush.
- Assemble the bars. Spoon the filling over the chilled base and smooth the top with an offset knife. Tap the tin twice on the counter to knock out air bubbles. Scatter a few crushed Oreos over the surface and press them in lightly with your fingertips.
- Chill. Cover with cling film and refrigerate for at least 4 hours, ideally overnight. The bars are ready when the surface feels firm and cool and the filling does not wobble when you nudge the tin.
- Slice and serve. Lift the slab out using the parchment sling, then cut into 12 bars with a hot, dry knife, wiping between cuts. The edges should be clean and sharp, and each slice should hold its shape on the plate.
Notes
These No-Bake Oreo Cheesecake Bars have become my go-to for the nights when dinner needs to be quick and pudding needs to feel like a small celebration. My husband, who’s usually picky about desserts, asked for seconds the first time I made them, and friends always ask me for this recipe after trying it at dinner parties. If you give them a go, leave a comment below and tell me how you served them — I love hearing what works in your kitchen. For another make-ahead favourite, try these Chocolate Chip Cookies Recipe Chewy or this Creamy Boursin Cheese Pasta Recipe for a fast weeknight main.