Quick Air Fryer Green Beans For Busy Nights
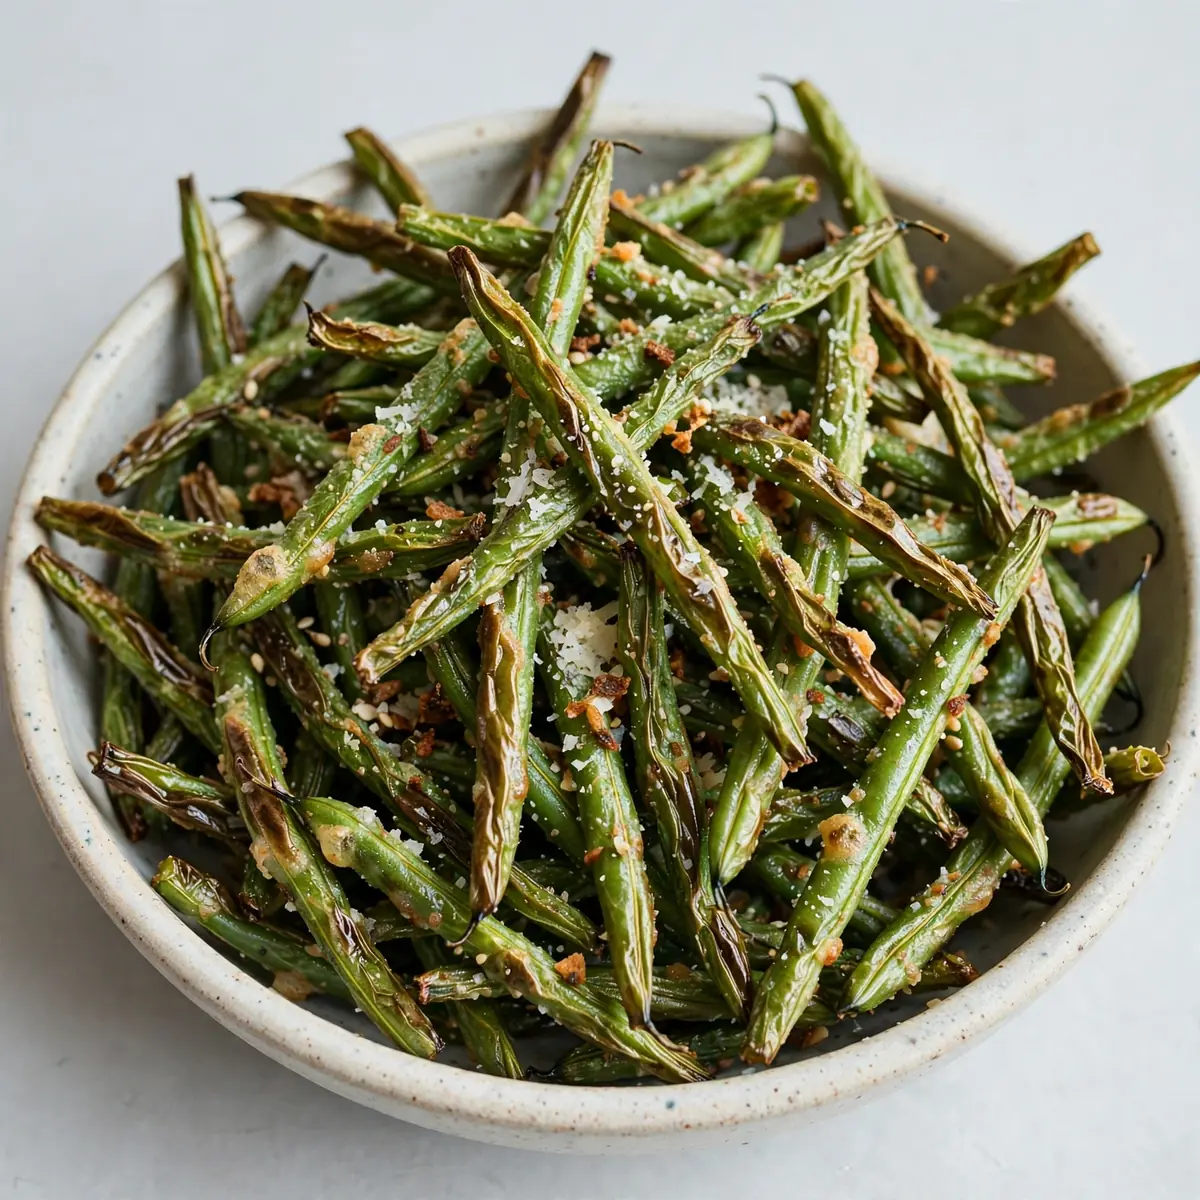
Getting a vegetable side dish on the table before anyone starts complaining is the real weeknight challenge. These crispy air fryer green beans go from fridge to plate in about 15 minutes, using one appliance and barely any washing up. I’ve been making them on repeat for my own family on those chaotic Tuesday evenings, and they’ve become the thing my kids actually ask for.
Recipe Overview
- Prep time: 5 minutes
- Cook time: 8–10 minutes
- Total time: 13–15 minutes
- Servings: 4 as a side
- Difficulty: Easy
Why You’ll Love This Crispy Air Fryer Green Beans
- Fast enough for a school night: Ten minutes in the basket and dinner is sorted, even when you’ve walked in the door late.
- Minimal cleanup: One basket, one bowl, one spoon. No roasting trays to scrub and no oil splattered across the hob.
- Genuinely crispy edges: The circulating hot air blisters the skins and concentrates the flavour far better than boiling ever will.
- Make-ahead friendly: You can trim and season the beans in the morning, then cook them while the rest of dinner finishes — or while a batch of Quick Instant Pot Chicken Noodle Soup For Busy Nights comes together.
- Flexible seasoning: The base recipe takes any spice blend you happen to have in the cupboard, so it never gets boring.
Ingredients You’ll Need
- 500 g fresh green beans, trimmed
- 1 tbsp olive oil
- 1 tsp garlic powder
- ½ tsp smoked paprika
- ½ tsp fine sea salt
- ¼ tsp freshly ground black pepper
- 2 tbsp finely grated Parmesan (optional)
- 1 tsp lemon zest
- 1 tbsp fresh lemon juice
- 1 tbsp toasted flaked almonds
- 1 small shallot, very thinly sliced
- Pinch of chilli flakes
- Extra drizzle of olive oil, for finishing
Tip: Dry the beans thoroughly with a tea towel before they go anywhere near the basket. Any water left clinging to the skins turns to steam, and steam is the enemy of crispness. This single step makes more difference than any seasoning you add.
How to Make Crispy Air Fryer Green Beans
- Trim and dry. Snap the stem ends off each bean and pull away any stringy fibres running down the seam. Spread them across a clean tea towel and pat until the skins feel completely dry to the touch — no slickness, no visible droplets.
- Preheat the basket. Set your air fryer to 190°C and let it run empty for 3 minutes. You’ll hear the fan settle into its steady hum and feel a wave of warm air when you open the drawer. A hot basket gives the beans an instant head start on browning.
- Toss with oil and seasoning. In a large mixing bowl, combine the beans, olive oil, garlic powder, smoked paprika, salt and pepper. Use your hands to rub the oil into every bean until they all wear a faint, even sheen. If you’re using Parmesan, hold it back for now.
- Arrange in a single layer. Tip the beans into the basket and shake gently so they sit in one mostly even layer. A few overlaps are fine, but a deep pile will trap moisture and leave you with limp, pale beans instead of blistered ones.
- Air fry for 5 minutes. Cook at 190°C, then pull the drawer out and shake. You’re looking for the first patches of darkened, wrinkled skin and a smell of toasted garlic drifting up from the basket.
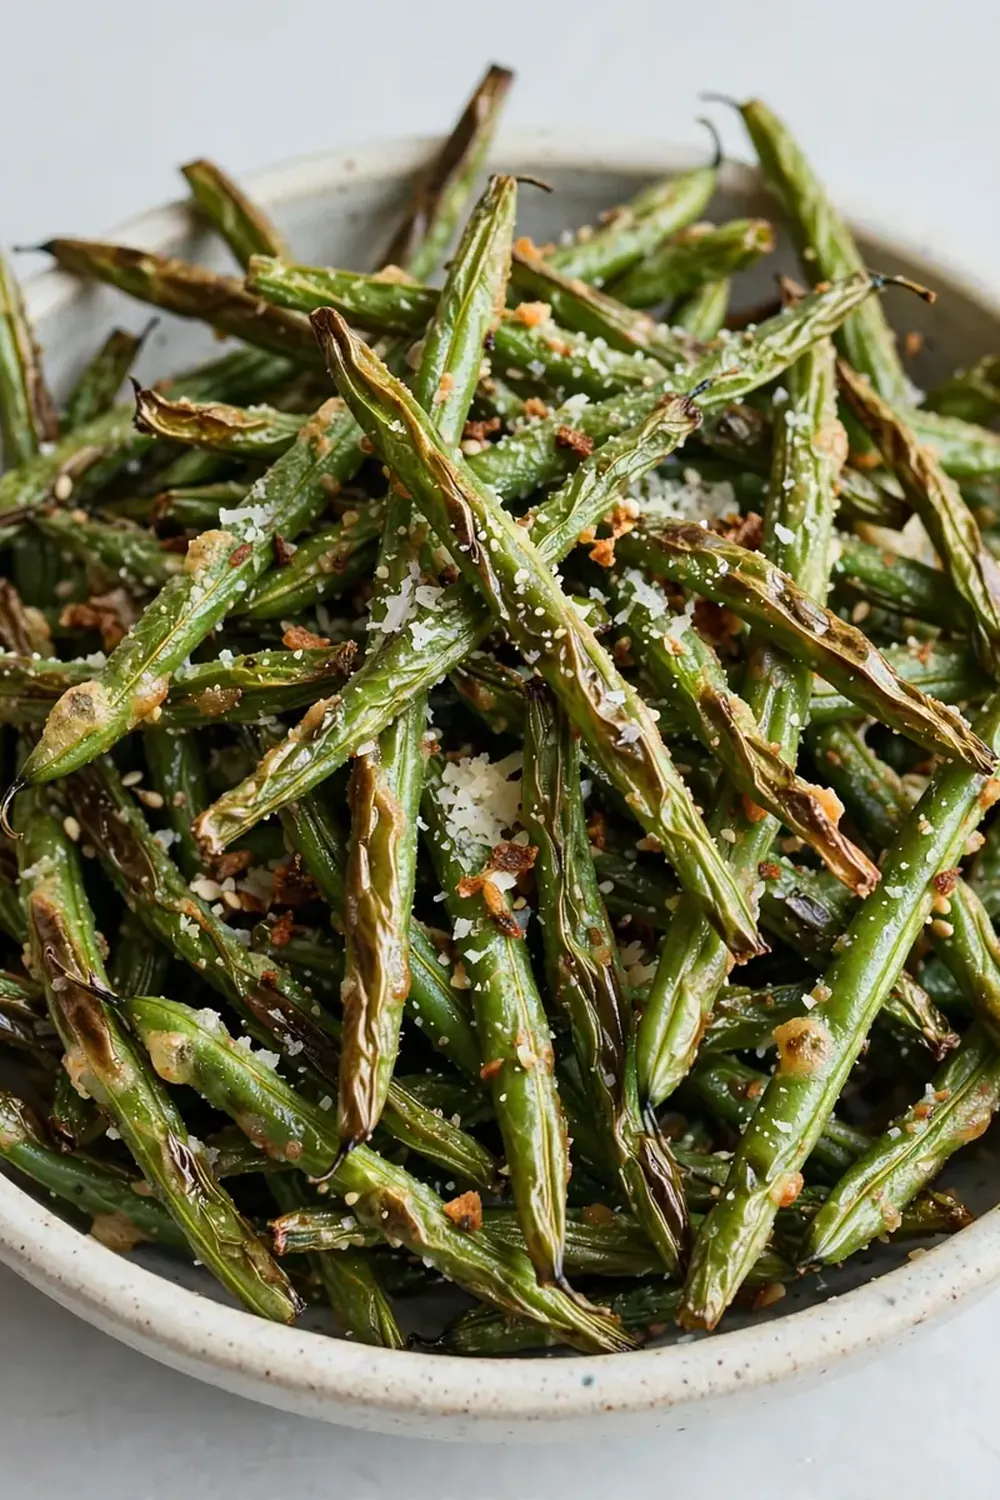
- Shake and continue. Return the basket and cook for another 3–5 minutes. The beans are ready when they’re deep green with charred, blistered spots and bend easily without snapping. Thin beans may need only 3 more minutes; fat ones may want 5.
- Finish while hot. Slide the beans into a serving bowl and immediately scatter over the Parmesan, lemon zest, lemon juice, flaked almonds, shallot and chilli flakes. Toss once so the cheese melts slightly against the warm skins.
- Rest for 2 minutes. Let the bowl sit on the counter briefly before serving. This short pause lets the lemon and garlic settle into the beans rather than sitting on top of them.
Equipment You’ll Need
- Air fryer (any size from 4 litres upward)
- Large mixing bowl
- Clean tea towel or kitchen paper
- Sharp knife and cutting board
- Tongs or a wooden spoon for tossing
Tips From My Kitchen
- Buy beans of a similar thickness. A bag of mixed sizes cooks unevenly — the thin ones scorch while the thick ones stay raw. Pick through the pile and set aside any outliers for a stir-fry instead. Uniform beans mean every single one hits that blistered stage at the same moment.
- Go lighter on oil than you think. One tablespoon for 500 g is plenty. Too much oil pools in the basket, smokes, and leaves the beans greasy rather than crisp. The oil’s only job is to carry the seasoning and help the skins brown.
- Preheat, always. Skipping the preheat is the most common reason people end up with soggy results. Those three empty minutes bring the basket up to temperature so the beans start sizzling the second they land.
- Shake at the halfway mark, not more. Opening the drawer repeatedly drops the temperature and stretches the cooking time. One good shake at five minutes is all you need for even colour.
- Season after, not just before. Acidic ingredients like lemon juice break down the skins if they cook too long, so save the lemon, zest and fresh herbs for the moment the beans come out. The heat from the beans will bloom their aroma without turning anything bitter.
- Prep ahead in the morning. Trim and dry the beans, then store them in a lidded container lined with kitchen paper in the fridge. When dinner time arrives, you’re measuring oil and spices and nothing else.
Common Mistakes to Avoid
- Overcrowding the basket: If the beans are stacked more than two deep, hot air can’t circulate around them and they steam instead of roast. Cook in two batches for a bigger crowd, or size the recipe down. The second batch takes only a few extra minutes and the results are worth it.
- Wrong temperature: Anything below 180°C leaves the beans soft and dull, while 200°C and above chars the outsides before the insides soften. Stick to 190°C — it’s the sweet spot for blistered skins and tender centres.
- Skipping the rest time: Those two minutes off the heat let the residual warmth finish the cooking gently and allow the lemon, garlic and Parmesan to meld. Serve them straight from the basket and the seasoning tastes sharp and separate rather than settled.
- Wet beans: As mentioned above, moisture is the single biggest threat to crispness. Dry them properly and you’ll never look back.
- Old, woody beans: Freshness matters. Snap one in half — it should crack cleanly and feel snappy, not bend like a shoelace. Older beans stay tough no matter how well you cook them.
What to Serve With Crispy Air Fryer Green Beans
- Airline Chicken Recipe Pan Seared — the pan sauce doubles as a lovely drizzle over the beans.
- Chicken Kebab Platters Recipe Grilled — a natural pairing when you’re feeding a crowd.
- Lentil Soup Recipe Hearty Comfort — a bowl of soup plus a pile of these beans makes a proper cold-evening supper.
- Simple roast potatoes, mash or crusty bread for soaking up any dressing.
- A spoonful of cooling yoghurt or a drizzle of tahini for contrast.
Frequently Asked Questions
Crispy Air Fryer Green Beans
Ingredients
Method
-
Trim and dry. Snap the stem ends off each bean and pull away any stringy fibres running down the seam. Spread them across a clean tea towel and pat until the skins feel completely dry to the touch — no slickness, no visible droplets.
-
Preheat the basket. Set your air fryer to 190°C and let it run empty for 3 minutes. You’ll hear the fan settle into its steady hum and feel a wave of warm air when you open the drawer. A hot basket gives the beans an instant head start on browning.
-
Toss with oil and seasoning. In a large mixing bowl, combine the beans, olive oil, garlic powder, smoked paprika, salt and pepper. Use your hands to rub the oil into every bean until they all wear a faint, even sheen. If you’re using Parmesan, hold it back for now.
-
Arrange in a single layer. Tip the beans into the basket and shake gently so they sit in one mostly even layer. A few overlaps are fine, but a deep pile will trap moisture and leave you with limp, pale beans instead of blistered ones.
-
Air fry for 5 minutes. Cook at 190°C, then pull the drawer out and shake. You’re looking for the first patches of darkened, wrinkled skin and a smell of toasted garlic drifting up from the basket.
-
Shake and continue. Return the basket and cook for another 3–5 minutes. The beans are ready when they’re deep green with charred, blistered spots and bend easily without snapping. Thin beans may need only 3 more minutes; fat ones may want 5.
-
Finish while hot. Slide the beans into a serving bowl and immediately scatter over the Parmesan, lemon zest, lemon juice, flaked almonds, shallot and chilli flakes. Toss once so the cheese melts slightly against the warm skins.
-
Rest for 2 minutes. Let the bowl sit on the counter briefly before serving. This short pause lets the lemon and garlic settle into the beans rather than sitting on top of them.
Notes
I’d love to know how these turn out in your kitchen — tell me in the comments whether you went classic with lemon and Parmesan or tried a spicier blend. And if you’ve got a clever make-ahead trick of your own, share it so the rest of us can steal it for our own chaotic weeknights.