Easy No-Bake Oreo Cheesecake Cups
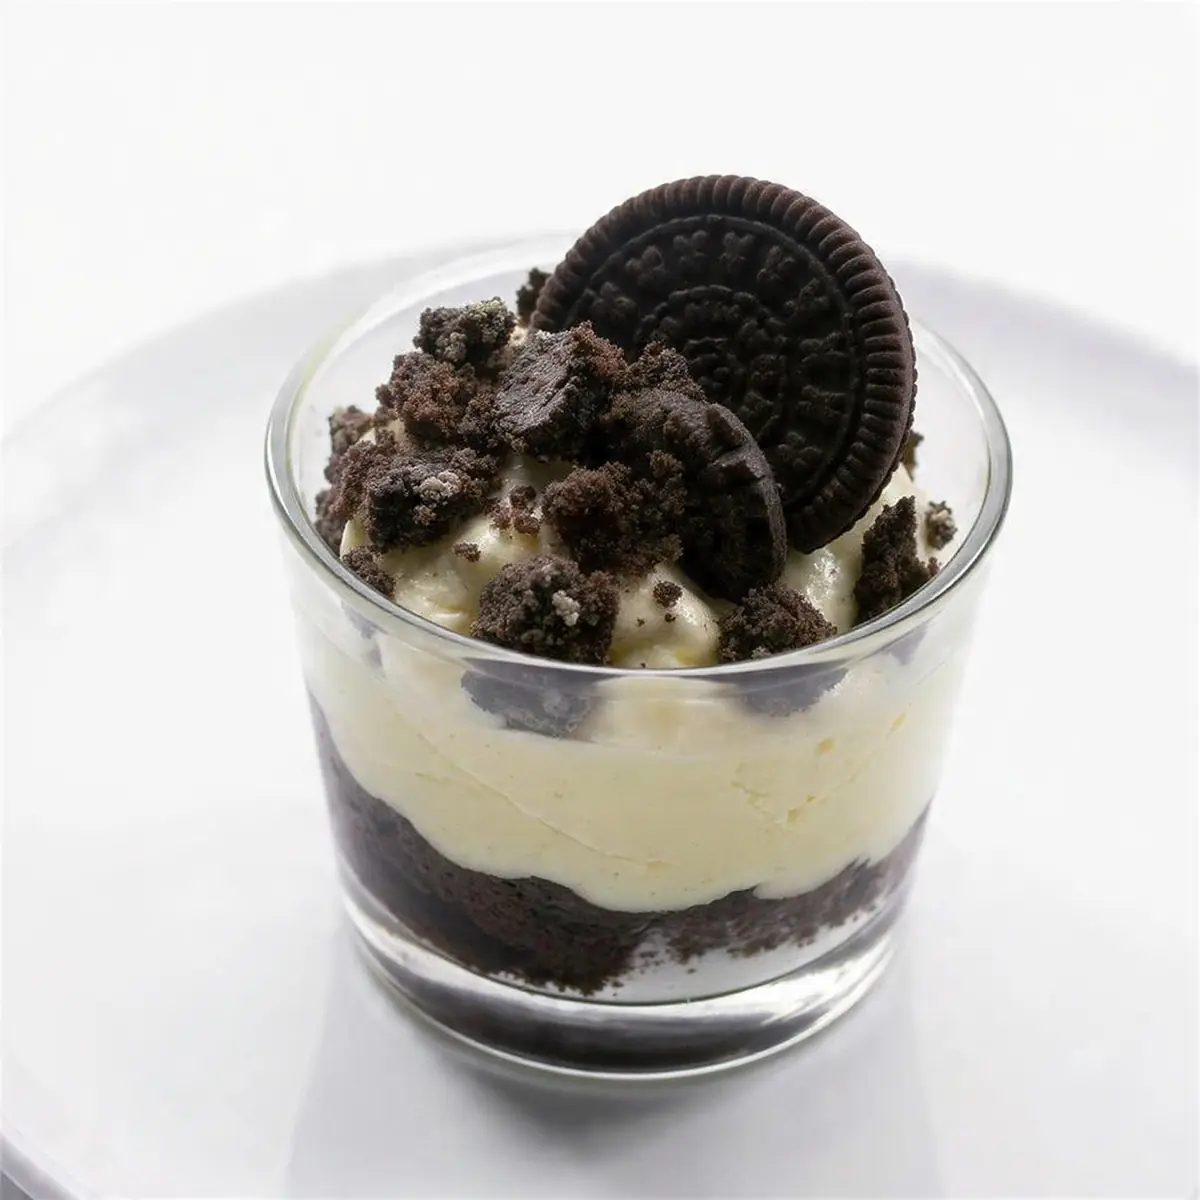
Welcome, fellow food lovers! Today, we’re diving into a treat that’s become an absolute staple in my home: Easy No-Bake Oreo Cheesecake Cups. If you’re looking for a dessert that delivers on flavour without any fuss, you’ve come to the right place.
There’s something truly magical about a no-bake dessert, isn’t there? No oven required, minimal washing up, and pure, unadulterated deliciousness. I remember the first time I whipped up a batch of these individual Oreo cheesecake cups for a family gathering. Everyone was raving about them, asking for the recipe, and couldn’t quite believe how straightforward they were to create. It was a proper moment of kitchen triumph, and honestly, they’ve been a firm favourite ever since. These little beauties are not just a dessert; they’re a declaration of love for simple, satisfying treats.
What makes these no-bake wonders so special? Well, it’s the delightful contrast of the crunchy Oreo biscuit base, the smooth, creamy cheesecake filling, and those wonderful chunks of crushed Oreo throughout. Every spoonful is a textural delight, a symphony of chocolatey goodness and tangy cream cheese that dances on your palate. I make this at least once a week – it’s become a family favourite, requested constantly by my grandkids. It’s the kind of recipe that builds confidence in the kitchen and guarantees smiles all around, whether you’re serving them for a special occasion or simply treating yourself after a long day.
Recipe Overview
- Prep time: 25 minutes
- Chill time: 4 hours (minimum)
- Total time: 4 hours 25 minutes
- Servings: 8-10 individual cups
- Difficulty: Easy
Why You’ll Love This Easy No-Bake Oreo Cheesecake Cups
- Effortlessly Delicious: Forget the oven! These cheesecake cups come together with minimal effort, making them ideal for busy schedules or when you simply don’t want to turn on the heat.
- Perfectly Portioned: Serving individual cups means no slicing, no mess, and everyone gets their own delightful treat. They’re fantastic for entertaining.
- Rich & Creamy Indulgence: The velvety smooth cream cheese filling combined with the iconic chocolatey crunch of Oreo biscuits creates a truly satisfying dessert experience.
- Versatile for Any Occasion: From impromptu tea parties to elegant dinner conclusions, these cheesecake cups fit right in. They’re always a welcome sight.
- Customisable Fun: While delicious as is, you can easily add your own flair with extra toppings like berries, chocolate sauce, or a sprinkle of cocoa powder.
Ingredients You’ll Need
- 250g Oreo biscuits (approximately 20-22 biscuits)
- 75g unsalted butter, melted
- 500g full-fat cream cheese, softened
- 100g icing sugar (sifted)
- 1 teaspoon vanilla extract
- 300ml double cream, chilled
- 100g extra Oreo biscuits, roughly crushed (for mixing into the filling)
- Optional: 50g extra Oreo biscuits, finely crushed or halved (for garnish)
Tip: Always use full-fat cream cheese for the best texture and stability in no-bake cheesecakes. Low-fat versions tend to be too watery and won’t set properly, leaving you with a runny mess rather than a firm, creamy filling.
How to Make Easy No-Bake Oreo Cheesecake Cups
- Prepare the Biscuit Base: Take your 250g of Oreo biscuits and place them into a food processor. Blitz them until they resemble fine crumbs, like dark, damp sand. Alternatively, place them in a zip-top bag and crush them thoroughly with a rolling pin. Once finely crushed, transfer them to a medium bowl. Melt the 75g of unsalted butter in a small saucepan or microwave until it’s a clear, golden liquid. Pour the melted butter over the Oreo crumbs and mix well until every crumb is coated and appears moist and cohesive.
- Form the Bases: Divide the buttery Oreo crumb mixture evenly among 8-10 individual serving cups or ramekins. Use the back of a spoon or your fingertips to press the crumbs down firmly into an even layer at the bottom of each cup. You want them to be compact and solid. Once pressed, place the cups into the refrigerator to chill for at least 15 minutes, allowing the butter to firm up and the bases to set.
- Whip the Cream Cheese Mixture: In a large mixing bowl, add the 500g softened full-fat cream cheese, 100g sifted icing sugar, and 1 teaspoon of vanilla extract. Using an electric hand mixer or stand mixer, beat the ingredients together on medium speed until the mixture is completely smooth, pale, and fluffy, with no lumps visible. The cream cheese should be light and airy, taking on a slightly whipped appearance.
- Whip the Double Cream: In a separate, chilled bowl, pour the 300ml of cold double cream. Using clean beaters, whip the cream on high speed until it forms stiff peaks. This means when you lift the beaters, the cream stands up straight without flopping over. Be careful not to over-whip, as it can quickly turn grainy. The cream will look thick, voluminous, and wonderfully white.
- Combine and Fold: Gently fold the whipped double cream into the cream cheese mixture in three stages. Add about a third of the whipped cream, folding it in with a spatula until just combined. Then add the next third, and finally the last. The goal is to keep as much air in the mixture as possible, so use a light hand. The resulting cheesecake filling should be wonderfully light, airy, and uniformly pale, with a soft, cloud-like texture.
- Add Crushed Oreos: Take the 100g of roughly crushed Oreo biscuits and gently fold them into the cheesecake filling. Distribute them evenly throughout the mixture. The dark flecks of Oreo will be visible against the pale filling, adding delightful texture and visual appeal.
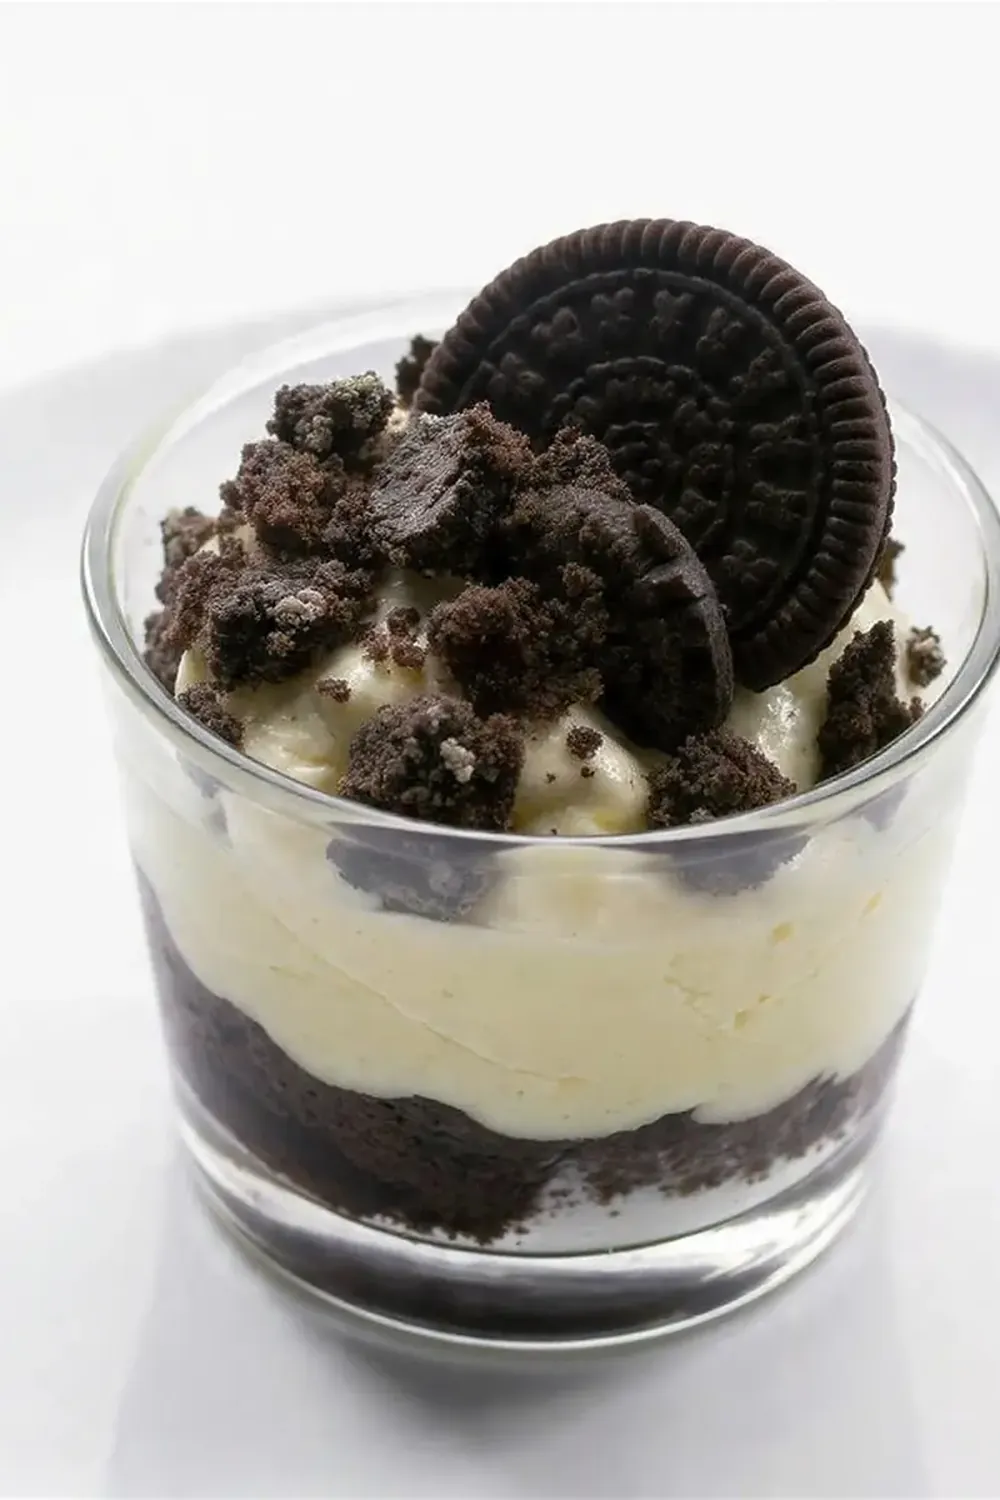
- Assemble the Cheesecake Cups: Retrieve the chilled biscuit bases from the refrigerator. Spoon or pipe the Oreo cheesecake filling evenly into each cup, filling them almost to the top. Use the back of a spoon to smooth the tops. The cups will now look full and inviting, with a distinct dark base and a creamy, speckled white filling.
- Chill and Garnish: Place the assembled cheesecake cups back into the refrigerator to chill for a minimum of 4 hours, or ideally overnight. This crucial step allows the cheesecake to firm up and set completely, ensuring a stable, sliceable (if you were making a whole cheesecake!) texture. Before serving, you can garnish each cup with extra finely crushed Oreo biscuits or a halved Oreo on top for an extra flourish. When properly chilled, the cheesecake will feel firm to the touch and hold its shape beautifully.
Tips From My Kitchen
- Use Full-Fat Cream Cheese, Always: I can’t stress this enough! For a truly stable and rich no-bake cheesecake, full-fat cream cheese is non-negotiable. Lower-fat versions contain more water, which prevents the cheesecake from setting properly, leading to a runny, disappointing consistency. The fat content is key to that luxurious, firm, yet creamy texture we all adore.
- Chill Your Bowl and Whisk for Whipping Cream: For the best results when whipping double cream, pop your mixing bowl and whisk attachment (or electric hand mixer beaters) into the freezer for 10-15 minutes before you start. The cold helps the cream whip up faster and achieve those desirable stiff peaks, giving you a more voluminous and stable whipped cream to fold into your cheesecake. This is a little trick I picked up years ago, and it makes all the difference!
- Don’t Overmix the Cream Cheese: While you want the cream cheese, icing sugar, and vanilla to be smooth, be careful not to overmix it. Overmixing can incorporate too much air initially, which then collapses when you add the cream, making your cheesecake less stable. Beat until just smooth and light, then stop. We want the air to come primarily from the whipped double cream.
- Gentle Folding is Key: When combining the whipped double cream with the cream cheese mixture, use a gentle folding technique. This means using a spatula to cut down through the centre of the mixture, sweep it to the side, and fold it back over the top. The aim is to preserve as much of the air you’ve whipped into the cream as possible, which contributes to the cheesecake’s light and airy texture. Aggressive stirring will deflate the cream, resulting in a denser cheesecake.
- Chill, Chill, Chill!: The chilling time is absolutely vital for any no-bake cheesecake. Resist the temptation to serve these too early! A minimum of 4 hours in the refrigerator allows the cream cheese and cream to firm up and fully set, giving you that perfect, scoopable, stable consistency. For the very best results, I always recommend chilling them overnight. This ensures they are perfectly set and provides ample time for the flavours to meld beautifully.
- Personal Touch with Oreo Crushing: While a food processor is quick for the base, for the Oreo pieces going into the filling, I actually prefer to crush them by hand. Pop them in a sturdy freezer bag and give them a good whack with a rolling pin. This creates a mix of fine crumbs and satisfying larger chunks, adding a wonderful textural surprise throughout the cheesecake. I stumbled upon this combination by accident, and it’s been a hit ever since!
Common Mistakes to Avoid
- Using Low-Fat Cream Cheese: This is the most common culprit for a runny no-bake cheesecake. Low-fat cream cheese has a higher water content and less fat, which are crucial for the cheesecake to firm up and hold its shape. Always opt for full-fat cream cheese to achieve that desired rich, stable consistency.
- Not Chilling Long Enough: Impatience is a virtue, but not in no-bake cheesecake making! Skipping or shortening the chilling time will result in a soft, unset, and messy dessert. The minimum 4 hours in the fridge is essential for the ingredients to firm up, and ideally, an overnight chill will give you the best, most stable results.
- Over-whipping the Double Cream: While stiff peaks are desired, be careful not to over-whip the double cream. If you go too far, the cream will become grainy and eventually turn into butter. Once it starts to thicken significantly, keep a close eye on it and stop as soon as stiff peaks form, ensuring a smooth, airy texture for your cheesecake.
What to Serve With Easy No-Bake Oreo Cheesecake Cups
- A dusting of cocoa powder or a drizzle of chocolate sauce.
- Fresh berries like raspberries or strawberries for a touch of tartness.
- A dollop of extra whipped cream.
- A sprinkle of grated dark chocolate.
- A hot cup of tea or a robust coffee.
Frequently Asked Questions
Easy No-Bake Oreo Cheesecake Cups
Ingredients
Method
- Prepare the Biscuit Base: Take your 250g of Oreo biscuits and place them into a food processor. Blitz them until they resemble fine crumbs, like dark, damp sand. Alternatively, place them in a zip-top bag and crush them thoroughly with a rolling pin. Once finely crushed, transfer them to a medium bowl. Melt the 75g of unsalted butter in a small saucepan or microwave until it's a clear, golden liquid. Pour the melted butter over the Oreo crumbs and mix well until every crumb is coated and appears moist and cohesive.
- Form the Bases: Divide the buttery Oreo crumb mixture evenly among 8-10 individual serving cups or ramekins. Use the back of a spoon or your fingertips to press the crumbs down firmly into an even layer at the bottom of each cup. You want them to be compact and solid. Once pressed, place the cups into the refrigerator to chill for at least 15 minutes, allowing the butter to firm up and the bases to set.
- Whip the Cream Cheese Mixture: In a large mixing bowl, add the 500g softened full-fat cream cheese, 100g sifted icing sugar, and 1 teaspoon of vanilla extract. Using an electric hand mixer or stand mixer, beat the ingredients together on medium speed until the mixture is completely smooth, pale, and fluffy, with no lumps visible. The cream cheese should be light and airy, taking on a slightly whipped appearance.
- Whip the Double Cream: In a separate, chilled bowl, pour the 300ml of cold double cream. Using clean beaters, whip the cream on high speed until it forms stiff peaks. This means when you lift the beaters, the cream stands up straight without flopping over. Be careful not to over-whip, as it can quickly turn grainy. The cream will look thick, voluminous, and wonderfully white.
- Combine and Fold: Gently fold the whipped double cream into the cream cheese mixture in three stages. Add about a third of the whipped cream, folding it in with a spatula until just combined. Then add the next third, and finally the last. The goal is to keep as much air in the mixture as possible, so use a light hand. The resulting cheesecake filling should be wonderfully light, airy, and uniformly pale, with a soft, cloud-like texture.
- Add Crushed Oreos: Take the 100g of roughly crushed Oreo biscuits and gently fold them into the cheesecake filling. Distribute them evenly throughout the mixture. The dark flecks of Oreo will be visible against the pale filling, adding delightful texture and visual appeal.
- Assemble the Cheesecake Cups: Retrieve the chilled biscuit bases from the refrigerator. Spoon or pipe the Oreo cheesecake filling evenly into each cup, filling them almost to the top. Use the back of a spoon to smooth the tops. The cups will now look full and inviting, with a distinct dark base and a creamy, speckled white filling.
- Chill and Garnish: Place the assembled cheesecake cups back into the refrigerator to chill for a minimum of 4 hours, or ideally overnight. This crucial step allows the cheesecake to firm up and set completely, ensuring a stable, sliceable (if you were making a whole cheesecake!) texture. Before serving, you can garnish each cup with extra finely crushed Oreo biscuits or a halved Oreo on top for an extra flourish. When properly chilled, the cheesecake will feel firm to the touch and hold its shape beautifully.
Notes
And there you have it, my dears – the recipe for these truly irresistible Easy No-Bake Oreo Cheesecake Cups. They are a testament to how simple ingredients, handled with a little care, can create something truly spectacular. Whether you’re a seasoned baker or just starting your culinary journey, this recipe promises joy and deliciousness without the stress. Do give them a go, and let me know in the comments below how they turned out for you. I absolutely love hearing about your kitchen adventures!