
Quick Chili Con Carne Recipe
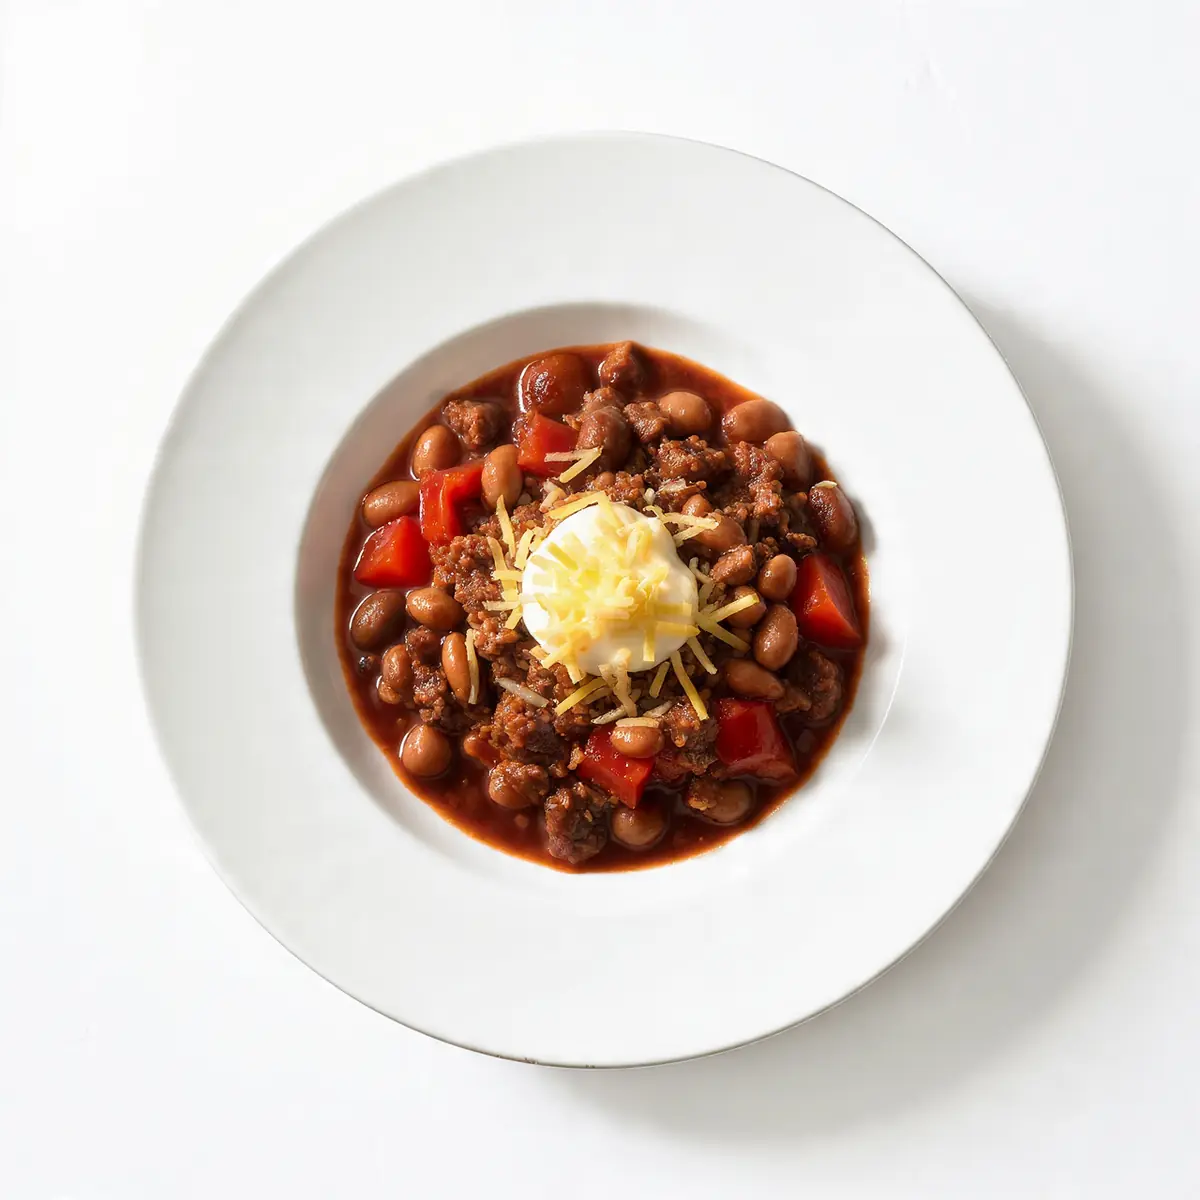
Welcome to my kitchen, where today we’re transforming a beloved staple into something truly special: a quick chili con carne that promises to impress even your most discerning dinner guests. Forget lengthy simmering; this recipe is designed for maximum impact with minimal fuss, ensuring you can deliver a restaurant-quality meal without spending hours at the hob.
I remember one blustery evening when unexpected friends arrived, and I had mere moments to rustle up something substantial. This quick chili con carne, refined over countless gatherings, saved the day, leaving everyone convinced I’d been slaving away for hours. It’s my go-to recipe when I need something quick but impressive, showcasing how a few thoughtful touches can elevate a dish from homely to haute cuisine.
The secret lies not just in the speed but in the intelligent layering of flavours and, crucially, the presentation. We’re going beyond just a bowl of chili; we’re creating an experience, complete with vibrant garnishes and a plating style that makes every spoonful feel like a culinary delight, much like a perfectly crafted Hearty Boiled Eggs Recipe.cookingenious.com/homemade-potato-gratin-recipe/”>Homemade Potato Gratin Recipe.cookingenious.com/crispy-baked-chicken-thighs-recipe/”>Crispy Baked Chicken Thighs Recipe.cookingenious.com/best-lasagna-recipe/”>Best Lasagna Recipe. Friends always ask me for this recipe after trying it at dinner parties, often surprised by how quickly it comes together while tasting so profoundly rich and complex.
Recipe Overview
- Prep Time: 20 minutes
- Cook Time: 35-40 minutes
- Total Time: 55-60 minutes
- Servings: 6 generous portions
- Difficulty: Easy to Moderate
Why You’ll Love This Quick Chili Con Carne Recipe
- Achieve deep, complex flavours in under an hour, perfect for busy hosts.
- Craft a visually stunning dish with layered garnishes that delight the eye as much as the palate.
- Impress guests with a seemingly sophisticated meal that requires surprisingly little effort.
- Enjoy the versatility of a chili that can be easily adapted to various dietary preferences.
- Master a foundational recipe that provides a canvas for your own creative plating and serving ideas.
Ingredients You’ll Need
- 2 tbsp olive oil
- 1 large onion, finely chopped
- 3 cloves garlic, minced
- 1 red pepper, deseeded and diced
- 1 green pepper, deseeded and diced
- 700g lean beef mince
- 2 tbsp tomato purée
- 1 tbsp ground cumin
- 1 tbsp smoked paprika
- 1 tsp dried oregano
- ½ tsp cayenne pepper (adjust to your heat preference)
- 400g tin chopped tomatoes
- 400ml beef stock
- 400g tin red kidney beans, rinsed and drained
- 1-2 fresh red chillies, finely sliced (optional, for garnish)
- Sea salt and freshly ground black pepper to taste
Tip: Opt for quality ingredients, especially your beef mince. A higher fat content can make the chili greasier, so lean is often best for this quick version.
How to Make Quick Chili Con Carne Recipe
- Heat the olive oil in a large, heavy-based frying pan or a shallow casserole dish over a medium-high heat. Once shimmering, add the finely chopped onion and diced red and green peppers. Sauté for 5-7 minutes, stirring occasionally, until the onions become translucent and the peppers soften, releasing a sweet aroma.
- Add the minced garlic to the pan and cook for another minute until fragrant. Be careful not to let it brown. Then, add the lean beef mince, breaking it up with a wooden spoon. Cook for 8-10 minutes, stirring frequently, until the mince is evenly browned all over and any pink colour has vanished, leaving a rich, savoury smell and a slightly caramelised texture. Drain off any excess fat if necessary.
- Stir in the tomato purée, ensuring it coats the beef and vegetables, and cook for 2 minutes to deepen its flavour. Next, add the ground cumin, smoked paprika, dried oregano, and cayenne pepper. Stir well for about a minute, allowing the spices to toast gently and release their aromatic oils – you’ll notice an immediate fragrant shift.
- Pour in the tin of chopped tomatoes and the beef stock. Bring the mixture to a gentle simmer, then reduce the heat to low, cover the pan, and let it cook for 15-20 minutes. The chili should be bubbling gently, and the sauce will begin to thicken and marry the flavours, emitting a rich, savoury scent. Stir occasionally to prevent sticking.
- Remove the lid and stir in the rinsed and drained red kidney beans. Continue to simmer for another 5 minutes, uncovered, allowing the sauce to reduce further and thicken to a consistency you desire – it should cling nicely to the beans and beef. Season generously with sea salt and freshly ground black pepper, tasting and adjusting as needed.
- For an exceptional finish, remove the chili from the heat and let it rest for 5 minutes. This brief pause allows the flavours to settle and deepen, making for a more cohesive and delicious dish. While it rests, prepare your chosen garnishes for plating.
Tips From My Kitchen
- Brown Your Mince Thoroughly: When browning the beef, ensure the pan is hot enough to achieve a good sear rather than just steaming the meat. This creates a deeply savoury base through the Maillard reaction, which is crucial for flavour development in such a quick recipe. Don’t overcrowd the pan; if necessary, brown the mince in batches.
- Toast Your Spices: Adding the dried spices directly to the pan with the beef and vegetables for a minute or two before adding liquids helps to ‘bloom’ them. This process, often overlooked, releases their essential oils and intensifies their flavour, making your chili far more aromatic and vibrant.
- Layer Your Heat: Instead of just dumping in chilli powder, think about layering different forms of heat. A little cayenne pepper in the base adds a subtle warmth, while fresh sliced chillies (like a finely sliced red chilli or even a milder jalapeño) added as a garnish provide a fresh, immediate kick and visual appeal. This allows guests to customise their spice level.
- A Touch of Sweetness/Acidity: A small pinch of sugar or a splash of red wine vinegar (about a teaspoon) can dramatically balance the flavours in your chili, especially with the acidity from the tomatoes. The sugar enhances the natural sweetness of the peppers and onions, while the vinegar brightens the overall profile, preventing it from tasting flat.
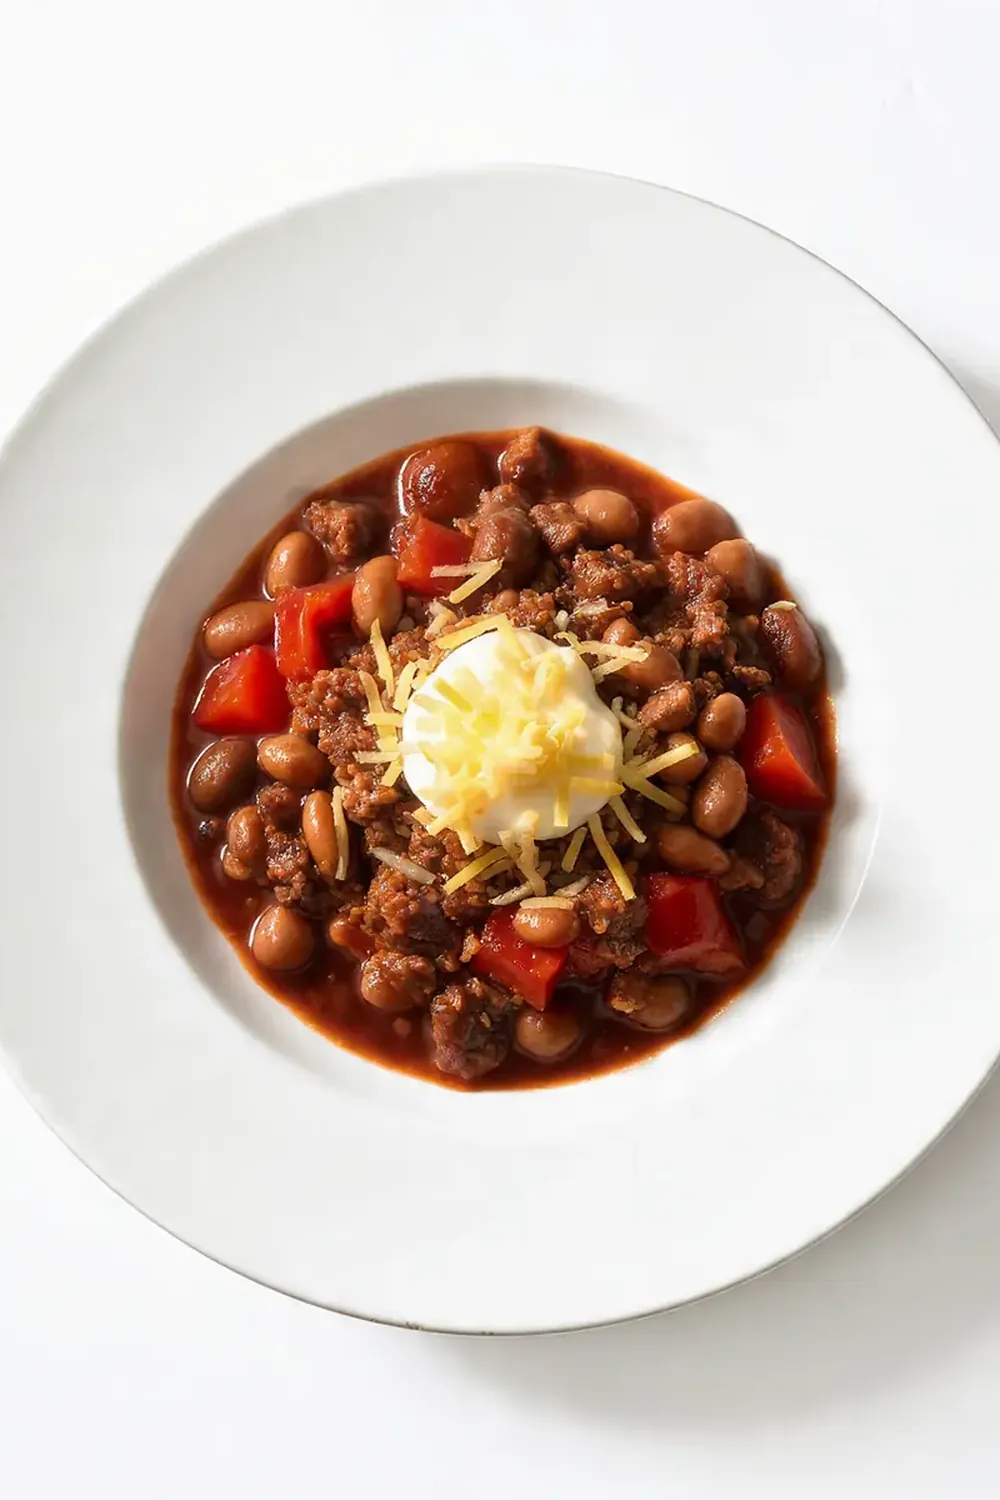
- Presentation is Key: For that ‘restaurant-quality’ feel, focus on how you serve. Use individual bowls, create a ‘swirl’ with sour cream or Greek yoghurt, and sprinkle fresh herbs (coriander or chives), finely sliced fresh chillies, or grated cheese on top. A wedge of lime on the side adds a burst of colour and a fresh zing when squeezed over the chili.
Equipment You’ll Need
- Large frying pan or skillet
- Sharp knife and cutting board
- Mixing bowls
- Wooden spoon or spatula
Common Mistakes to Avoid
- Overcrowding the pan: If you add too much mince or too many vegetables at once, the temperature of the pan drops significantly. This causes the ingredients to steam rather than brown, preventing the development of those rich, caramelised flavours essential for a deep-tasting chili. Cook in batches if your pan isn’t large enough to ensure everything has space to sear properly.
- Wrong temperature: Cooking on too low a heat means your vegetables won’t soften and caramelise effectively, and your mince won’t brown properly. Conversely, too high a heat can burn your garlic and spices, leading to a bitter taste. Maintain a consistent medium-high heat for browning and then reduce to a gentle simmer for cooking, making sure to adjust as needed.
- Skipping the rest time: While tempting to serve immediately, allowing the chili to rest off the heat for 5-10 minutes before serving is crucial. This short period allows the proteins to relax and the flavours to meld and deepen further, resulting in a more cohesive and intensely flavourful dish. It truly makes a noticeable difference to the overall taste and texture.
Delicious Variations to Try
- Spicy Version: To really crank up the heat, incorporate a finely chopped Scotch bonnet or habanero chilli (without seeds for less intensity) at the spice-toasting stage. You could also add a pinch of dried chilli flakes or a dash of hot sauce along with the stock, ensuring the spice is cooked into the sauce rather than just added at the end.
- Vegetarian/Vegan Option: Easily transform this into a plant-based delight by swapping the beef mince for a mixture of lentils (brown or puy work wonderfully), extra beans (black beans or cannellini beans are good additions), and finely chopped mushrooms for umami. Use vegetable stock instead of beef stock.
- Different Protein: While beef is classic, this recipe works beautifully with other proteins. Try ground turkey or chicken mince for a lighter version, ensuring you still brown it well for flavour. Alternatively, a combination of shredded slow-cooked beef or lamb could add a different texture and depth. For a delightful alternative, consider adapting some of the principles from my Bbq Pulled Chicken Recipe Slow Cooker to create pulled beef chili.
What to Serve With Quick Chili Con Carne Recipe
- Fluffy white rice or a fragrant Rice Pilaf Recipe Fluffy Side
- Warm crusty bread or cornbread
- Cool sour cream or Greek yoghurt
- Grated mature cheddar cheese
- Fresh coriander, chopped
- Finely sliced fresh red chillies or jalapeños
- A squeeze of lime juice
- A simple green salad with a light vinaigrette
Frequently Asked Questions
Quick Chili Con Carne Recipe
Ingredients
Method
-
Heat the olive oil in a large, heavy-based frying pan or a shallow casserole dish over a medium-high heat. Once shimmering, add the finely chopped onion and diced red and green peppers. Sauté for 5-7 minutes, stirring occasionally, until the onions become translucent and the peppers soften, releasing a sweet aroma.
-
Add the minced garlic to the pan and cook for another minute until fragrant. Be careful not to let it brown. Then, add the lean beef mince, breaking it up with a wooden spoon. Cook for 8-10 minutes, stirring frequently, until the mince is evenly browned all over and any pink colour has vanished, leaving a rich, savoury smell and a slightly caramelised texture. Drain off any excess fat if necessary.
-
Stir in the tomato purée, ensuring it coats the beef and vegetables, and cook for 2 minutes to deepen its flavour. Next, add the ground cumin, smoked paprika, dried oregano, and cayenne pepper. Stir well for about a minute, allowing the spices to toast gently and release their aromatic oils – you’ll notice an immediate fragrant shift.
-
Pour in the tin of chopped tomatoes and the beef stock. Bring the mixture to a gentle simmer, then reduce the heat to low, cover the pan, and let it cook for 15-20 minutes. The chili should be bubbling gently, and the sauce will begin to thicken and marry the flavours, emitting a rich, savoury scent. Stir occasionally to prevent sticking.
-
Remove the lid and stir in the rinsed and drained red kidney beans. Continue to simmer for another 5 minutes, uncovered, allowing the sauce to reduce further and thicken to a consistency you desire – it should cling nicely to the beans and beef. Season generously with sea salt and freshly ground black pepper, tasting and adjusting as needed.
-
For an exceptional finish, remove the chili from the heat and let it rest for 5 minutes. This brief pause allows the flavours to settle and deepen, making for a more cohesive and delicious dish. While it rests, prepare your chosen garnishes for plating.
Notes
There you have it – a quick chili con carne that consistently delivers on flavour and presentation, proving that you don’t need to spend all day in the kitchen to create something truly memorable. I encourage you to try this recipe, experiment with your garnishes, and watch your guests marvel at your culinary prowess. Do let me know in the comments below how your chili turned out and what special touches you added to make it your own!