Classic Beef Roast Recipe
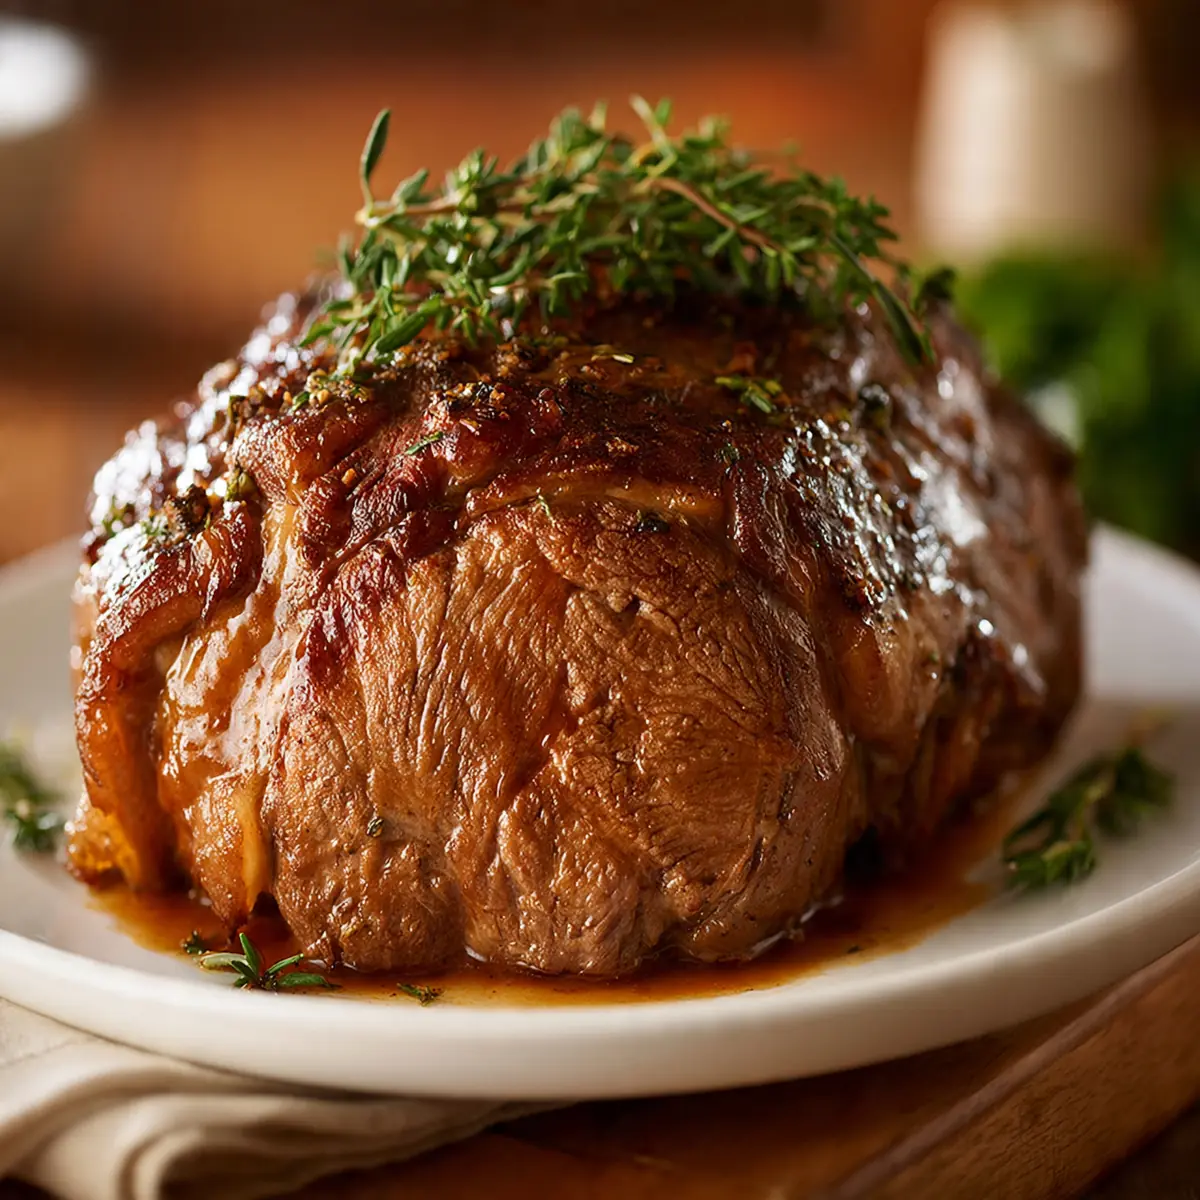
Every time I set a beautifully roasted beef joint on the table, the room goes quiet for a moment before the compliments start flowing. This classic beef roast recipe is the one my friends constantly request after my dinner parties, and I’ve perfected it to deliver that stunning, restaurant-quality centrepiece without the stress. Let’s get straight to the recipe that will transform your Sunday lunch or special occasion dinner.
Recipe Overview
- Prep Time: 25 minutes
- Cook Time: 1 hour 30 minutes (for medium-rare)
- Total Time: 1 hour 55 minutes
- Servings: 6-8 people
- Difficulty: Medium
Why You’ll Love This Classic Beef Roast Recipe
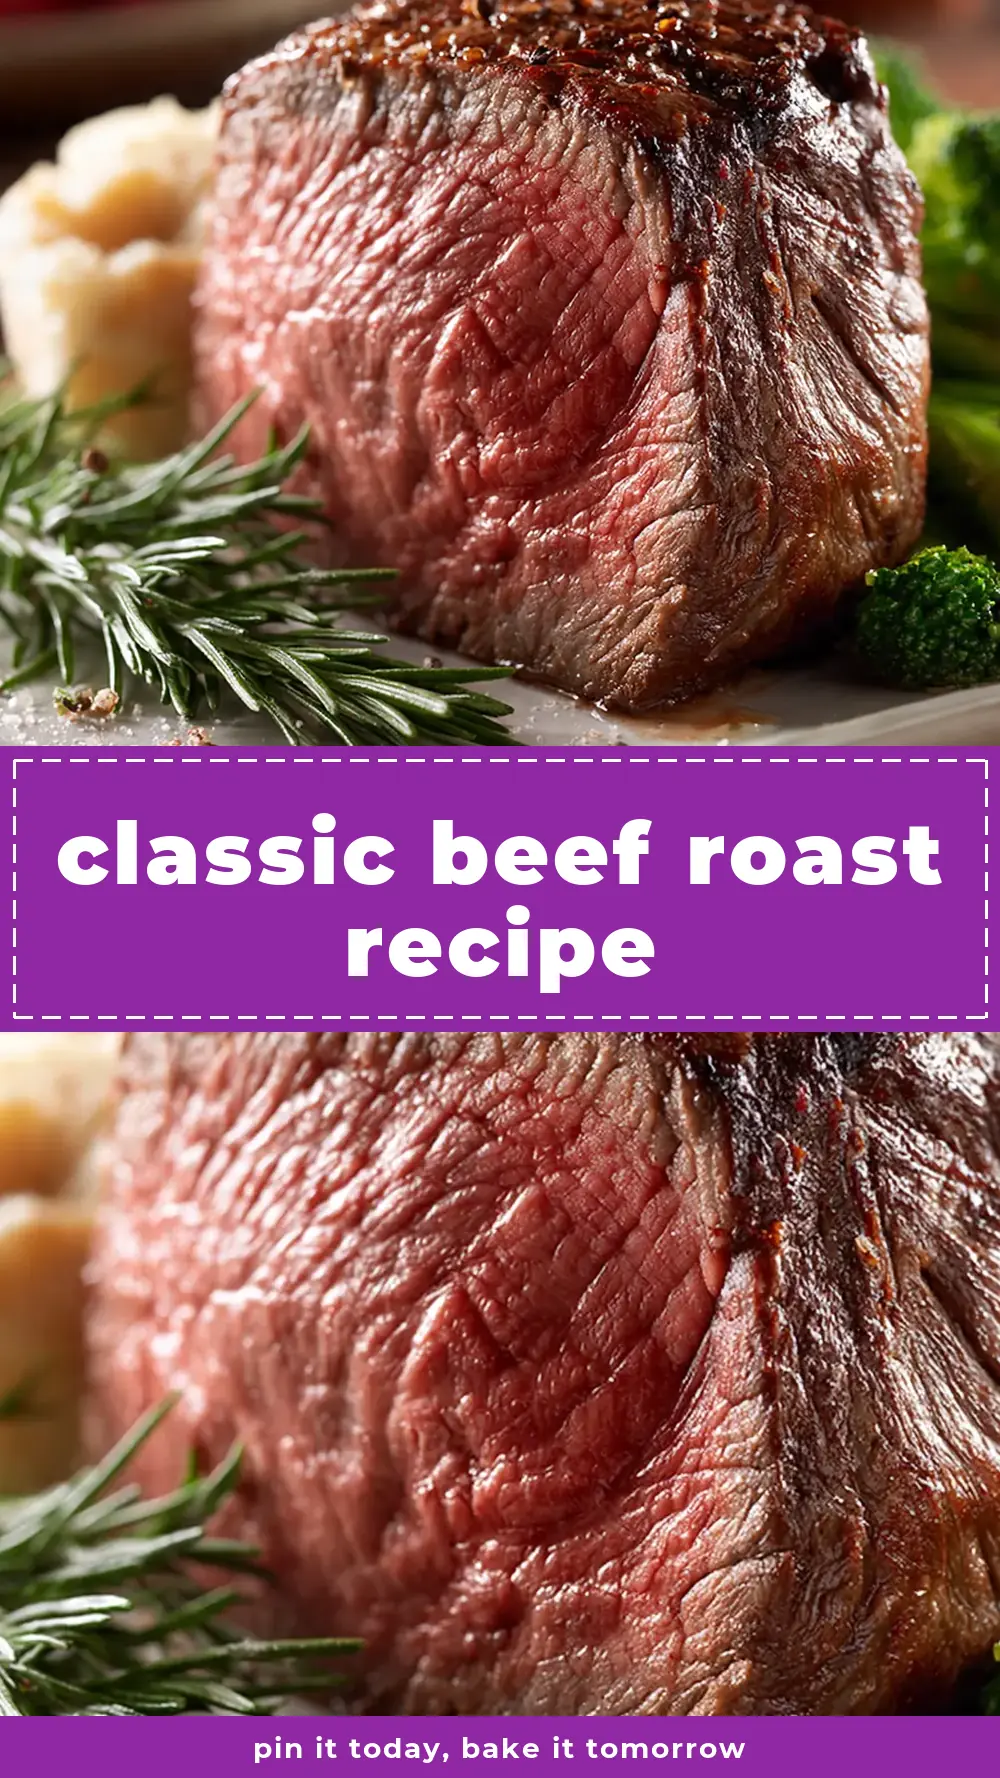
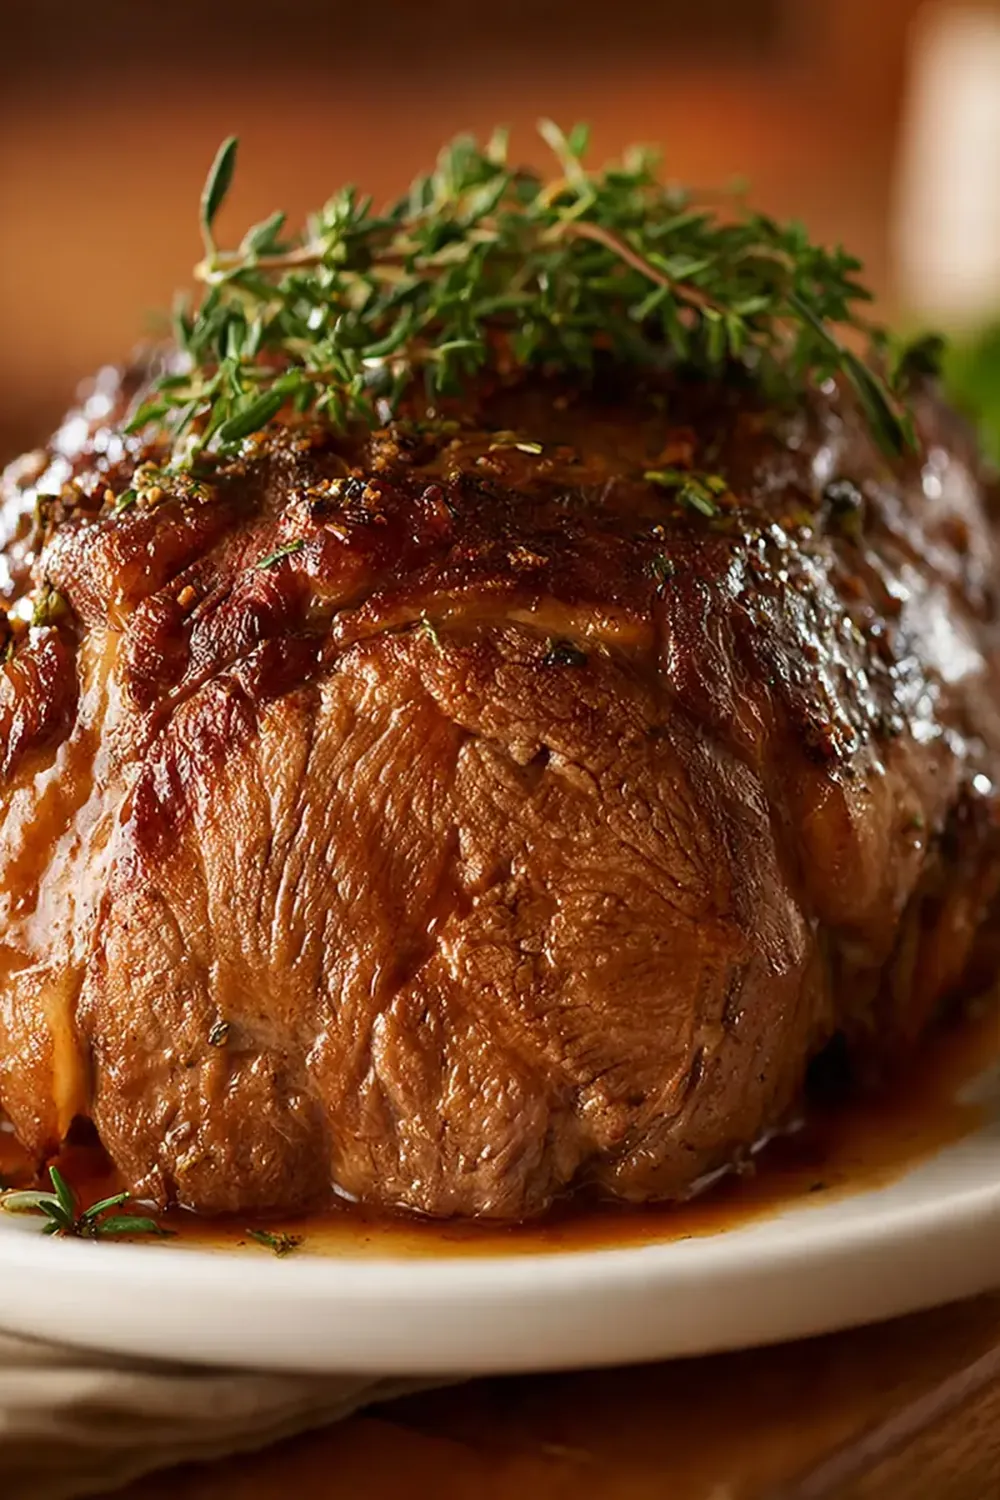
- Impressive Presentation: The deep, mahogany crust and juicy pink centre create a visual showpiece that rivals any steakhouse plating.
- Restaurant-Quality Finish: With simple techniques like resting and basting, you achieve a silky, tender texture and glossy exterior that looks professionally executed.
- Stress-Free Hosting: Most of the work happens in the oven, freeing you to enjoy your guests while the aroma fills your kitchen.
- Versatile Leftovers: Cold sliced beef makes incredible sandwiches, salads, or a hearty hash the next day, much like the versatile Classic Vegetable Casserole Recipe.cookingenious.com/quick-cherry-cake-recipe/”>Quick Cherry Cake Recipe.cookingenious.com/easy-stuffed-zucchini-recipe/”>Easy Stuffed Zucchini Recipe.cookingenious.com/classic-antipasti-recipe/”>Classic Antipasti Recipe that also shines as leftovers.cookingenious.com/crispy-konigsberg-meatballs-recipe/”>Crispy Königsberg Meatballs Recipe that also shines as leftovers.cookingenious.com/creamy-apple-crumble-cake-recipe/”>Creamy Apple Crumble Cake Recipe that also shines as leftovers.cookingenious.com/easy-potato-soup-recipe/”>Easy Potato Soup Recipe that also shines as leftovers.cookingenious.com/ulcookingenious.com/delicious-chia-pudding-recipe/”>Delicious Chia Pudding Recipe that also shines as leftovers.cookingenious.com/crispy-konigsberg-meatballs-recipe/”>Crispy Königsberg Meatballs Recipe that also shines as leftovers.cookingenious.com/creamy-apple-crumble-cake-recipe/”>Creamy Apple Crumble Cake Recipe that also shines as leftovers.cookingenious.com/easy-potato-soup-recipe/”>Easy Potato Soup Recipe that also shines as leftovers.cookingenious.com/ultimate-vegetable-lasagna-recipe/”>Ultimate Vegetable Lasagna Recipe.cookingenious.com/hearty-chicken-alfredo-recipe/”>Hearty Chicken Alfredo Recipe.cookingenious.com/traditional-currywurst-sauce-recipe/”>Traditional Currywurst Sauce Recipe that also shines as leftovers.cookingenious.com/best-omelette-recipe/”>Best Omelette Recipe that also shines as leftovers.cookingenious.com/hearty-fried-noodles-recipe/”>Hearty Fried Noodles Recipe that also shines as leftovers.cookingenious.com/homemade-cevapcici-recipe/”>Homemade Cevapcici Recipe that also shines as leftovers, or a refreshing Creamy Melon Feta Salad Recipe .cookingcoocookingenious.com/homemade-meatloaf-recipe/”>Homemade Meatloaf Recipe that also shines as leftovers.cookingenious.com/best-omelette-recipe/”>Best Omelette Recipe that also shines as leftovers.cookingenious.com/hearty-fried-noodles-recipe/”>Hearty Fried Noodles Recipe that also shines as leftovers.cookingenious.com/homemade-cevapcici-recipe/”>Homemade Cevapcici Recipe that also shines as leftovers, or a refreshing Creamy Melon Feta Salad Recipe .cookingcookingenious.com/quick-mac-and-cheese-recipe/”>Quick Mac And Cheese Recipe that also shines as leftovers.cookingenious.com/best-omelette-recipe/”>Best Omelette Recipe that also shines as leftovers.cookingenious.com/hearty-fried-noodles-recipe/”>Hearty Fried Noodles Recipe that also shines as leftovers.cookingenious.com/homemade-cevapcici-recipe/”>Homemade Cevapcici Recipe that also shines as leftovers, or a refreshing Creamy Melon Feta Salad Recipe .cookingenious.com/hearty-goulash-soup-recipe/”>Hearty Goulash Soup Recipe that also shines as leftovers.cookingenious.com/homemade-cevapcici-recipe/”>Homemade Cevapcici Recipe that also shines as leftovers. Builtcookingenious.com/homemade-pasta-bake-recipe/”>Homemade Pasta Bake Recipe that also shines as leftovers.cookingenious.com/homemade-cevapcici-recipe/”>Homemade Cevapcici Recipe that also shines as leftovers, or a refreshing Creamy Melon Feta Salad Recipe.cookingenious.com/hearty-goulash-soup-recipe/”>Hearty Goulash Soup Recipe that also shines as leftovers.cookingenious.com/homemade-cevapcici-recipe/”>Homemade Cevapcici Recipe that also shines as leftovers.
- Built for Customisation: The basic method welcomes herb rubs, spice crusts, or even a garlic butter finish to match your personal taste.
Ingredients You’ll Need
- 1.8 kg beef roasting joint (topside or sirloin works beautifully)
- 3 tablespoons olive oil
- 2 teaspoons sea salt flakes
- 1 teaspoon freshly ground black pepper
- 4 garlic cloves, thinly sliced
- 4 sprigs fresh rosemary
- 4 sprigs fresh thyme
- 2 large onions, quartered
- 3 carrots, roughly chopped
- 2 celery sticks, roughly chopped
- 500 ml beef stock
- 2 tablespoons plain flour (for gravy)
- 1 tablespoon tomato purée
- 2 bay leaves
Tip: For the best crust, take the beef out of the fridge 45 minutes before cooking. A room-temperature joint roasts more evenly and develops a richer colour on the outside.
How to Make Classic Beef Roast Recipe
- Preheat and Prepare: Set your oven to 220°C (200°C fan). While it heats, pat the beef dry with kitchen paper — moisture is the enemy of a good sear. You want the surface to feel tacky, not wet.
- Season the Joint: Rub the olive oil all over the beef, then massaging in the salt and pepper. Using a small, sharp knife, make shallow incisions across the top and stud each slit with a slice of garlic. Press the rosemary and thyme leaves onto the fat cap so they stick. The smell of the herbs hitting the hot pan later is simply wonderful.
- Create the Vegetable Bed: Scatter the quartered onions, chopped carrots, celery, and bay leaves into a deep roasting tin. This aromatic base not only flavours the meat as it roasts but also forms the foundation of your gravy. The vegetables should sizzle slightly when they hit the hot tin.
- Sear the Beef: Heat a large frying pan over high heat until it’s smoking — you should see a faint wisp of smoke rising. Carefully lower the beef into the pan and leave it untouched for 3 minutes. You’ll hear a fierce sizzle, which is the sound of a good crust forming. Turn the joint with tongs and repeat on all sides until the entire surface is a deep, dark brown — almost mahogany in colour.
- Roast to Perfection: Place the seared beef directly on top of the vegetable bed in the roasting tin. Pour the beef stock around the meat — not over it, or you’ll wash away the crust. Roast for 20 minutes at 220°C, then reduce the temperature to 180°C (160°C fan). For medium-rare, cook for a further 15 minutes per 500g. Insert a meat thermometer into the thickest part: aim for 52°C for rare, 58°C for medium-rare, or 65°C for medium. The exterior will be crisp and dark, while the inside should feel springy when pressed gently.
- Rest the Joint: Transfer the beef to a warm platter or carving board, tent loosely with foil, and leave to rest for 20-25 minutes. This step is non-negotiable. As the meat rests, you’ll see juices pooling on the board — these are the flavours you want to keep inside the beef. The temperature will also rise by about 3-4°C during resting, so remove it from the oven slightly earlier than your target.
- Make the Gravy: While the beef rests, place the roasting tin directly on the hob over medium heat. The vegetables should be soft and caramelised, with browned bits stuck to the bottom — that’s pure flavour. Stir in the tomato purée and cook for 1 minute until it darkens. Sprinkle over the flour and whisk vigorously for 2 minutes until the mixture turns a light golden brown and smells nutty. Slowly pour in 300ml of water (or more stock if you have it), whisking constantly. Bring to a gentle simmer — you’ll see the gravy thicken and become glossy. Strain through a sieve into a warmed jug, pressing on the vegetables to extract every drop of flavour. Season with salt and pepper to taste.
- Carve and Serve: Remove the foil from the rested beef. Using a long, sharp carving knife, slice the meat against the grain into even pieces, about 1cm thick. The slices should reveal a beautiful rosy pink centre with a dark, crisp edge. Arrange the slices neatly on a warmed platter, spoon a little gravy over the top, and serve the rest alongside.
Tips From My Kitchen
- Bring the beef to room temperature: This is the single most important tip I can give. A cold joint straight from the fridge will cause the outside to overcook before the centre reaches the right temperature. By letting it sit out for 45 minutes, you ensure even cooking from edge to centre, giving you that perfect pink gradient.
- Use a meat thermometer religiously: Guessing the doneness by touch or time is risky, especially when you’re serving guests. A digital probe thermometer takes the anxiety out of roasting. Insert it horizontally into the thickest part of the joint, away from any bone. Trust the numbers, not the clock.
- Don’t skip the sear: The deep browning you achieve in the frying pan does more than add colour. The Maillard reaction — that complex chemical process that happens at high heat — creates hundreds of flavour compounds that make the crust taste intensely savoury and rich. It also builds the fond (the browned bits) that will later transform your gravy.
- Rest the beef for at least 20 minutes: I know it’s tempting to carve immediately, especially when everyone is hungry. But resting allows the muscle fibres to relax and reabsorb the juices that have been forced to the centre during cooking. If you carve too soon, those juices will flood the carving board instead of staying in the meat, leaving you with dry slices.
- Warm your serving plates and platter: This is a small restaurant trick that makes a huge difference. Cold plates will instantly chill your beautifully cooked beef. Pop your plates in the oven at the lowest setting for 5 minutes while the meat rests, or run them under hot water and dry them thoroughly. The first bite will stay warm from edge to edge.
- Season the beef well in advance: If you have time, salt the joint the night before and leave it uncovered in the fridge. This dry-brining method draws moisture out of the surface, then reabsorbs it with seasoning, resulting in a deeper flavour and an even crispier crust. Just remember to bring it to room temperature before roasting.
- Let the gravy sit before serving: After straining, let the gravy rest for a minute or two. Any impurities will settle at the bottom, and the surface will become silky and smooth. Gently reheat and pour carefully, leaving any sediment behind. Your guests will notice the difference in clarity and flavour.
Equipment You’ll Need
- Large frying pan or skillet
- Sharp knife and cutting board
- Mixing bowls
- Wooden spoon or spatula
- Roasting tin (deep enough to hold vegetables and stock)
- Digital meat thermometer
- Tongs
- Whisk
- Fine-mesh sieve
- Warmed serving platter
Delicious Variations to Try
- Spicy Version: Add 2 teaspoons of smoked paprika, 1 teaspoon of cayenne pepper, and a pinch of chilli flakes to the salt and pepper rub. The heat complements the richness of the beef beautifully, and the smoked paprika gives the crust a deep, almost barbecue-like aroma.
- Vegetarian/Vegan Option: Substitute the beef with a whole cauliflower or a large portobello mushroom cap. Roast the cauliflower at 200°C for 45 minutes after searing it in the same herb and garlic mixture. Use vegetable stock for the gravy and add a splash of balsamic vinegar for depth.
- Different Protein: This method works wonderfully with a bone-in lamb leg or a whole chicken. For lamb, add crushed coriander seeds and cumin to the rub, and roast to 60°C for medium. For chicken, reduce the initial high heat to 200°C and cook until the internal temperature reaches 74°C at the thigh.
What to Serve With Classic Beef Roast Recipe
- Fluffy roast potatoes, crisped in beef dripping
- Buttered seasonal greens, such as green beans or tenderstem broccoli
- Yorkshire puddings, golden and risen high
- A side of creamy horseradish sauce or mustard
- Our Brussels Sprouts Recipe Roasted Veggie — the caramelised edges pair perfectly with the beef
- A fresh Mediterranean Pasta Salad Recipe Cold for a lighter contrast
Frequently Asked Questions
Classic Beef Roast Recipe
Ingredients
Method
-
Preheat and Prepare: Set your oven to 220°C (200°C fan). While it heats, pat the beef dry with kitchen paper — moisture is the enemy of a good sear. You want the surface to feel tacky, not wet.
-
Season the Joint: Rub the olive oil all over the beef, then massaging in the salt and pepper. Using a small, sharp knife, make shallow incisions across the top and stud each slit with a slice of garlic. Press the rosemary and thyme leaves onto the fat cap so they stick. The smell of the herbs hitting the hot pan later is simply wonderful.
-
Create the Vegetable Bed: Scatter the quartered onions, chopped carrots, celery, and bay leaves into a deep roasting tin. This aromatic base not only flavours the meat as it roasts but also forms the foundation of your gravy. The vegetables should sizzle slightly when they hit the hot tin.
-
Sear the Beef: Heat a large frying pan over high heat until it’s smoking — you should see a faint wisp of smoke rising. Carefully lower the beef into the pan and leave it untouched for 3 minutes. You’ll hear a fierce sizzle, which is the sound of a good crust forming. Turn the joint with tongs and repeat on all sides until the entire surface is a deep, dark brown — almost mahogany in colour.
-
Roast to Perfection: Place the seared beef directly on top of the vegetable bed in the roasting tin. Pour the beef stock around the meat — not over it, or you’ll wash away the crust. Roast for 20 minutes at 220°C, then reduce the temperature to 180°C (160°C fan). For medium-rare, cook for a further 15 minutes per 500g. Insert a meat thermometer into the thickest part: aim for 52°C for rare, 58°C for medium-rare, or 65°C for medium. The exterior will be crisp and dark, while the inside should feel springy when pressed gently.
-
Rest the Joint: Transfer the beef to a warm platter or carving board, tent loosely with foil, and leave to rest for 20-25 minutes. This step is non-negotiable. As the meat rests, you’ll see juices pooling on the board — these are the flavours you want to keep inside the beef. The temperature will also rise by about 3-4°C during resting, so remove it from the oven slightly earlier than your target.
-
Make the Gravy: While the beef rests, place the roasting tin directly on the hob over medium heat. The vegetables should be soft and caramelised, with browned bits stuck to the bottom — that’s pure flavour. Stir in the tomato purée and cook for 1 minute until it darkens. Sprinkle over the flour and whisk vigorously for 2 minutes until the mixture turns a light golden brown and smells nutty. Slowly pour in 300ml of water (or more stock if you have it), whisking constantly. Bring to a gentle simmer — you’ll see the gravy thicken and become glossy. Strain through a sieve into a warmed jug, pressing on the vegetables to extract every drop of flavour. Season with salt and pepper to taste.
-
Carve and Serve: Remove the foil from the rested beef. Using a long, sharp carving knife, slice the meat against the grain into even pieces, about 1cm thick. The slices should reveal a beautiful rosy pink centre with a dark, crisp edge. Arrange the slices neatly on a warmed platter, spoon a little gravy over the top, and serve the rest alongside.
Notes
I hope this classic beef roast recipe becomes as treasured in your kitchen as it is in mine. There’s something genuinely special about watching your guests’ faces light up when you bring that beautifully crusted, perfectly pink joint to the table. If you give it a try, I’d love to hear how it turned out — drop a comment below and let me know your favourite way to serve it. Happy roasting!