No Bake Lemon Tart Filling
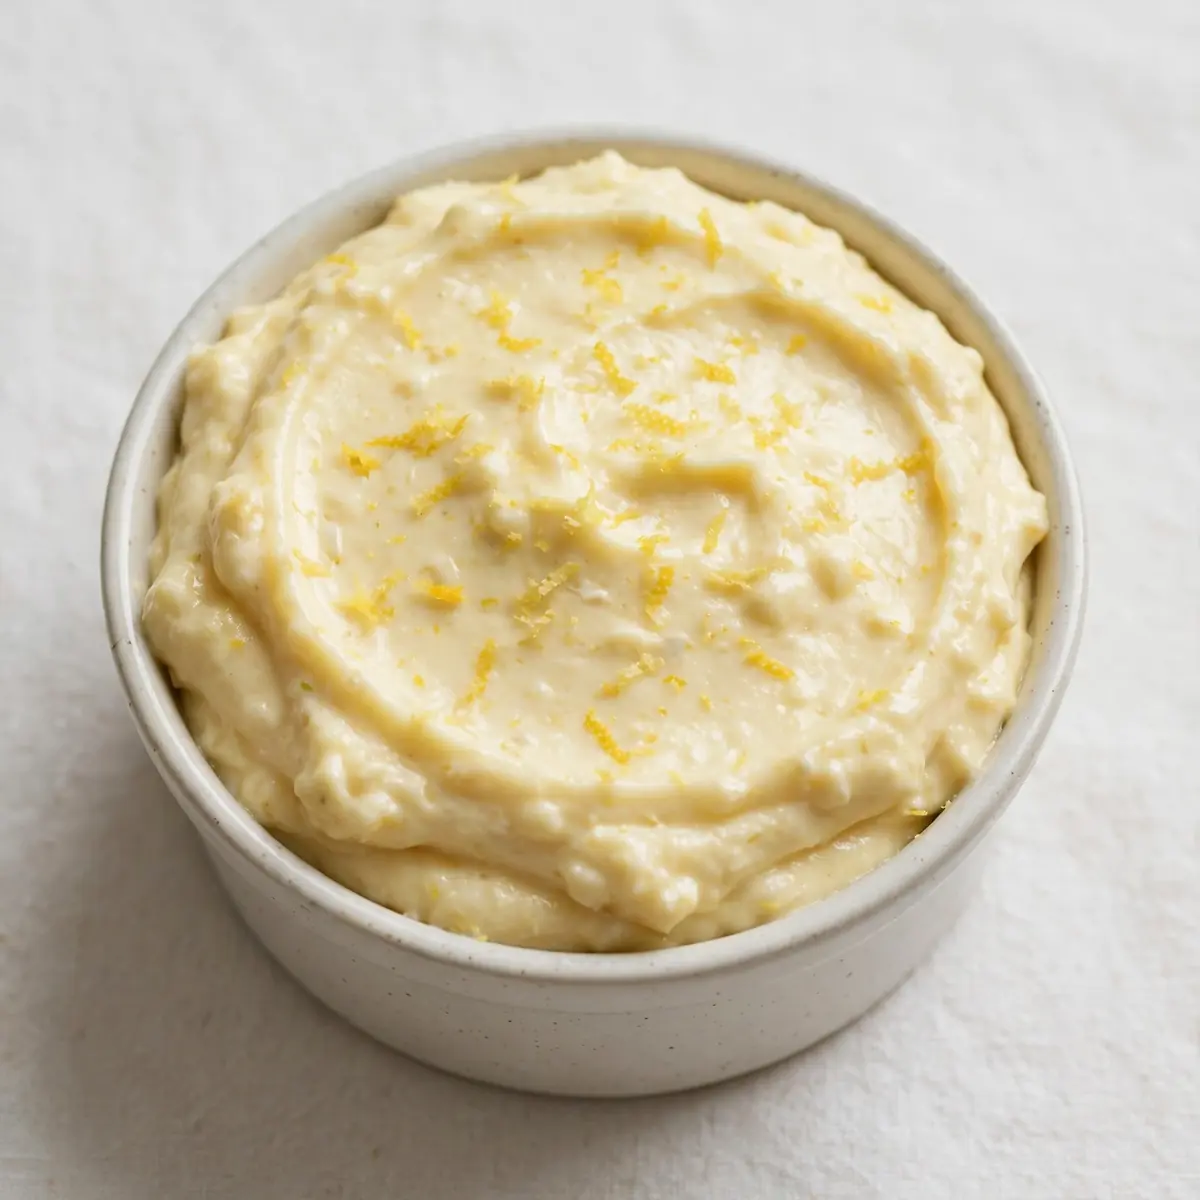
There’s something truly magical about a dessert that delivers a bright, tangy, and utterly creamy finish without ever needing to switch on the oven. This no bake lemon tart filling is my secret weapon for warm afternoons and busy weekends, bringing a slice of sunshine to the table with minimal fuss.
Recipe Overview
- Prep Time: 20 minutes
- Chill Time: 4 hours (minimum)
- Total Time: 4 hours 20 minutes
- Servings: 10-12 slices
- Difficulty: Easy
Why You’ll Love This No Bake Lemon Tart Filling
- It delivers a wonderfully smooth, silky texture that sets perfectly in the fridge, no baking required.
- The filling strikes a beautiful balance between sharp lemon and gentle sweetness, never cloying.
- It holds its shape beautifully when sliced, making it ideal for presenting at gatherings or family meals.
- You can prepare it a day ahead, which is a lifesaver when you’re planning a menu.
- My kids absolutely devour this every time I make it, and I love that it feels like a special treat without hours of work, much like how a simple drink becomes special with Homemade.Peach Ice Tea.Syrup.
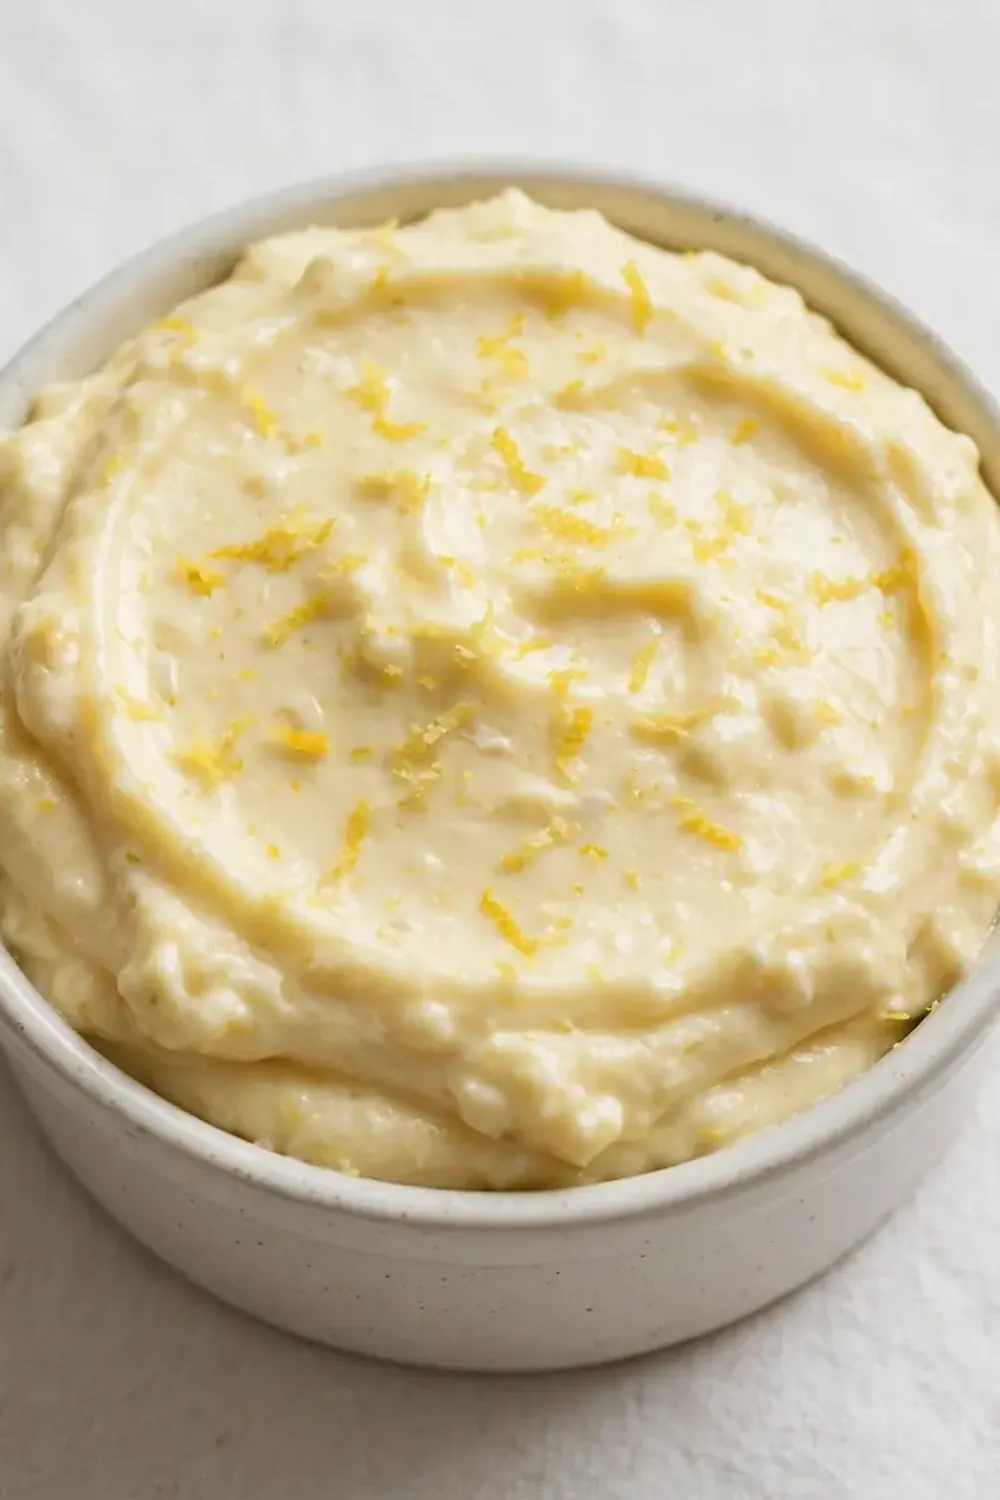
Ingredients You’ll Need
- 300g digestive biscuits (or any plain sweet biscuit)
- 125g unsalted butter, melted
- 500g full-fat cream cheese, at room temperature
- 400g sweetened condensed milk (one standard tin)
- 120ml freshly squeezed lemon juice (about 3-4 large lemons)
- 2 teaspoons finely grated lemon zest
- 1 teaspoon vanilla extract
- Pinch of salt
- 300ml double cream, cold
- 2 tablespoons icing sugar, sifted
Tip: Using full-fat cream cheese is essential here; low-fat versions contain more water and can prevent the filling from setting firmly, leaving you with a runny texture.
Equipment You’ll Need
- 23cm (9-inch) loose-bottomed tart tin or springform pan
- Rolling pin or food processor for crushing biscuits
- Mixing bowls (large and medium)
- Electric hand mixer or stand mixer
- Fine grater or zester
- Citrus juicer
- Spatula for folding
- Plastic wrap or cling film
How to Make No Bake Lemon Tart Filling
- Prepare the biscuit base. Place the digestive biscuits in a sealed freezer bag and crush them with a rolling pin until you have fine crumbs with no large chunks. Alternatively, pulse them in a food processor until they resemble sand. The mixture should feel uniformly gritty when rubbed between your fingers. Pour the crumbs into a large bowl and stir in the melted butter until every grain is moistened and the mixture clumps together when pressed.
- Press the crust into the tin. Tip the buttery crumbs into your tart tin and press them firmly and evenly across the base and up the sides using the flat bottom of a glass or a measuring cup. The crust should feel compact and solid against your fingers, not crumbly or loose. Place the tin in the refrigerator to set for at least 30 minutes while you prepare the filling.
- Beat the cream cheese base. In a large mixing bowl, beat the softened cream cheese with an electric mixer on medium speed until it is completely smooth, with no lumps visible. The texture should look like thick, glossy spread, pale and creamy. Add the sweetened condensed milk and continue beating until the mixture is homogenous and slightly thickened, about 2 minutes.
- Add the lemon and aromatics. Pour in the freshly squeezed lemon juice, add the lemon zest, vanilla extract, and a pinch of salt. Mix on low speed until just combined. You will notice the mixture thickening almost immediately as the acid from the lemon juice reacts with the dairy. Stop as soon as it looks smooth and uniform; overmixing can cause it to separate.
- Whip the cream separately. In a separate, chilled bowl, pour the cold double cream and add the sifted icing sugar. Whisk with clean beaters on medium-high speed until soft peaks form. When you lift the beaters, the cream should hold a gentle peak that droops slightly at the tip, with a luscious, airy texture. Be careful not to over-whip into stiff peaks or butter.
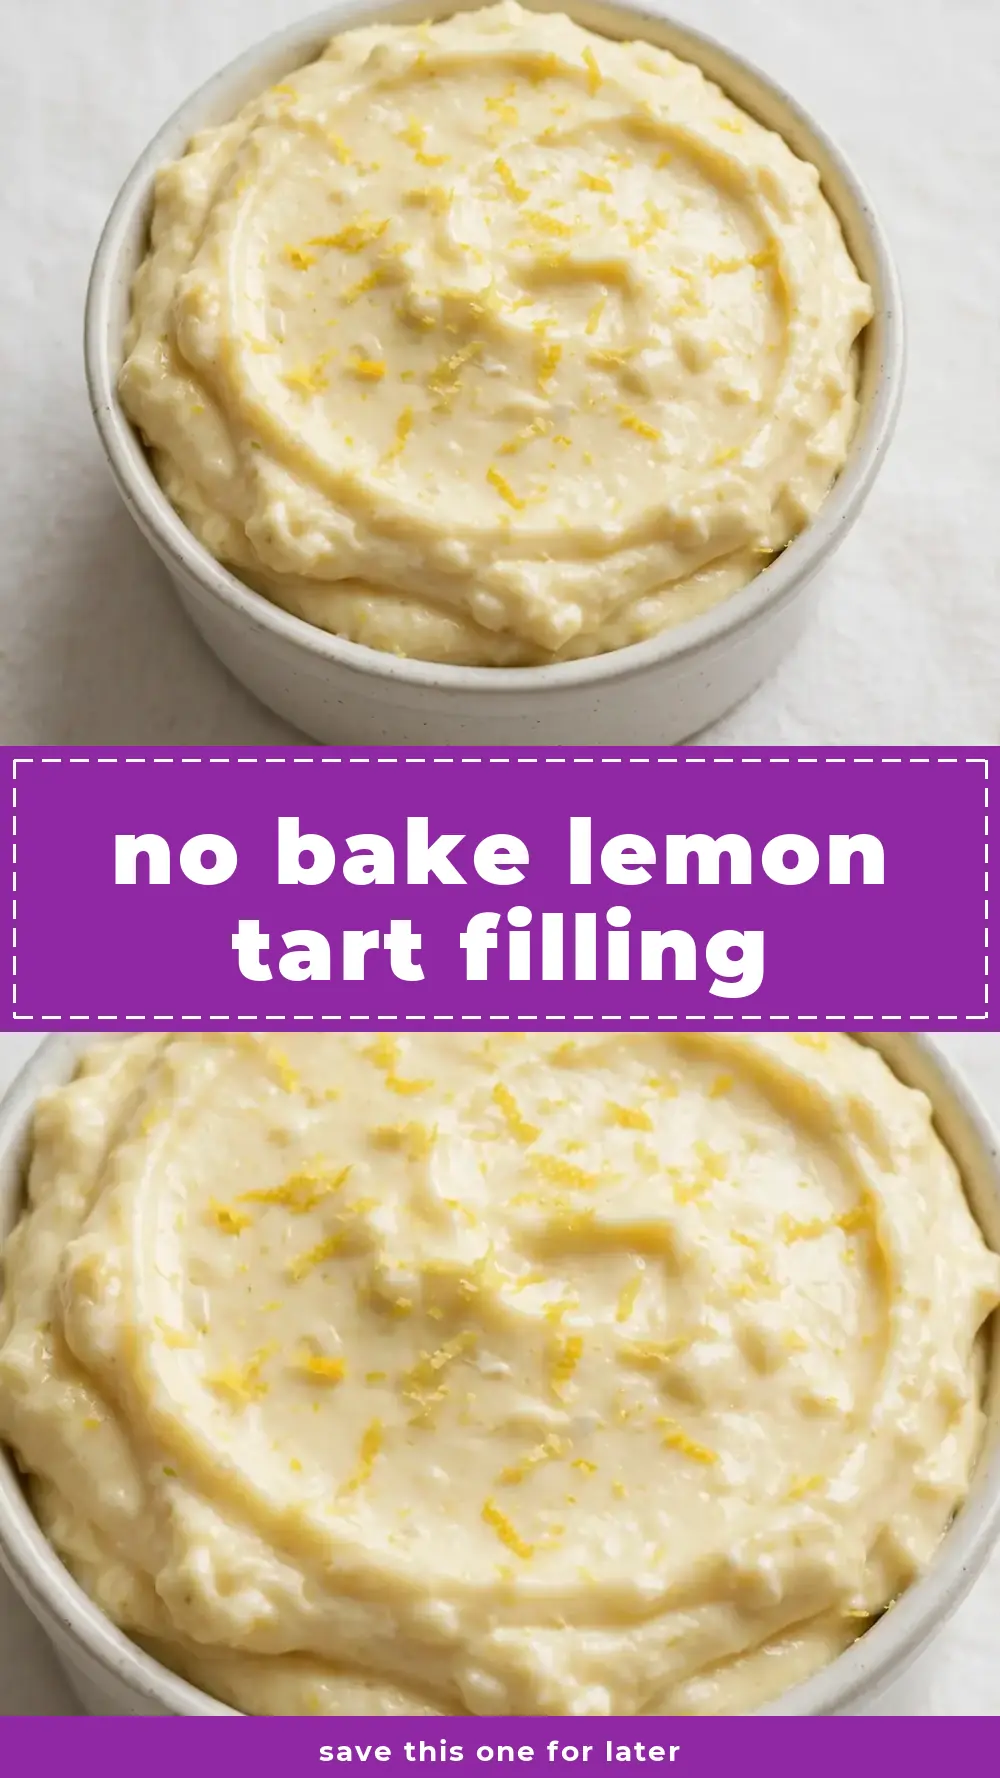
- Fold the cream into the lemon mixture. Take a generous spoonful of the whipped cream and stir it into the lemon-cream cheese mixture to loosen it. Then, gently fold the remaining cream into the bowl using a spatula, cutting through the centre and bringing the mixture up from the bottom. Continue until no white streaks remain. The final filling should be pale yellow, incredibly airy, and smell intensely of fresh citrus.
- Fill the crust and chill. Remove the set biscuit base from the fridge. Spoon the lemon filling into the crust and spread it evenly with the spatula, creating a smooth surface. The filling should be glossy and hold its shape without running. Cover the tart loosely with plastic wrap and refrigerate for a minimum of 4 hours, or ideally overnight. When fully set, the filling will feel firm to the touch and slice cleanly.
Tips From My Kitchen
- Use room temperature cream cheese. Cold cream cheese will result in a lumpy filling that never becomes silky, no matter how long you beat it. Let it sit on the counter for at least 30 minutes before you start. You’ll know it’s ready when you can press a finger into it and leave an indent without resistance.
- Always use freshly squeezed lemon juice. Bottled lemon juice contains preservatives that can affect the setting power of the filling and leave a flat, metallic taste. Fresh juice, with its natural pectin, helps the tart set firmly and delivers that bright, zingy flavour we are after.
- Do not skip the chilling time. This filling relies on the reaction between the lemon juice and the condensed milk to thicken, but it needs a full four hours in the fridge to reach a sliceable consistency. If you cut it too soon, you’ll end up with a messy puddle on your plate.
- Press the crust firmly and evenly. A loose, crumbly base will fall apart when you try to serve the tart. Take your time pressing the crumbs into the tin, ensuring they are compacted especially well into the corners and up the sides. The crust should feel solid and hold its shape when you press it with your thumb.
- Fold, don’t stir, the cream. Stirring the whipped cream into the mixture will knock out all the air you’ve worked to incorporate, resulting in a dense, heavy filling. Use a gentle folding motion with a spatula, rotating the bowl as you go, until the mixture is just combined. The final texture should be light and billowy.
Delicious Variations to Try
- Berry Swirl: After pouring the filling into the crust, drop small spoonfuls of homemade raspberry or strawberry coulis onto the surface. Use a skewer to gently swirl it through the filling for a beautiful marbled effect and a burst of fruity sweetness.
- Lime and Coconut: Replace the lemon juice and zest with an equal amount of freshly squeezed lime juice and zest. Add 50g of desiccated coconut to the biscuit base and sprinkle a little toasted coconut on top of the finished tart for a tropical twist.
- Mango Passion: Reduce the lemon juice to 80ml and add 60ml of passion fruit pulp (seeds and all) along with 100g of blitzed, ripe mango puree. This creates a wonderfully aromatic, golden filling that pairs brilliantly with a simple ginger nut biscuit base.
What to Serve With No Bake Lemon Tart Filling
- A generous dollop of softly whipped cream and a handful of fresh blueberries or raspberries.
- A light dusting of icing sugar and a few thin slices of candied lemon peel for elegance.
- For a more substantial dessert, serve it alongside a scoop of good-quality vanilla ice cream to contrast the tangy filling.
Still hungry for ideas? You might also love No Bake Vegan Chocolate Avocado Tart, No Bake Chocolate Caramel Cheesecake from our sister kitchens.
Frequently Asked Questions
no bake lemon tart filling
Ingredients
Method
-
Prepare the biscuit base. Place the digestive biscuits in a sealed freezer bag and crush them with a rolling pin until you have fine crumbs with no large chunks. Alternatively, pulse them in a food processor until they resemble sand. The mixture should feel uniformly gritty when rubbed between your fingers. Pour the crumbs into a large bowl and stir in the melted butter until every grain is moistened and the mixture clumps together when pressed.
-
Press the crust into the tin. Tip the buttery crumbs into your tart tin and press them firmly and evenly across the base and up the sides using the flat bottom of a glass or a measuring cup. The crust should feel compact and solid against your fingers, not crumbly or loose. Place the tin in the refrigerator to set for at least 30 minutes while you prepare the filling.
-
Beat the cream cheese base. In a large mixing bowl, beat the softened cream cheese with an electric mixer on medium speed until it is completely smooth, with no lumps visible. The texture should look like thick, glossy spread, pale and creamy. Add the sweetened condensed milk and continue beating until the mixture is homogenous and slightly thickened, about 2 minutes.
-
Add the lemon and aromatics. Pour in the freshly squeezed lemon juice, add the lemon zest, vanilla extract, and a pinch of salt. Mix on low speed until just combined. You will notice the mixture thickening almost immediately as the acid from the lemon juice reacts with the dairy. Stop as soon as it looks smooth and uniform; overmixing can cause it to separate.
-
Whip the cream separately. In a separate, chilled bowl, pour the cold double cream and add the sifted icing sugar. Whisk with clean beaters on medium-high speed until soft peaks form. When you lift the beaters, the cream should hold a gentle peak that droops slightly at the tip, with a luscious, airy texture. Be careful not to over-whip into stiff peaks or butter.
-
Fold the cream into the lemon mixture. Take a generous spoonful of the whipped cream and stir it into the lemon-cream cheese mixture to loosen it. Then, gently fold the remaining cream into the bowl using a spatula, cutting through the centre and bringing the mixture up from the bottom. Continue until no white streaks remain. The final filling should be pale yellow, incredibly airy, and smell intensely of fresh citrus.
-
Fill the crust and chill. Remove the set biscuit base from the fridge. Spoon the lemon filling into the crust and spread it evenly with the spatula, creating a smooth surface. The filling should be glossy and hold its shape without running. Cover the tart loosely with plastic wrap and refrigerate for a minimum of 4 hours, or ideally overnight. When fully set, the filling will feel firm to the touch and slice cleanly.
Notes
I hope this no bake lemon tart filling becomes a staple in your kitchen just as it has in mine. Friends always ask me for this recipe after trying it at dinner parties, and I love seeing how a simple combination of ingredients can create something so genuinely lovely. If you give it a go, I’d love to hear how you got on — drop a comment below and let me know how it turned out for you.