Mary Berry No Bake Lemon Tart
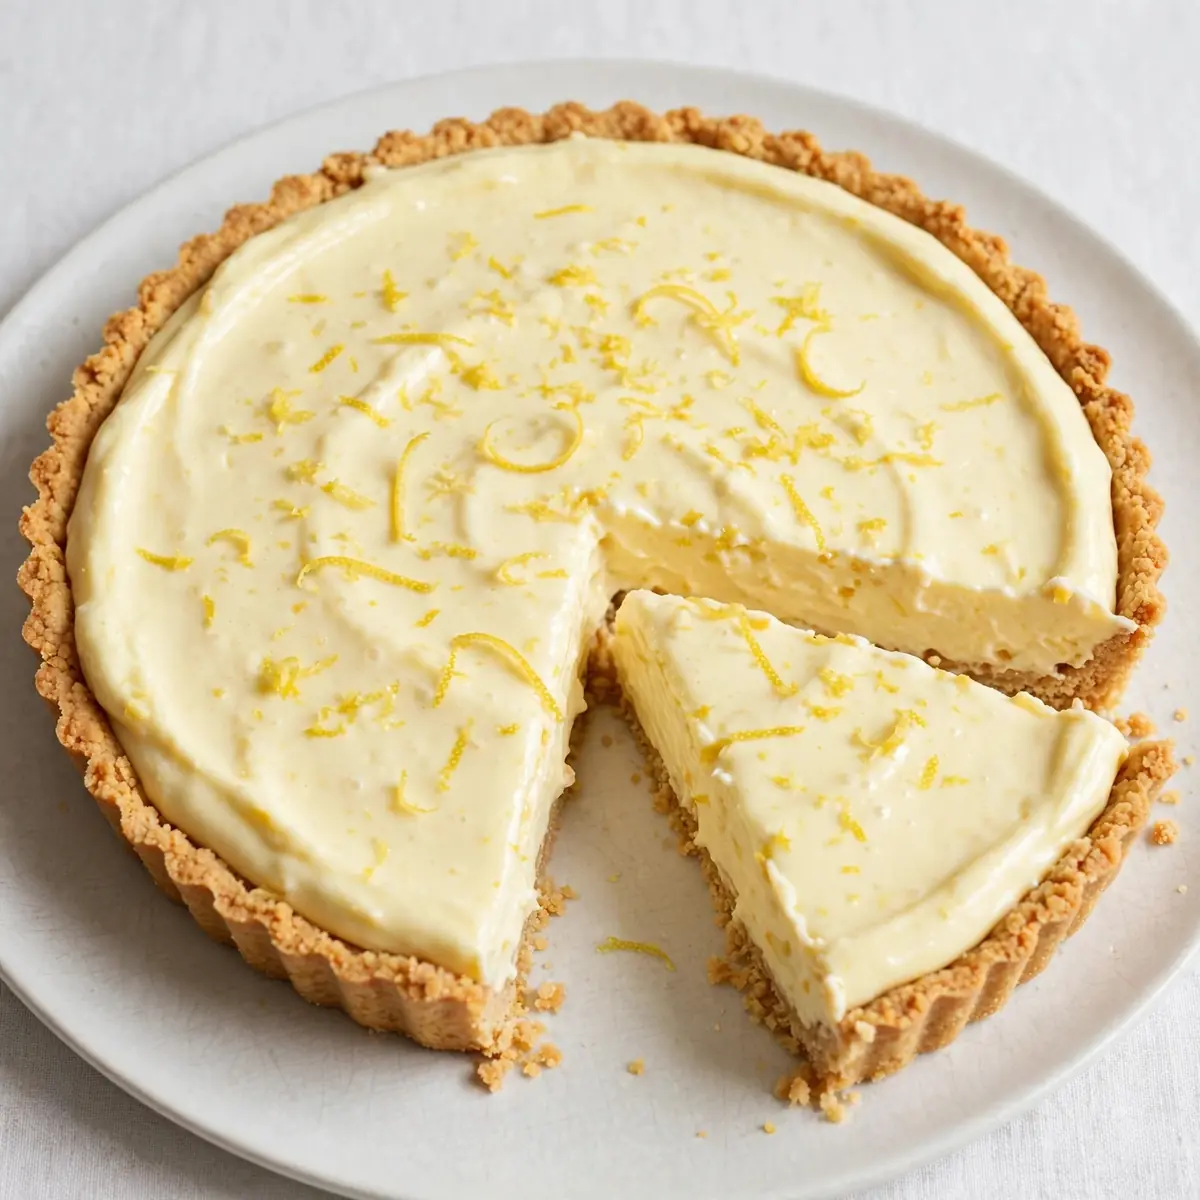
When life gets busy, there’s something genuinely comforting about a dessert that requires no oven time and relies on simple, store-cupboard ingredients. This Mary Berry no bake lemon tart has become my absolute salvation for last-minute entertaining, delivering that signature sharp, creamy filling and buttery biscuit base without any of the fuss of blind baking.
Recipe Overview
- Prep Time: 25 minutes
- Chill Time: 4 hours (or overnight)
- Total Time: 4 hours 25 minutes
- Servings: 8 generous slices
- Difficulty: Easy
Why You’ll Love This Mary Berry No Bake Lemon Tart
- No oven required: Perfect for warm days when you don’t want to heat up the kitchen, or when your oven is otherwise occupied.
- That signature Mary Berry tang: The filling strikes a beautiful balance between puckering lemon and rich sweetness, just as you’d expect from the queen of baking herself.
- Set and forget: Once it’s in the fridge, the tart does all the work for you. No checking, no worrying about cracks.
- Make-ahead magic: This tart actually improves overnight, making it the ideal dessert for dinner parties or holiday gatherings.
- Simple, reliable ingredients: Everything is readily available from your local supermarket, with no specialist equipment needed.
Ingredients You’ll Need
- 250g digestive biscuits
- 100g unsalted butter, melted
- 2 tablespoons caster sugar (for the base)
- 400ml double cream
- 400g sweetened condensed milk
- 6 large lemons, zest and juice (you’ll need about 200ml lemon juice)
- 1 teaspoon vanilla extract
- Pinch of fine sea salt
- Optional: 100ml double cream extra, for whipping to decorate
- Optional: Thin lemon slices and fresh mint leaves for garnish
Tip: For the most vibrant flavour, use unwaxed lemons and make sure they are at room temperature before juicing — you’ll get far more juice from them, and the zest will be beautifully fragrant without any bitter notes.
How to Make Mary Berry No Bake Lemon Tart
- Prepare the biscuit base: Place the digestive biscuits in a sturdy food bag and crush them using a rolling pin until they resemble fine breadcrumbs. You want a uniform texture with no large chunks. Alternatively, pulse them in a food processor for a few seconds. Tip the crumbs into a medium bowl and stir in the 2 tablespoons of caster sugar. Pour over the melted butter and stir thoroughly with a fork until every crumb is coated and the mixture clumps together when pressed between your fingers.
- Line and press the base: Lightly grease a 23cm loose-bottomed fluted tart tin (or a similar size). Tip the buttery crumb mixture into the tin. Using the flat bottom of a glass or a measuring cup, press the crumbs firmly and evenly across the base and up the sides. Pay special attention to the edges where the base meets the side — you want a neat, compact crust. The base should feel solid, not loose. Place the tin in the fridge for 30 minutes to firm up.
- Zest and juice the lemons: While the base chills, finely grate the zest of 4 lemons into a large mixing bowl, being careful to avoid the white pith which is bitter. Juice all 6 lemons and strain the juice through a fine sieve to catch any pips. You should have roughly 200ml of lemon juice. Set aside.
- Whip the cream to soft peaks: Pour the 400ml of double cream into a separate large bowl. Using an electric hand whisk or a stand mixer, whip the cream until it just holds soft peaks — when you lift the whisk, the cream should gently flop over rather than standing upright. Be careful not to overwhip; you want it light and billowy, not stiff and grainy.
- Combine the filling ingredients: Pour the sweetened condensed milk into the bowl with the lemon zest. Add the vanilla extract and a pinch of salt. Whisk together until smooth and well combined. The mixture will thicken slightly as the acid from the lemon begins to react with the condensed milk. Now, whisk in the strained lemon juice in a steady stream. The mixture will immediately thicken further and become glossy — this is the lemon curdling the condensed milk, which is exactly what we want for a set tart.
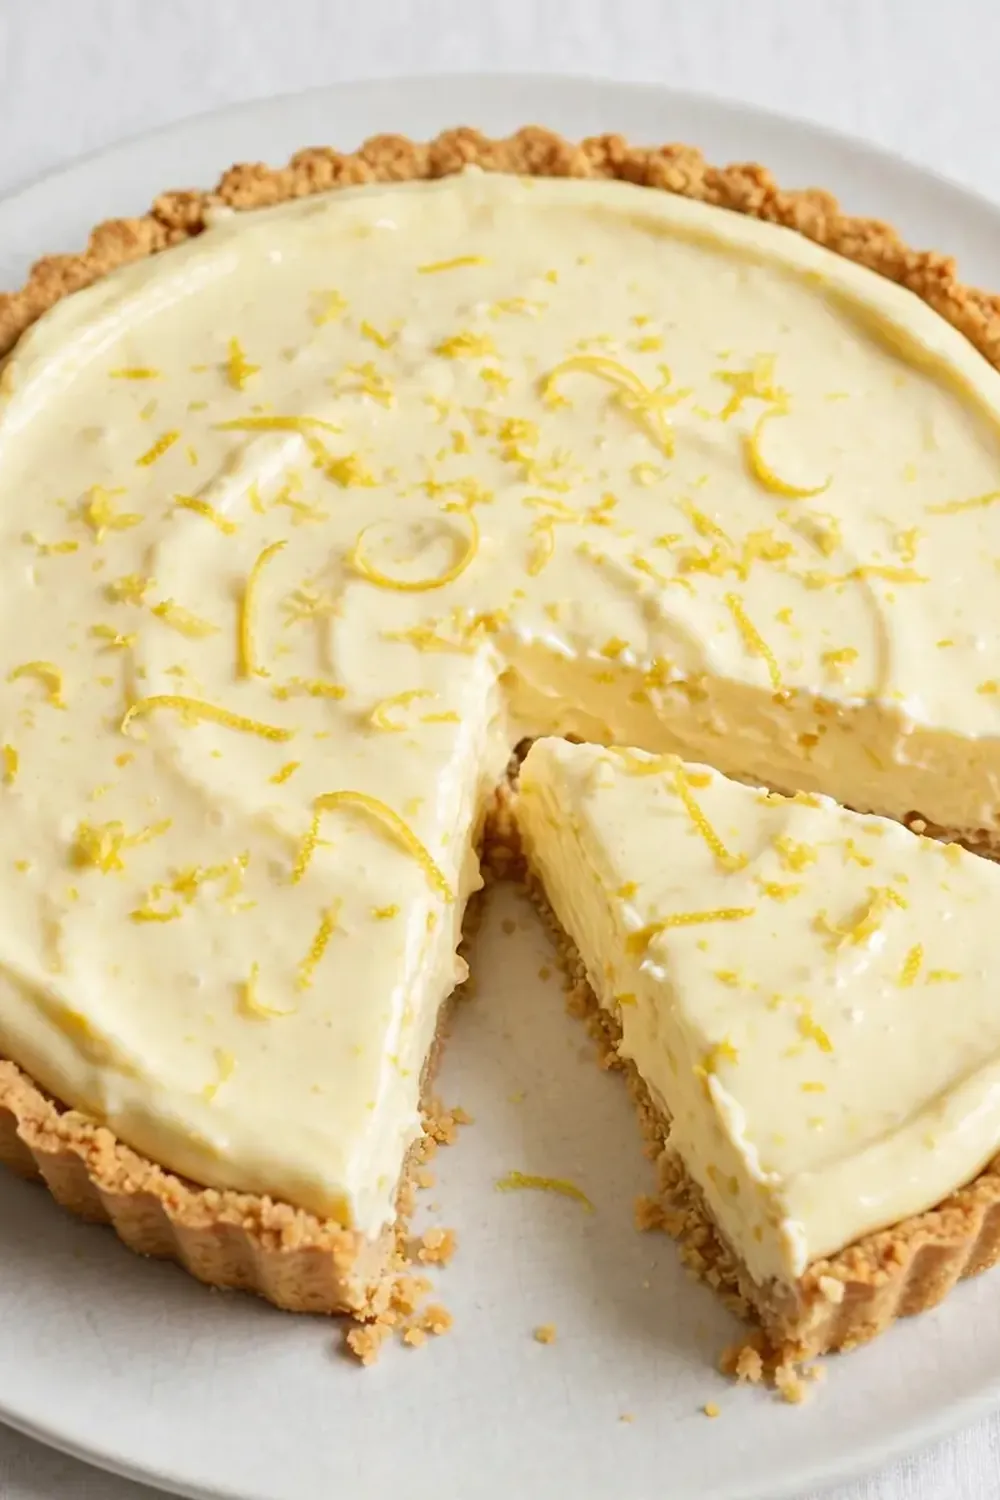
- Fold in the whipped cream: Add a third of the whipped cream to the lemon mixture and fold gently with a spatula to lighten it. Once incorporated, add the remaining cream and fold until no white streaks remain. The filling should be pale yellow, thick, and silky looking. It will smell intensely of fresh lemon.
- Assemble and chill: Retrieve the chilled biscuit base from the fridge. Spoon the lemon filling into the base and gently spread it into an even layer with a palette knife or the back of a spoon. Give the tin a gentle tap on the work surface to release any air bubbles. Cover the tart loosely with cling film (make sure it doesn’t touch the surface of the filling) and refrigerate for at least 4 hours, but preferably overnight. The tart is ready when the filling is firm to the touch and holds its shape when you gently nudge the tin.
- Decorate and serve: Once fully set, carefully remove the tart from the tin. If you like, whip the extra 100ml of double cream to soft peaks and pipe or spoon it around the edge. Decorate with thin lemon slices and a few mint leaves. Slice using a sharp knife dipped in hot water and wiped dry between cuts for clean, neat portions.
Tips From My Kitchen
- Chill your bowl and whisk for the cream: Cream whips much better when everything is cold. Pop your bowl and whisk attachments in the fridge for 15 minutes before you start. This small step prevents the cream from splitting and helps you achieve those perfect soft peaks with far less effort.
- Don’t skip the zest: The lemon zest carries the essential oils that give this tart its vibrant, fresh aroma. Without it, the filling tastes flat and one-dimensional. I used to struggle with this dish until I discovered this technique — finely grating the zest before juicing ensures you capture all that fragrant oil before it gets lost.
- Press the biscuit base with a glass: Using the flat bottom of a glass or a measuring cup gives you a much more even, compact base than using your fingers. It also helps you push the crumbs neatly up the sides of the tin, creating a well-defined edge that holds the filling beautifully.
- Strain the lemon juice: Even if you think you’ve removed all the pips, always strain the juice through a fine sieve. A single pip can release a bitter taste into the filling, and nobody wants a crunchy surprise in a smooth lemon tart.
- Patience is key for setting: This is my go-to recipe when I need something quick but impressive, but the chilling time is non-negotiable. Four hours is the absolute minimum — the filling needs that time to set properly so you get clean slices. Overnight is even better, as the flavours meld and deepen beautifully.
Equipment You’ll Need
- 23cm loose-bottomed fluted tart tin (or a 9-inch pie dish)
- Large mixing bowls
- Electric hand whisk or stand mixer
- Fine sieve
- Microplane or fine grater for zest
- Citrus juicer (optional, but helpful)
- Rolling pin or food processor for biscuits
- Cling film
- Sharp knife for slicing
Delicious Variations to Try
- Lime and Ginger Tart: Swap the lemons for 6 large limes (using both zest and juice) and add 1 teaspoon of finely grated fresh ginger to the biscuit base. The ginger adds a warm, aromatic kick that pairs beautifully with the sharp lime.
- Vegan Option: Use a plant-based digestive biscuit (check the label) and substitute the butter with coconut oil. For the filling, replace the double cream with full-fat coconut cream (chilled and whipped) and use a good quality coconut or oat-based condensed milk. The texture will be slightly different but still luscious and set.
- Berry Swirl Lemon Tart: Before the tart sets, swirl in 4 tablespoons of homemade raspberry coulis (simply blitz and strain 150g raspberries with 1 tablespoon icing sugar). Use a skewer to create a marbled effect through the lemon filling for a stunning visual finish.
What to Serve With Mary Berry No Bake Lemon Tart
- A dollop of lightly whipped double cream or clotted cream
- A handful of fresh raspberries or blueberries for a pop of colour and acidity
- A dusting of icing sugar just before serving
- For a more substantial dessert, serve alongside a scoop of good quality vanilla ice cream
- A pot of strong Earl Grey tea or an Instant Coffee Iced Coffee Recipe Brew makes for a lovely contrast to the tart lemon
Still hungry for ideas? You might also love No Bake Chocolate Avocado Mousse Tart, No Bake Lemon Dazzling Blueberry Cream Cake Recipe from our sister kitchens.
Frequently Asked Questions
mary berry no bake lemon tart
Ingredients
Method
-
Prepare the biscuit base: Place the digestive biscuits in a sturdy food bag and crush them using a rolling pin until they resemble fine breadcrumbs. You want a uniform texture with no large chunks. Alternatively, pulse them in a food processor for a few seconds. Tip the crumbs into a medium bowl and stir in the 2 tablespoons of caster sugar. Pour over the melted butter and stir thoroughly with a fork until every crumb is coated and the mixture clumps together when pressed between your fingers.
-
Line and press the base: Lightly grease a 23cm loose-bottomed fluted tart tin (or a similar size). Tip the buttery crumb mixture into the tin. Using the flat bottom of a glass or a measuring cup, press the crumbs firmly and evenly across the base and up the sides. Pay special attention to the edges where the base meets the side — you want a neat, compact crust. The base should feel solid, not loose. Place the tin in the fridge for 30 minutes to firm up.
-
Zest and juice the lemons: While the base chills, finely grate the zest of 4 lemons into a large mixing bowl, being careful to avoid the white pith which is bitter. Juice all 6 lemons and strain the juice through a fine sieve to catch any pips. You should have roughly 200ml of lemon juice. Set aside.
-
Whip the cream to soft peaks: Pour the 400ml of double cream into a separate large bowl. Using an electric hand whisk or a stand mixer, whip the cream until it just holds soft peaks — when you lift the whisk, the cream should gently flop over rather than standing upright. Be careful not to overwhip; you want it light and billowy, not stiff and grainy.
-
Combine the filling ingredients: Pour the sweetened condensed milk into the bowl with the lemon zest. Add the vanilla extract and a pinch of salt. Whisk together until smooth and well combined. The mixture will thicken slightly as the acid from the lemon begins to react with the condensed milk. Now, whisk in the strained lemon juice in a steady stream. The mixture will immediately thicken further and become glossy — this is the lemon curdling the condensed milk, which is exactly what we want for a set tart.
-
Fold in the whipped cream: Add a third of the whipped cream to the lemon mixture and fold gently with a spatula to lighten it. Once incorporated, add the remaining cream and fold until no white streaks remain. The filling should be pale yellow, thick, and silky looking. It will smell intensely of fresh lemon.
-
Assemble and chill: Retrieve the chilled biscuit base from the fridge. Spoon the lemon filling into the base and gently spread it into an even layer with a palette knife or the back of a spoon. Give the tin a gentle tap on the work surface to release any air bubbles. Cover the tart loosely with cling film (make sure it doesn’t touch the surface of the filling) and refrigerate for at least 4 hours, but preferably overnight. The tart is ready when the filling is firm to the touch and holds its shape when you gently nudge the tin.
-
Decorate and serve: Once fully set, carefully remove the tart from the tin. If you like, whip the extra 100ml of double cream to soft peaks and pipe or spoon it around the edge. Decorate with thin lemon slices and a few mint leaves. Slice using a sharp knife dipped in hot water and wiped dry between cuts for clean, neat portions.
Notes
I do hope you give this Mary Berry no bake lemon tart a try — it’s one of those recipes that feels special enough for a celebration yet completely manageable on a Wednesday evening. If you make it, I’d love to hear how you get on. Perhaps you’d also enjoy our Mediterranean Grilled Chicken Recipe or a simple Ground Beef And Rice Recipe Skillet for a complete meal. Drop a comment below and let me know your favourite lemon dessert — I’m always looking for new inspiration!