Best Aioli Recipe
I still remember the first time I served my own aioli at a dinner party, watching a friend dip a blanched asparagus spear into the bowl and then pause mid-conversation. “What is in this?” she demanded, pointing her fork at me. That was the moment I knew I had cracked the code on something special. This isn’t just another condiment; it is a transformative element that turns a simple plate of vegetables, grilled chicken, or crispy potatoes into a restaurant-worthy course.
Recipe Overview
- Prep Time: 15 minutes
- Cook Time: 0 minutes (no cooking required)
- Total Time: 15 minutes
- Servings: Makes roughly 250ml (enough for 6-8 people as a dip)
- Difficulty: Medium (requires patience for the emulsion)
Why You’ll Love This Best Aioli Recipe
- Restaurant-quality presentation: A dollop of this glossy, golden sauce on a slate board or white plate instantly elevates the visual appeal of any dish.
- Incredibly versatile: It works as a dip for crudités, a spread for sandwiches, or a luxurious sauce for grilled meats and fish.
- Deep, authentic flavour: Using fresh garlic and good quality oil creates a rich, pungent, and creamy result that shop-bought versions simply cannot replicate.
- Impressive yet simple: The technique looks complicated, but with a few key tips, you can achieve a perfect, stable emulsion every time.
- Customisable base: Once you master the basic method, you can infuse it with herbs, spices, or citrus to match any menu.
Ingredients You’ll Need
- 2 large free-range egg yolks (at room temperature)
- 1 teaspoon Dijon mustard
- 2 tablespoons fresh lemon juice (from about 1 lemon)
- 1 tablespoon white wine vinegar
- 2-3 cloves of garlic, finely grated or crushed to a paste
- 250ml extra virgin olive oil (use a mild, fruity one, not a peppery finishing oil)
- 75ml neutral oil (like sunflower or light rapeseed)
- Flaky sea salt, to taste
- Freshly ground white pepper, to taste
- Optional: 1 teaspoon of water (to adjust consistency)
Tip: Ensure your eggs are at room temperature. Cold eggs are far more likely to cause your emulsion to split. I usually take my eggs out of the fridge 30 minutes before I start.
How to Make Best Aioli Recipe
- Prepare your base: In a medium mixing bowl, whisk together the egg yolks, Dijon mustard, lemon juice, white wine vinegar, and the grated garlic until the mixture is pale, slightly frothy, and has thickened noticeably. You should see the whisk leaving light trails on the surface. This initial step gives the emulsion a strong foundation.
- Begin the slow drizzle: Combine the olive oil and neutral oil in a jug with a pouring spout. While whisking constantly and vigorously with your other hand, begin adding the oil drop by drop. You will hear the whisk making a slapping sound against the bowl. After about a minute, the mixture will start to look thicker and creamier, and the sound will become a duller, heavier thud.
- Increase the flow: Once you have added about a quarter of the oil and the mixture is thick and glossy, you can increase the drizzle to a very thin, steady stream. Keep whisking without stopping. The colour will shift from pale yellow to a rich, opaque golden hue, and the texture will become luscious and spoonable.
- Watch for the wobble: As you add the remaining oil, the aioli will become very stiff. When you lift the whisk, the aioli should hold a firm peak and barely wobble. At this point, stop adding oil. If it looks greasy or shiny on the surface, you have added the oil too quickly. Whisk in a teaspoon of cold water immediately to bring it back together.
- Season and finish: Once all the oil is incorporated, season generously with flaky sea salt and a good pinch of white pepper. Taste it. The garlic should be present but not harsh. If it tastes sharp, whisk in another teaspoon of lemon juice. The final texture should be thick enough to dollop, but soft enough to spread.
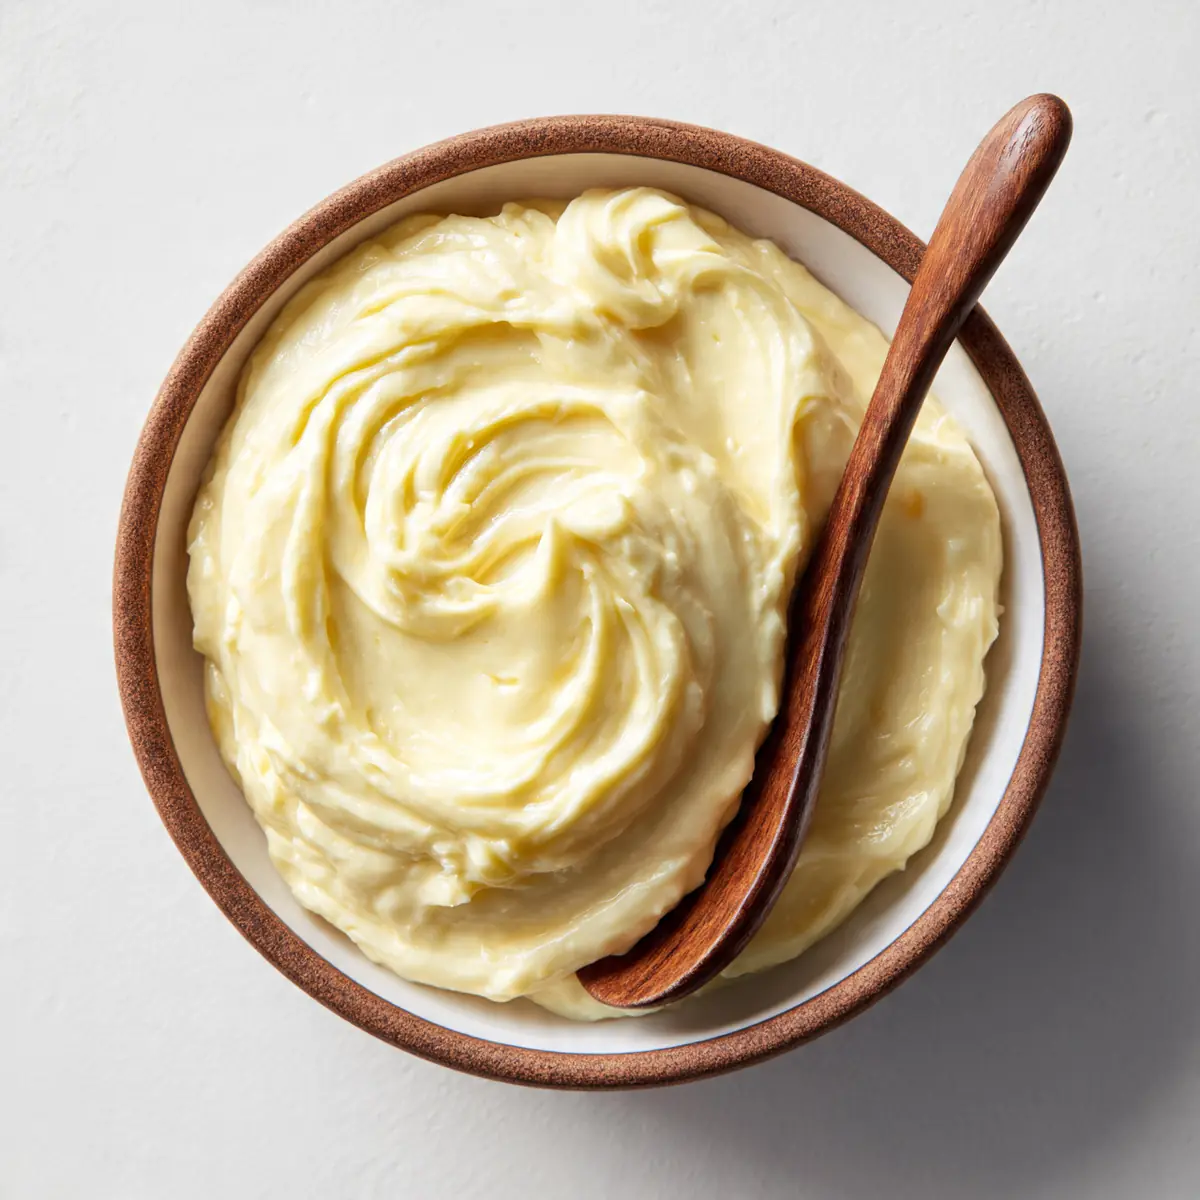
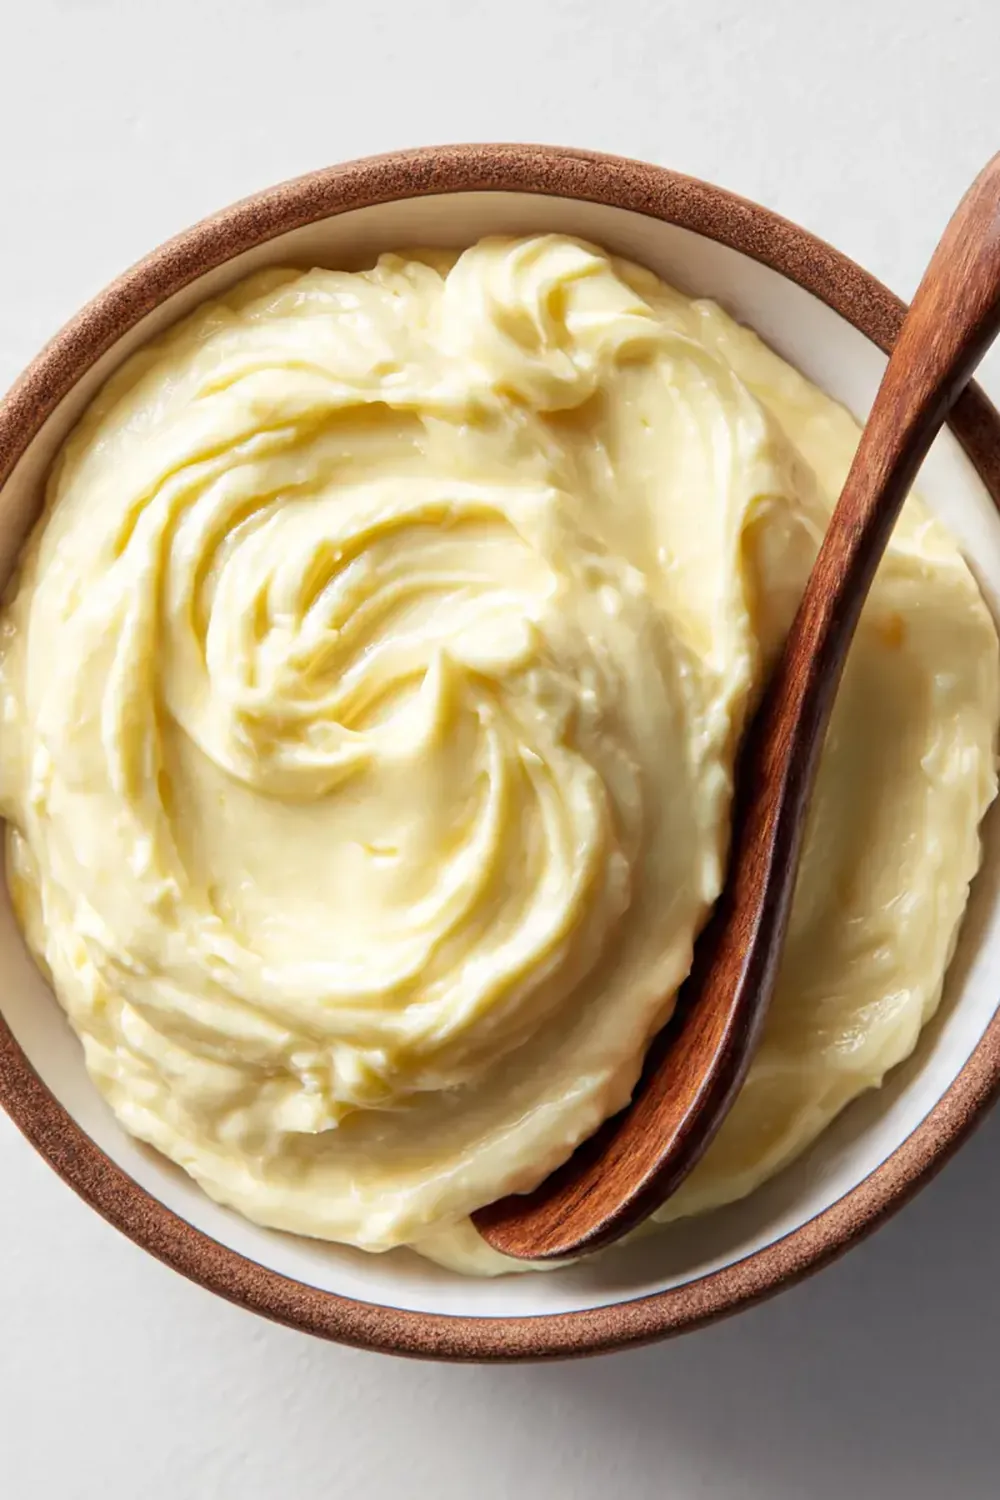
- The final flourish for guests: Transfer the aioli to a small serving bowl. Use the back of a spoon to create a smooth, swirling top. Drizzle with a tiny amount of extra virgin olive oil and sprinkle with a few flakes of sea salt and a light dusting of smoked paprika. This small visual touch signals quality before anyone has even tasted it.
Tips From My Kitchen
- The temperature rule: Every ingredient must be at room temperature. Cold eggs or cold oil will cause the fat molecules to seize up and separate from the water in the egg yolks. I’ve been making this for over 4 years, and it never disappoints when I follow this rule. If your kitchen is cold, warm your mixing bowl with hot water and dry it thoroughly before you start.
- Use a neutral oil blend: Extra virgin olive oil is flavourful, but using it exclusively can make your aioli bitter and heavy. I stumbled upon this combination by accident, and it’s been a hit ever since. Use a 70:30 ratio of neutral oil to mild olive oil. This gives you that fruity, garlicky flavour without the harsh, peppery notes that can dominate.
- Grate, don’t chop your garlic: Chopping garlic leaves small, hard chunks that can burst in your mouth and ruin the silky texture. Use a microplane or a fine grater to turn the cloves into a paste. This releases the essential oils evenly and integrates them seamlessly into the emulsion, giving you a consistent garlic hit in every bite.
- Rescue a broken sauce immediately: If your aioli looks thin, greasy, or has separated into a watery liquid with oil floating on top, do not panic. Place a fresh egg yolk in a clean bowl. While whisking that yolk, slowly drizzle your broken mixture into it, drop by drop. It will magically re-emulsify. This is a life-saving tip for any home cook serving guests.
- Make it ahead for better flavour: Aioli actually improves after a few hours in the fridge. The garlic mellows and infuses the entire sauce. Make it the morning of your dinner party, cover it tightly with cling film (pressing the film directly onto the surface to prevent a skin forming), and let it rest. Just be sure to bring it back to room temperature for 20 minutes before serving, as cold aioli will taste stiff and dull.
Equipment You’ll Need
- Large mixing bowl (a copper bowl is ideal if you have one, as it helps stabilise the emulsion)
- A balloon whisk (or a hand-held electric mixer for beginners)
- A jug with a fine pouring spout
- Microplane or fine grater for the garlic
- Rubber spatula for scraping the bowl
- Small serving bowl for presentation
Delicious Variations to Try
- Spicy Harissa Aioli: Stir in 1-2 tablespoons of harissa paste at the very end. The smoky, spicy notes are incredible with grilled lamb or roasted vegetables. The deep red colour also looks stunning drizzled over a Chicken Shawarma Bowl Recipe Middle Eastern.
- Herb & Lemon Aioli: Fold in a tablespoon of finely chopped fresh chives, a tablespoon of chopped dill, and a teaspoon of lemon zest. This is the perfect partner for a Baked Salmon Recipe Healthy Dinner, adding a fresh, zesty lift.
- Saffron and Roasted Garlic Aioli: Roast a whole head of garlic until soft and sweet, then squeeze the cloves into the base instead of raw garlic. Add a pinch of saffron threads steeped in a tablespoon of hot water. This creates a deeply savoury, golden sauce that feels incredibly luxurious alongside a Butter Steak Recipe Juicy Beef.
What to Serve With Best Aioli Recipe
- Grilled artichokes and blanched green beans for a stunning starter.
- Crispy, twice-cooked chips (fries) sprinkled with sea salt.
- As a spread inside a crusty baguette with roasted peppers and grilled chicken.
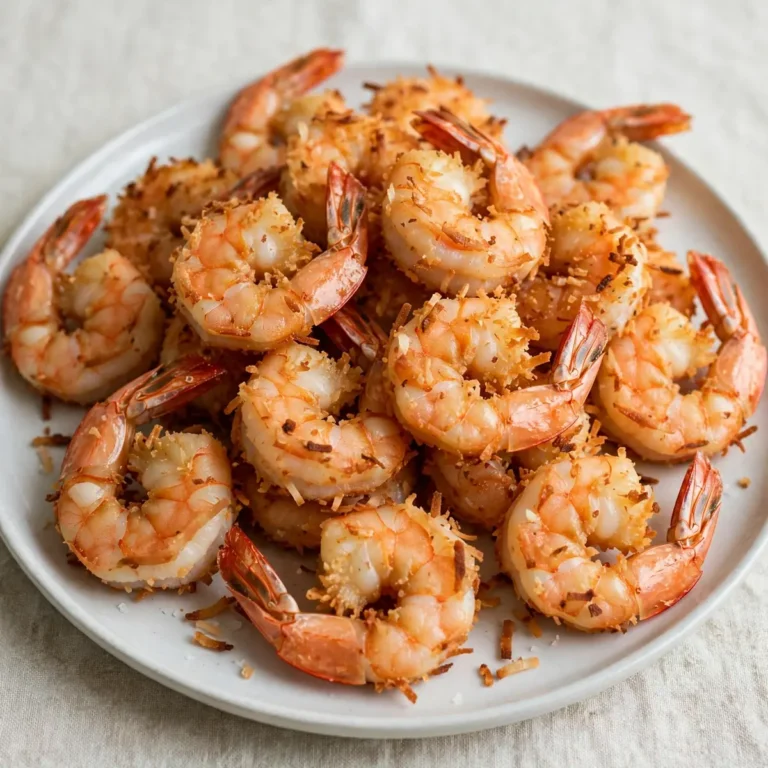
- Alongside a platter of grilled prawns or squid for a Mediterranean feel.
- Dolloped onto a bowl of roasted root vegetables or a warm potato salad.
Frequently Asked Questions
Best Aioli Recipe
Ingredients
Method
- Prepare your base: In a medium mixing bowl, whisk together the egg yolks, Dijon mustard, lemon juice, white wine vinegar, and the grated garlic until the mixture is pale, slightly frothy, and has thickened noticeably. You should see the whisk leaving light trails on the surface. This initial step gives the emulsion a strong foundation.
- Begin the slow drizzle: Combine the olive oil and neutral oil in a jug with a pouring spout. While whisking constantly and vigorously with your other hand, begin adding the oil drop by drop. You will hear the whisk making a slapping sound against the bowl. After about a minute, the mixture will start to look thicker and creamier, and the sound will become a duller, heavier thud.
- Increase the flow: Once you have added about a quarter of the oil and the mixture is thick and glossy, you can increase the drizzle to a very thin, steady stream. Keep whisking without stopping. The colour will shift from pale yellow to a rich, opaque golden hue, and the texture will become luscious and spoonable.
- Watch for the wobble: As you add the remaining oil, the aioli will become very stiff. When you lift the whisk, the aioli should hold a firm peak and barely wobble. At this point, stop adding oil. If it looks greasy or shiny on the surface, you have added the oil too quickly. Whisk in a teaspoon of cold water immediately to bring it back together.
- Season and finish: Once all the oil is incorporated, season generously with flaky sea salt and a good pinch of white pepper. Taste it. The garlic should be present but not harsh. If it tastes sharp, whisk in another teaspoon of lemon juice. The final texture should be thick enough to dollop, but soft enough to spread.
- The final flourish for guests: Transfer the aioli to a small serving bowl. Use the back of a spoon to create a smooth, swirling top. Drizzle with a tiny amount of extra virgin olive oil and sprinkle with a few flakes of sea salt and a light dusting of smoked paprika. This small visual touch signals quality before anyone has even tasted it.
Notes
This recipe has become my secret weapon for dinner parties. It takes a dish from ordinary to memorable with minimal effort, and that moment of silence when a guest takes their first dip is the finest compliment a cook can receive. I would love to hear how you use it in your own kitchen — what did you serve it with, and did your guests guess the secret ingredient? Please leave a comment below and share your experience.