Crispy Tacos Recipe
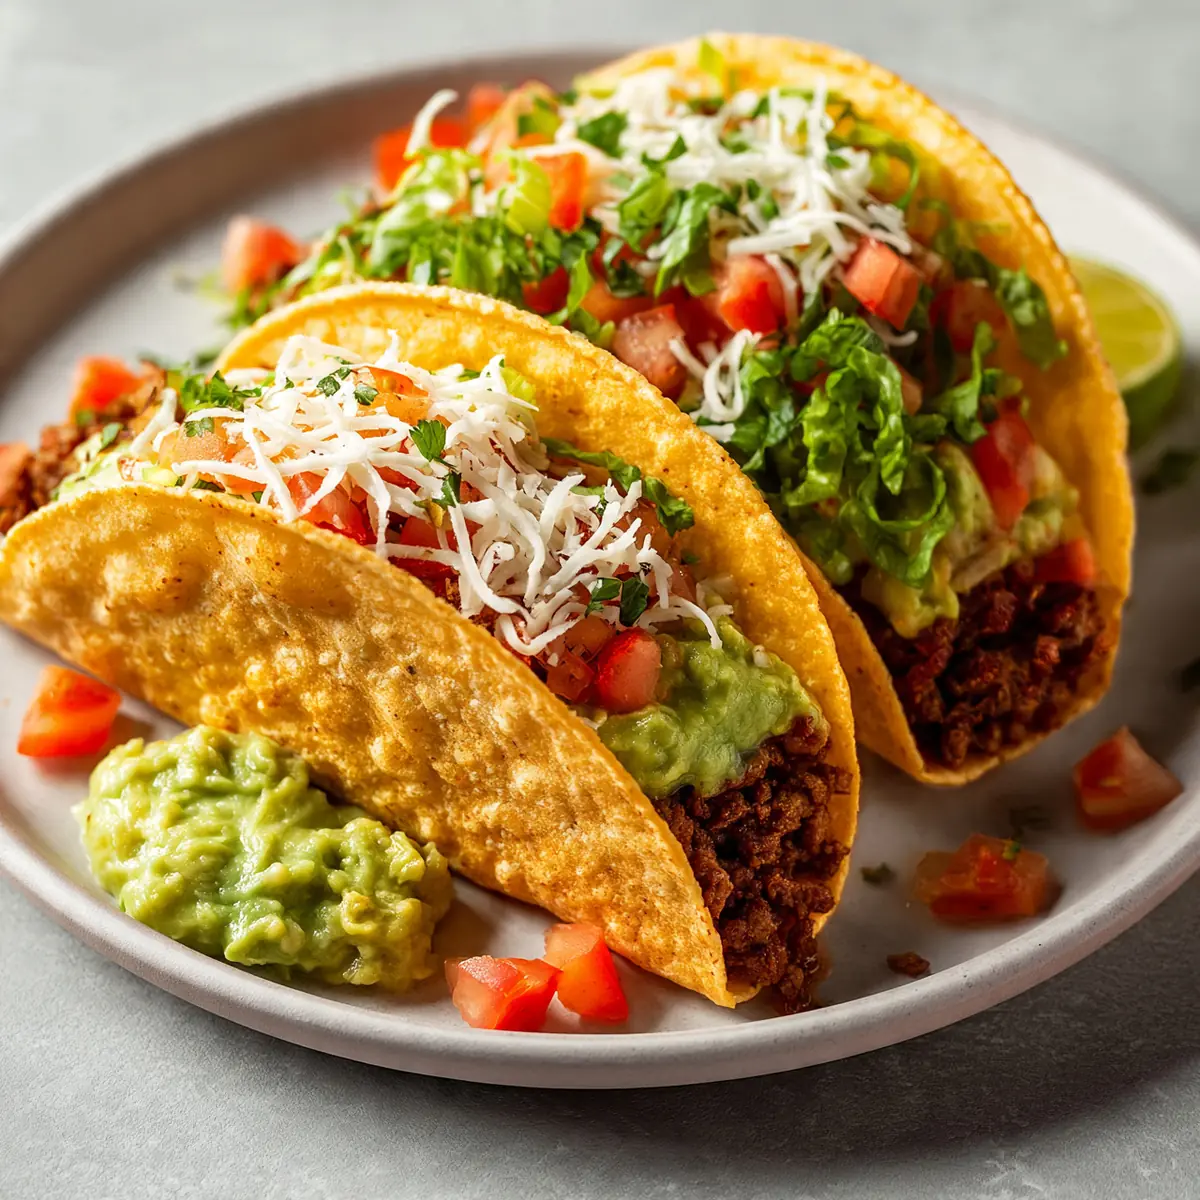
There’s something magical about the sound of a taco shell cracking as you bit into it, a crisp shatter that promises a meal worth savouring. I still remember the first time I served these beauties at a dinner party; my husband, who’s usually picky, asked for seconds, and the table fell into a contented silence punctuated only by satisfied murmurs. Friends always ask me for this recipe after trying it at dinner parties, and I’ve honed it to a tee. This is not just a weeknight dinner; this is the dish you bring out when you want to impress, with every element plated to look as if it came straight from a high-end taqueria.
Recipe Overview
- Prep Time: 20 minutes
- Cook Time: 25 minutes
- Total Time: 45 minutes
- Servings: 4 (8 tacos)
- Difficulty: Medium
Why You’ll Love This Crispy Tacos Recipe
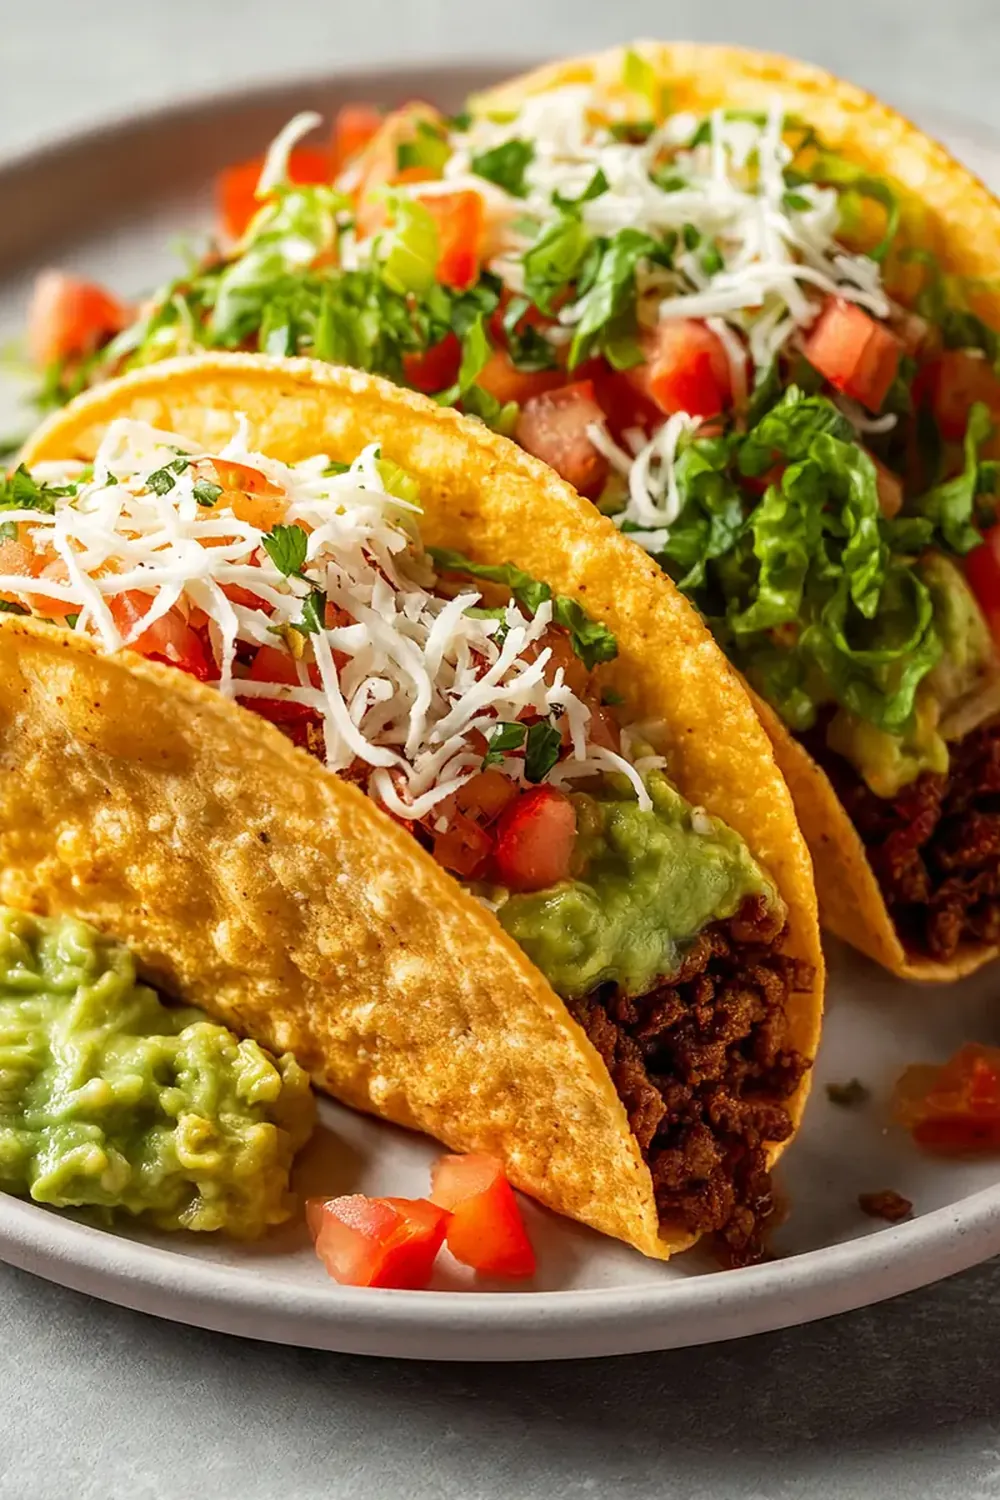
- Restaurant-Quality Presentation: Each taco is built for visual impact, with vibrant garnishes and a crisp, golden shell that stands proud on the plate.
- Perfectly Balanced Textures: You get the satisfying crunch of the shell, the tender bite of seasoned meat, and the fresh pop of cool toppings.
- Impressive Yet Manageable: Despite the elegant result, the steps are straightforward, making this a fantastic choice for both confident cooks and those looking to elevate their game.
- Customisable for Any Guest: The filling and toppings can be easily adapted for different dietary needs, ensuring everyone at your table feels included.
- Aromatic Cooking Experience: The kitchen fills with the warm, earthy scent of cumin and chilli as the meat sizzles, building anticipation for the meal ahead.
Ingredients You’ll Need
- 500g minced beef (or chicken thigh mince)
- 1 tablespoon olive oil
- 1 large onion, finely diced
- 3 cloves garlic, minced
- 2 teaspoons ground cumin
- 1 teaspoon smoked paprika
- 1 teaspoon dried oregano
- ½ teaspoon cayenne pepper (optional, for heat)
- 400g can chopped tomatoes
- 2 tablespoons tomato purée
- 150ml beef stock (or chicken stock)
- Salt and freshly ground black pepper, to taste
- 8 small corn or flour tortillas (hard taco shells also work)
- 200g mature cheddar cheese, grated
- Sunflower or vegetable oil, for frying
Tip: For the freshest flavour, toast your cumin and smoked paprika in a dry pan for about 30 seconds until fragrant before adding them to the meat. This releases their essential oils and deepens the overall taste of the filling.
How to Make Crispy Tacos Recipe
- Prepare the Filling: Heat the olive oil in a large frying pan over a medium-high heat. Add the diced onion and cook, stirring occasionally, until it becomes soft and translucent, about 5 minutes. You should hear a gentle sizzle and see the onion turning a pale golden colour. Add the minced garlic and cook for a further minute, until its sharp, pungent aroma mellows and fills the kitchen.
- Brown the Meat: Increase the heat to high and add the minced beef. Break it up with a wooden spoon, letting it sear without stirring too often. You want to hear a vigorous, satisfying sizzle. Cook until the meat is deeply browned, with crispy, caramelised edges. This will take about 6–8 minutes. The sound will change from a wet splatter to a drier, sharper crackle as the moisture evaporates.
- Spice and Simmer: Sprinkle the cumin, smoked paprika, oregano, and cayenne pepper (if using) over the browned meat. Stir for 30 seconds until the spices are well-coated and release their fragrance. Pour in the chopped tomatoes and tomato purée, then add the beef stock. Stir everything together, scraping up any browned bits from the bottom of the pan. Bring to a simmer, then reduce the heat to low. The mixture should be bubbling gently, not furiously. Let it cook uncovered for 15 minutes, until the sauce has thickened and the meat looks rich and glossy, clinging to the spoon.
- Prepare the Taco Shells: While the filling simmers, prepare your taco shells. If using soft tortillas, pour enough sunflower oil into a small frying pan to come 1cm up the sides. Heat the oil until a small piece of bread sizzles immediately when dropped in. Carefully hold a tortilla with tongs and fold it in half, lowering one half into the hot oil. Fry for 30 seconds on each side, until it is a deep, golden brown and feels rigid. The sound of the bubbling oil is a clear sign of success. Drain on kitchen paper and gently open the shell to create a pocket. Repeat for the remaining tortillas.
- Fill and Melt the Cheese: Preheat your grill to a high setting. Place the crispy taco shells on a baking tray. Spoon the hot, thick meat filling into each shell, packing it in gently. Top generously with the grated cheddar cheese. Place the tray under the hot grill for 1–2 minutes, watching closely. The cheese should bubble and turn a spotty, golden brown, and you will hear a soft, bubbling hiss as it melts over the filling.
- Add the Fresh Toppings and Serve: Remove the tacos from the grill. Immediately add your chosen fresh toppings: a spoonful of soured cream, a scattering of shredded lettuce, diced tomatoes, and a few slices of pickled jalapeño. The contrast between the hot, cheesy taco and the cool, crisp toppings is the final key to the restaurant-quality experience. Serve at once, while the shells are still audibly crisp.
Tips From My Kitchen
- Don’t Skimp on the Browning: The deep, savoury flavour of the filling comes from the Maillard reaction on the meat. Let it sit in the hot pan without moving it for a few minutes to develop a proper crust. A grey, steamed filling will lack that rich, complex taste.
- Keep the Filling Thick: You want the mixture to be thick and not runny, as a watery filling will quickly make the crispy shell soggy. If the sauce is still thin after simmering, turn the heat up for the last few minutes to reduce it, stirring constantly. You should be able to see the bottom of the pan briefly as you stir.
- Fry Shells Just Before Serving: The window for a truly crispy taco is short. Fry the shells as close to serving time as possible, and keep them warm in a low oven (around 100°C) on a baking tray lined with kitchen paper. Never store them in a sealed container, as trapped steam will ruin their texture.
- Use Two Forks for Filling: When spooning the meat into the shells, use two forks to gently pull the meat apart as you go. This creates a fluffier, more appealing texture than a dense, packed block of mince, and it also allows the cheese to nestle into the nooks and crannies.
- Think About the Plate: Presentation matters. Serve the tacos on a large, warm platter, propped upright against a bed of shredded lettuce or black beans to keep them stable. A drizzle of soured cream and a final sprinkle of fresh coriander over the top will make the dish look as good as it tastes.
Equipment You’ll Need
- Large frying pan or skillet
- Sharp knife and cutting board
- Mixing bowls
- Wooden spoon or spatula
- Tongs for handling hot tortillas
- Small frying pan for frying shells
- Baking tray
- Kitchen paper
Common Mistakes to Avoid
- Overcrowding the pan: If you add too much meat to the pan at once, it will steam rather than sear. This prevents the development of that rich, brown crust. Cook the meat in two batches if necessary, ensuring there is enough space for the moisture to evaporate quickly and the browning to occur.
- Wrong temperature: The oil for frying the shells must be hot enough, around 180°C. If it is too cool, the tortillas will absorb oil and become greasy and soft. If it is too hot, the outside will burn before the inside crisps up. A simple test is to drop a small cube of bread into the oil; it should sizzle and turn golden in about 20 seconds.
- Skipping the rest time: After the filling has finished simmering, let it rest off the heat for 5 minutes. This allows the flavours to meld together and the sauce to thicken slightly further. A piping hot, watery filling straight from the stove is the enemy of a crisp taco shell.
Delicious Variations to Try
- Spicy Version: For a fiercer kick, add a finely chopped chipotle pepper in adobo sauce along with the other spices. You can also stir in a tablespoon of hot sauce at the end of simmering, and garnish with fresh, sliced red chilli for an extra visual and fiery punch.
- Vegetarian/Vegan Option: Replace the minced meat with 400g of cooked, mashed black beans and 200g of finely chopped mushrooms. Cook the onions and garlic as directed, then add the mushrooms until they release their liquid and brown. Stir in the beans and spices, and simmer with the tomatoes for a hearty, satisfying filling. For a vegan version, use a plant-based cheese alternative or simply omit the cheese and top with a creamy cashew sauce.
- Different Protein: This recipe works beautifully with shredded chicken or turkey. Simply poach or roast 500g of boneless, skinless chicken thighs, then shred the meat with two forks. Add the shredded meat to the pan with the spices and tomatoes, and simmer for 10 minutes to allow the flavours to absorb. The texture will be more delicate, but equally delicious.
What to Serve With Crispy Tacos Recipe
A well-planned spread elevates the whole meal. Consider these accompaniments to complete your fiesta:
- A simple side of Mexican-style rice, cooked with a little tomato and garlic.
- A crisp, refreshing slaw made with shredded cabbage, lime juice, and a touch of honey.
- A bowl of creamy guacamole and a separate dish of pico de gallo for dipping.
- For a different kind of meal, you might also enjoy our Lamb Gyros Recipe Greek Wrap for another impressive handheld dish.
- If you are looking for a lighter side, our Brussels Sprouts Recipe Roasted Veggie offers a wonderful, earthy contrast to the spiced tacos.
Frequently Asked Questions
Crispy Tacos Recipe
Ingredients
Method
- Prepare the Filling: Heat the olive oil in a large frying pan over a medium-high heat. Add the diced onion and cook, stirring occasionally, until it becomes soft and translucent, about 5 minutes. You should hear a gentle sizzle and see the onion turning a pale golden colour. Add the minced garlic and cook for a further minute, until its sharp, pungent aroma mellows and fills the kitchen.
- Brown the Meat: Increase the heat to high and add the minced beef. Break it up with a wooden spoon, letting it sear without stirring too often. You want to hear a vigorous, satisfying sizzle. Cook until the meat is deeply browned, with crispy, caramelised edges. This will take about 6–8 minutes. The sound will change from a wet splatter to a drier, sharper crackle as the moisture evaporates.
- Spice and Simmer: Sprinkle the cumin, smoked paprika, oregano, and cayenne pepper (if using) over the browned meat. Stir for 30 seconds until the spices are well-coated and release their fragrance. Pour in the chopped tomatoes and tomato purée, then add the beef stock. Stir everything together, scraping up any browned bits from the bottom of the pan. Bring to a simmer, then reduce the heat to low. The mixture should be bubbling gently, not furiously. Let it cook uncovered for 15 minutes, until the sauce has thickened and the meat looks rich and glossy, clinging to the spoon.
- Prepare the Taco Shells: While the filling simmers, prepare your taco shells. If using soft tortillas, pour enough sunflower oil into a small frying pan to come 1cm up the sides. Heat the oil until a small piece of bread sizzles immediately when dropped in. Carefully hold a tortilla with tongs and fold it in half, lowering one half into the hot oil. Fry for 30 seconds on each side, until it is a deep, golden brown and feels rigid. The sound of the bubbling oil is a clear sign of success. Drain on kitchen paper and gently open the shell to create a pocket. Repeat for the remaining tortillas.
- Fill and Melt the Cheese: Preheat your grill to a high setting. Place the crispy taco shells on a baking tray. Spoon the hot, thick meat filling into each shell, packing it in gently. Top generously with the grated cheddar cheese. Place the tray under the hot grill for 1–2 minutes, watching closely. The cheese should bubble and turn a spotty, golden brown, and you will hear a soft, bubbling hiss as it melts over the filling.
- Add the Fresh Toppings and Serve: Remove the tacos from the grill. Immediately add your chosen fresh toppings: a spoonful of soured cream, a scattering of shredded lettuce, diced tomatoes, and a few slices of pickled jalapeño. The contrast between the hot, cheesy taco and the cool, crisp toppings is the final key to the restaurant-quality experience. Serve at once, while the shells are still audibly crisp.
Notes
I hope this recipe becomes a staple in your home, just as it has in mine. There is a genuine joy in seeing a plate of these golden, loaded tacos placed on a table, knowing the burst of flavour and texture that awaits. If you give them a try, I would love to hear how you got on. Please leave a comment below and share your own tips for the perfect crispy taco night.