Classic Braided Yeast Bread Recipe
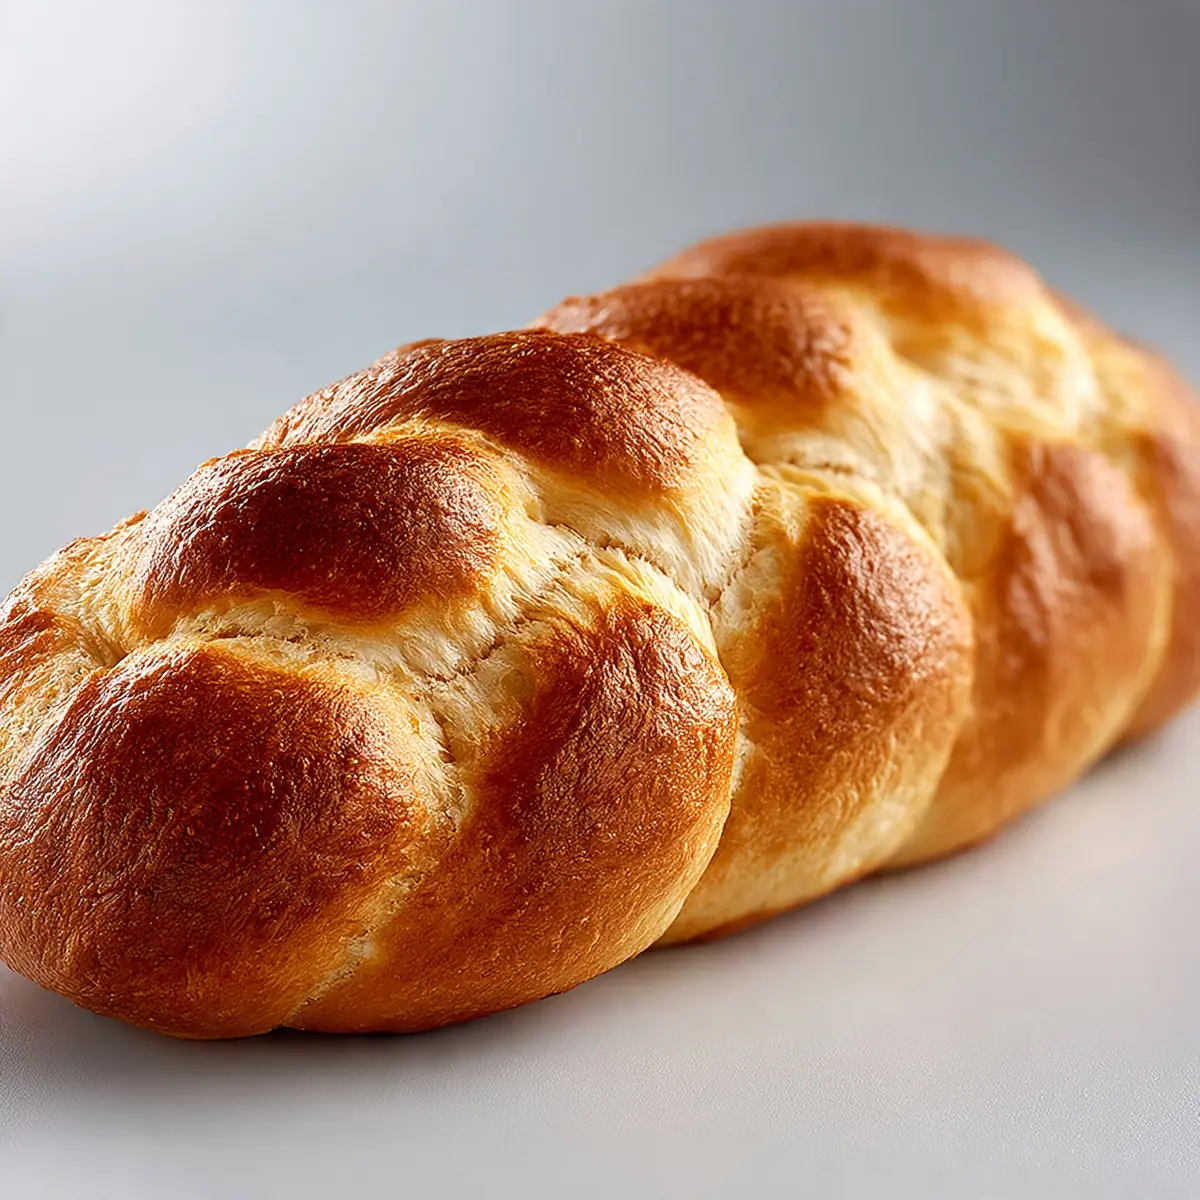
There’s a particular alchemy to pulling a golden, three-strand braided loaf from the oven, the crust singing as it cools on the wire rack. I remember the first time I set one down at a dinner party; the conversation actually paused, and someone leaned over to inhale the buttery, yeasty scent before I’d even sliced it. This Classic Braided Yeast Bread Recipe is that kind of showstopper — it looks like you spent all day perfecting it, but the process is deeply satisfying and, with a few tricks, entirely manageable on a weekend afternoon.
Recipe Overview
- Prep Time: 25 minutes
- Rising Time: 1 hour 30 minutes
- Cook Time: 30 minutes
- Total Time: 2 hours 25 minutes
- Servings: 1 large loaf (approximately 12 slices)
- Difficulty: Intermediate
Why You’ll Love This Classic Braided Yeast Bread Recipe
- Restaurant-Quality Presentation: The three-strand braid creates a stunning, professional look that elevates any meal, from a simple soup supper to a festive holiday table.
- Versatile Base: This dough is a blank canvas. You can brush it with garlic butter and herbs, sprinkle it with sesame seeds, or leave it plain to let the soft, tender crumb shine.
- Perfectly Soft & Fluffy Interior: The combination of milk and butter in the dough yields a plush, cloud-like texture that stays fresh for days — if it lasts that long.
- Deeply Satisfying Process: There’s a meditative quality to kneading and braiding dough. It’s a tactile, rewarding experience that feels like a true kitchen accomplishment.
- Guaranteed Impressive: Friends always ask me for this recipe after trying it at dinner parties. It’s my go-to when I need something that looks complex but is actually built on straightforward technique.
Ingredients You’ll Need
- 500 g strong white bread flour (plus extra for dusting)
- 7 g (1 sachet) fast-action dried yeast
- 50 g caster sugar
- 1 teaspoon fine sea salt
- 300 ml whole milk, lukewarm
- 60 g unsalted butter, melted and slightly cooled
- 1 large free-range egg, lightly beaten
- For the glaze: 1 large free-range egg yolk mixed with 1 tablespoon milk
- Optional: poppy seeds, sesame seeds, or flaked sea salt for topping
Tip: Ensure your milk is just warm to the touch — about 37°C — not hot. If it’s too hot, it will kill the yeast and your bread won’t rise.
How to Make Classic Braided Yeast Bread Recipe
- Activate the yeast: In a small bowl, combine the lukewarm milk with a pinch of the sugar and the dried yeast. Stir gently and let it sit for 5–10 minutes until the surface becomes foamy and smells distinctly yeasty. This frothy layer is your green light.
- Mix the dry ingredients: In a large mixing bowl (or the bowl of a stand mixer), whisk together the flour, remaining sugar, and salt. Make a well in the centre. Pour in the foamy yeast mixture, the melted butter, and the beaten egg. Stir with a wooden spoon until a shaggy, sticky dough forms — it will look rough and uneven.
- Knead the dough: Turn the dough out onto a lightly floured surface. Knead for 8–10 minutes (5–6 minutes in a stand mixer with a dough hook on medium speed). The dough will transform from sticky to smooth, silky, and elastic. You’ll know it’s ready when you press a finger into it and the dough springs back, feeling plump and alive.
- First rise: Place the dough in a lightly oiled bowl, turning it once to coat. Cover with a clean tea towel or cling film. Leave in a warm, draught-free spot for 1 hour, or until it has doubled in size. The dough should feel puffy and airy when you gently poke it.
- Shape the braid: Punch down the risen dough to release the gas. Turn it out onto a lightly floured surface and divide it into three equal pieces. Roll each piece into a long rope, about 40 cm in length. Pinch the three ropes together at one end, then braid them loosely, tucking the ends underneath to create a neat, plump loaf.
- Second rise: Transfer the braided loaf to a baking tray lined with parchment paper. Cover loosely with a tea towel and let it rise for another 30 minutes. The loaf will swell and the braid will become more defined and puffy to the touch.
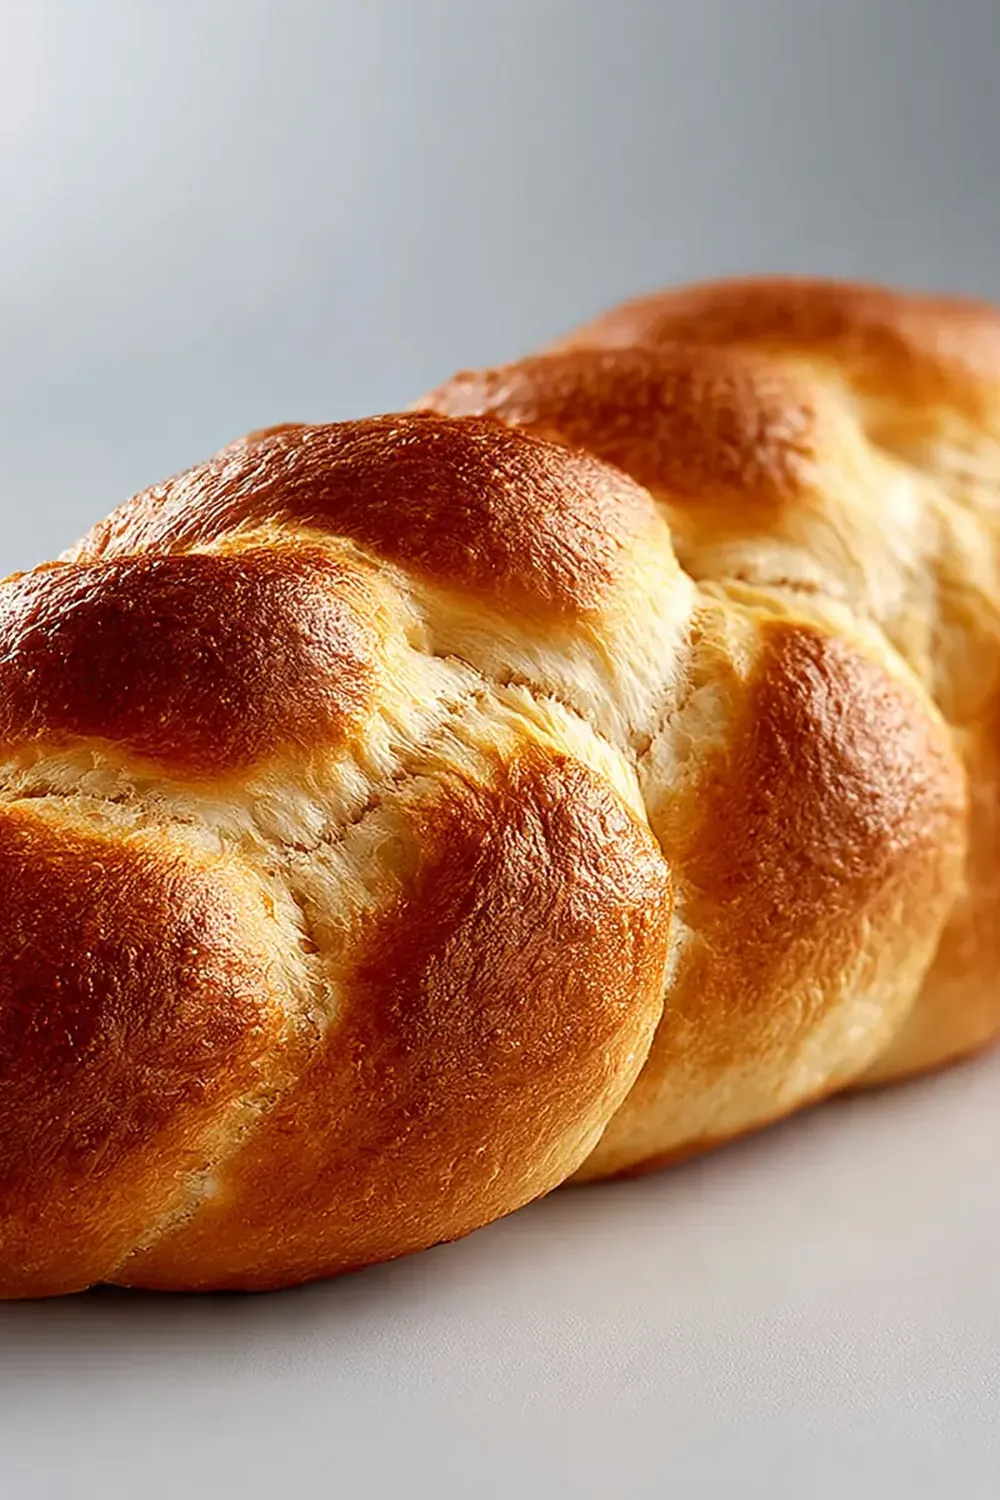
- Bake to golden perfection: Preheat your oven to 190°C (170°C fan). Brush the risen loaf with the egg yolk and milk glaze, being gentle so you don’t deflate it. Sprinkle with your chosen topping. Bake for 25–30 minutes, until the crust is a deep, glossy golden brown and the loaf sounds hollow when you tap the bottom. The kitchen will smell richly of toasted butter and bread.
- Cool completely: Transfer the loaf to a wire cooling rack. Resist the urge to slice it for at least 30 minutes — the interior is still setting, and cutting too early will result in a gummy crumb. The crust will soften slightly as it cools, creating that perfect contrast with the fluffy interior.
Tips From My Kitchen
- Weigh your flour accurately: Using a digital scale is the single most important step for consistent results. Scooping flour from a bag often packs it down, leading to a dry, dense dough. 500 g of flour is exactly that — no more, no less.
- Don’t skip the egg wash: That glossy, burnished crust you see in bakeries comes from a proper egg wash. The egg yolk provides colour and shine, while the milk thins it enough for a smooth application. Apply it gently with a pastry brush, and avoid pooling it in the crevices of the braid.
- Braid loosely, not tightly: A tight braid will cause the dough to tear as it rises in the oven, creating a misshapen loaf. Leave a little slack between each crossover, allowing the bread room to expand. The final loaf will look fuller and more artisan.
- Use the ‘poke test’ for doneness: Instead of guessing the cooking time, rely on the sound and feel. A fully baked loaf will feel light for its size and sound hollow when you tap the base. If it sounds dense or thud-like, return it to the oven for another 3–5 minutes.
- Create a steam burst: For an extra-crispy crust, place a small oven-safe dish filled with hot water on the bottom shelf of the oven while the bread bakes. The steam helps the crust expand before setting, resulting in a thinner, shatteringly crisp exterior.
- Temperature matters for the second rise: The second rise should be shorter than the first. If the dough proofs for too long at this stage, the braid can lose its definition and the loaf may collapse in the oven. Stick to the 30-minute timer.
Equipment You’ll Need
- Stand mixer with dough hook (or a strong pair of hands and a sturdy work surface)
- Large mixing bowl
- Baking tray (heavy-duty for even heat distribution)
- Parchment paper
- Wire cooling rack
- Pastry brush
- Digital kitchen scales
- Clean tea towel or plastic wrap
Delicious Variations to Try
- Garlic & Herb Braid: Before the second rise, brush the braid with melted butter mixed with minced garlic, dried rosemary, and thyme. The savoury aroma is intoxicating, and it pairs beautifully with a bowl of tomato soup or a Mediterranean Grilled Chicken Recipe.
- Sweet Cinnamon Swirl: After the first rise, roll the dough out into a rectangle, spread with softened butter, and sprinkle with a mixture of brown sugar and cinnamon. Roll it up tightly, then cut into three strands and braid as usual. The sugar caramelises slightly in the oven, creating pockets of sweetness.
- Seeded Crust: For a nutty, textured finish, brush the glazed loaf with a little water and roll it in a mixture of sesame seeds, poppy seeds, and sunflower seeds before baking. This adds a wonderful crunch that contrasts with the soft crumb.
- Cheese & Chive Braid: Fold 100 g of grated mature cheddar and a handful of chopped fresh chives into the dough during the final stage of kneading. The cheese melts into the bread, creating savoury pockets that are divine served warm.
What to Serve With Classic Braided Yeast Bread Recipe
- A bowl of hearty winter soup, such as roasted tomato and basil or creamy leek and potato.
- Alongside a Butter Steak Recipe Juicy Beef, where the bread is perfect for sopping up the pan juices.
- As part of a cheese board, torn into chunks and served with a sharp cheddar, a soft brie, and some chutney.
- For breakfast, toasted and slathered with salted butter and a spoonful of your favourite marmalade.
Frequently Asked Questions
Classic Braided Yeast Bread Recipe
Ingredients
Method
- Activate the yeast: In a small bowl, combine the lukewarm milk with a pinch of the sugar and the dried yeast. Stir gently and let it sit for 5–10 minutes until the surface becomes foamy and smells distinctly yeasty. This frothy layer is your green light.
- Mix the dry ingredients: In a large mixing bowl (or the bowl of a stand mixer), whisk together the flour, remaining sugar, and salt. Make a well in the centre. Pour in the foamy yeast mixture, the melted butter, and the beaten egg. Stir with a wooden spoon until a shaggy, sticky dough forms — it will look rough and uneven.
- Knead the dough: Turn the dough out onto a lightly floured surface. Knead for 8–10 minutes (5–6 minutes in a stand mixer with a dough hook on medium speed). The dough will transform from sticky to smooth, silky, and elastic. You'll know it's ready when you press a finger into it and the dough springs back, feeling plump and alive.
- First rise: Place the dough in a lightly oiled bowl, turning it once to coat. Cover with a clean tea towel or cling film. Leave in a warm, draught-free spot for 1 hour, or until it has doubled in size. The dough should feel puffy and airy when you gently poke it.
- Shape the braid: Punch down the risen dough to release the gas. Turn it out onto a lightly floured surface and divide it into three equal pieces. Roll each piece into a long rope, about 40 cm in length. Pinch the three ropes together at one end, then braid them loosely, tucking the ends underneath to create a neat, plump loaf.
- Second rise: Transfer the braided loaf to a baking tray lined with parchment paper. Cover loosely with a tea towel and let it rise for another 30 minutes. The loaf will swell and the braid will become more defined and puffy to the touch.
- Bake to golden perfection: Preheat your oven to 190°C (170°C fan). Brush the risen loaf with the egg yolk and milk glaze, being gentle so you don't deflate it. Sprinkle with your chosen topping. Bake for 25–30 minutes, until the crust is a deep, glossy golden brown and the loaf sounds hollow when you tap the bottom. The kitchen will smell richly of toasted butter and bread.
- Cool completely: Transfer the loaf to a wire cooling rack. Resist the urge to slice it for at least 30 minutes — the interior is still setting, and cutting too early will result in a gummy crumb. The crust will soften slightly as it cools, creating that perfect contrast with the fluffy interior.
Notes
I hope this Classic Braided Yeast Bread Recipe becomes a cherished part of your own entertaining repertoire. There’s a special kind of pride that comes from watching your guests tear into a beautiful, homemade loaf you shaped with your own hands. If you give it a try, I’d love to hear how it turned out — drop a comment below and share your baking triumph.