Delicious Schnitzel Recipe
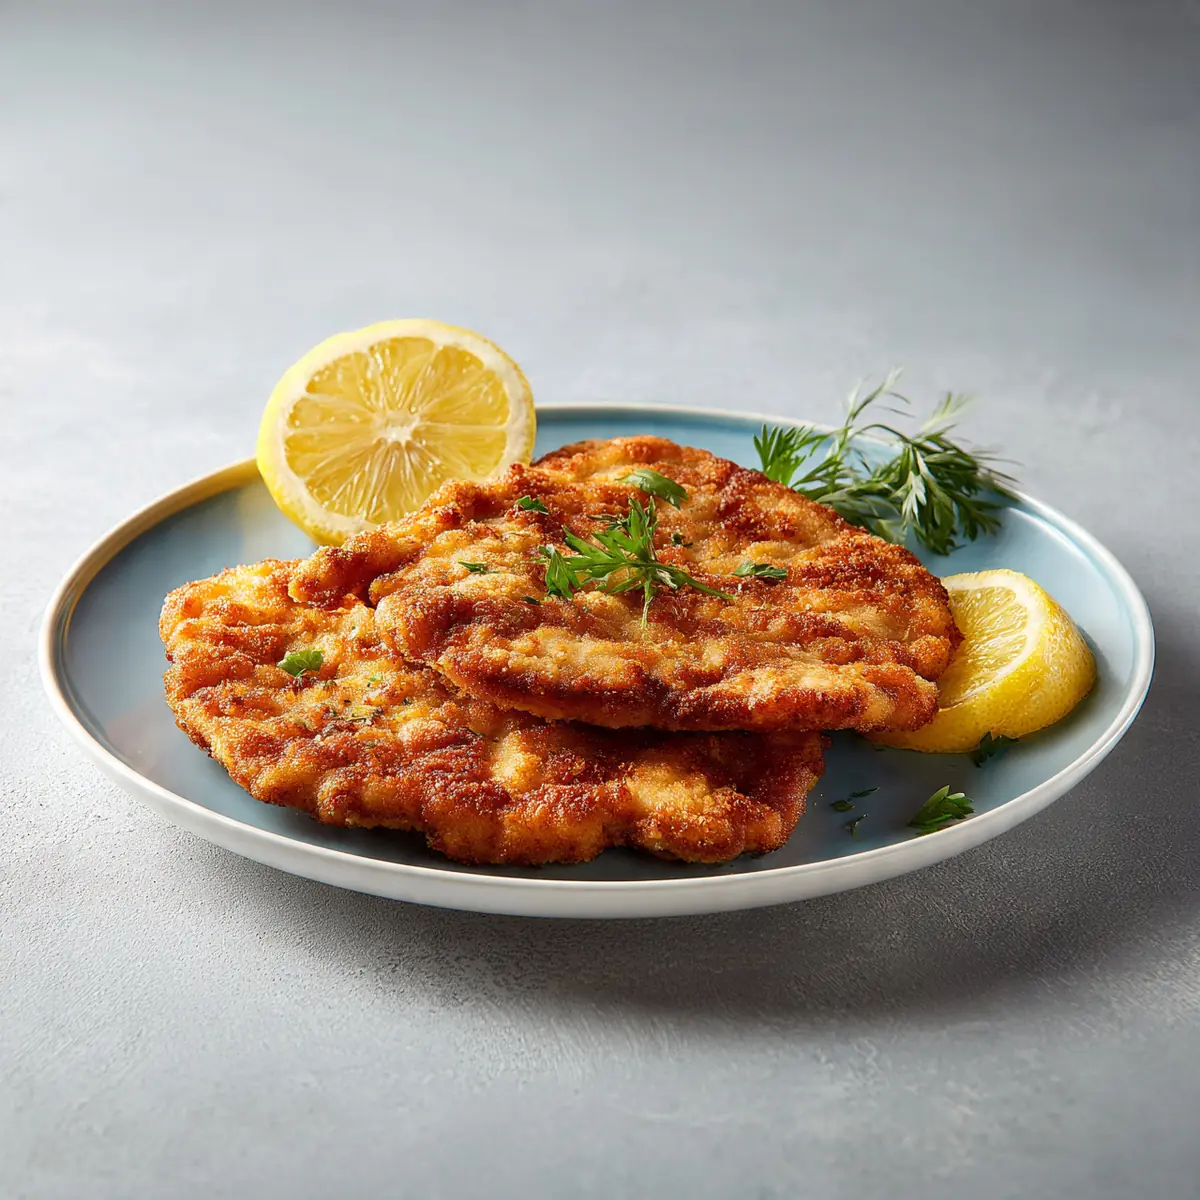
When friends come over, I want to serve something that feels like an event – not a weeknight scramble. This delicious schnitzel recipe is my secret weapon for turning a simple dinner into a restaurant-worthy experience, with golden, crisp cutlets that command attention on the plate.
Recipe Overview
- Prep Time: 20 minutes
- Cook Time: 15 minutes
- Total Time: 35 minutes
- Servings: 4
- Difficulty: Medium
Why You’ll Love This Delicious Schnitzel Recipe
- Restaurant-quality presentation: The golden, puffy crust and elegant plating make this feel like a special occasion meal, even on a Tuesday.
- Perfectly crisp texture: Every bite delivers a satisfying crunch that gives way to tender, juicy meat – a textural contrast that guests rave about.
- Versatile for any gathering: Whether it’s a casual family dinner or a more formal dinner party, this schnitzel adapts beautifully to the occasion.
- Cooked in under an hour: From prep to plate in 35 minutes, this dish allows you to spend more time with your guests and less time in the kitchen.
- Simple, high-impact ingredients: With just a handful of pantry staples, you can create something that looks and tastes far more complex than it is.
Ingredients You’ll Need
- 4 boneless chicken breasts (about 150g each)
- 100g plain flour
- 2 large eggs
- 150g fine breadcrumbs (preferably panko for extra crunch)
- 1 teaspoon paprika
- ½ teaspoon garlic powder
- ½ teaspoon salt
- ¼ teaspoon black pepper
- Vegetable oil, for shallow frying (about 250ml)
- 1 lemon, cut into wedges, for serving
- Fresh parsley, finely chopped, for garnish
Tip: For the best results, use chicken breasts that are similar in size so they cook evenly. I stumbled upon using panko breadcrumbs by accident when I ran out of regular ones, and it’s been a hit ever since – they create a lighter, crunchier crust that stays crisp for longer.
How to Make Delicious Schnitzel Recipe
- Prepare the chicken: Place a chicken breast between two sheets of cling film. Gently pound it with a rolling pin or meat mallet until it’s about 1cm thick all over. You’ll feel the meat yielding and becoming uniformly flat. Repeat with the remaining breasts. The even thickness ensures they cook at the same rate.
- Set up the breading station: In a shallow bowl, mix the flour with the paprika, garlic powder, salt, and pepper. In a second bowl, beat the eggs until they’re a uniform, pale yellow colour with a slightly frothy top. In a third bowl, spread out the breadcrumbs. This mise en place is crucial for a smooth workflow.
- Coat the chicken: Take one pounded breast and dredge it in the seasoned flour, shaking off any excess – you want a light, even coating. Dip it into the beaten eggs, letting any excess drip back into the bowl. Finally, press it firmly into the breadcrumbs, ensuring every inch is covered. Place it on a plate and repeat. The coating should feel dry and sandy to the touch.
- Heat the oil: Pour enough oil into a large frying pan to reach about 1cm depth. Heat it over a medium-high flame. To test if it’s ready, drop a single breadcrumb into the oil; it should sizzle immediately and float to the surface. The oil should shimmer but not smoke – that’s the sweet spot around 170°C.
- Fry the schnitzel: Gently lay one or two coated chicken breasts into the hot oil, being careful not to overcrowd the pan. You’ll hear a vigorous, satisfying sizzle. Fry for 3–4 minutes on the first side, until the underside is a deep, golden brown and the edges look crispy. Flip using tongs and cook for another 3–4 minutes. The crust should feel hard and sound crunchy when tapped.
- Rest and drain: Transfer the cooked schnitzel to a wire rack set over a baking tray. This is better than paper towels because it prevents the bottom from steaming and going soggy. Let them rest for 2–3 minutes. You’ll notice the crust is still audibly crackling as it cools.
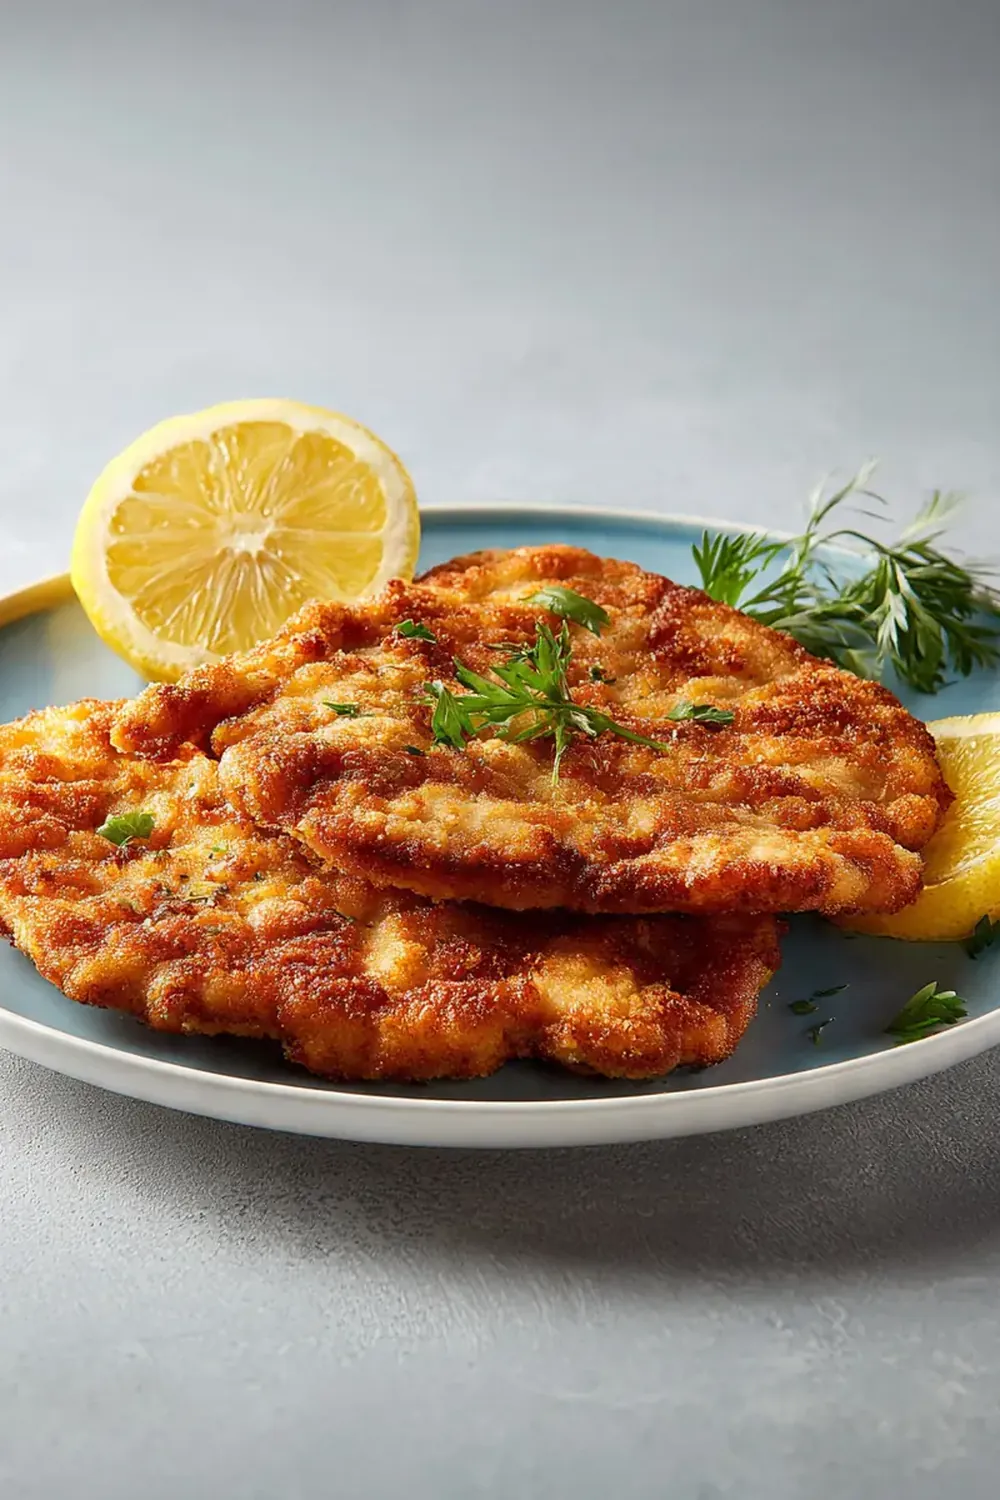
- Plate and serve: Place each schnitzel on a warm plate. Garnish with a generous sprinkle of fresh parsley and a lemon wedge on the side. The contrast of the bright green parsley against the golden crust makes for a stunning presentation.
Tips From My Kitchen
- Pound the chicken to an even thickness: This is the single most important step. If the chicken is thicker in the middle, it will be undercooked there while the thinner edges burn. An even 1cm thickness guarantees juicy, perfectly cooked meat from edge to edge.
- Use panko breadcrumbs for superior crunch: Panko has a larger, flakier texture than standard breadcrumbs. This creates more surface area for the oil to crisp, resulting in a lighter, airier crust that doesn’t absorb as much oil. It’s the difference between a good schnitzel and a great one.
- Don’t press the crumbs in too hard: You want the breadcrumbs to adhere, but pressing them too firmly can compact them, creating a dense, heavy coating. A gentle but firm press is all you need – the egg wash will do the rest of the work.
- Fry in batches to maintain oil temperature: Adding too many pieces of cold chicken at once drops the oil temperature significantly. This causes the coating to absorb oil rather than crisp up, leaving you with a greasy, soggy schnitzel. Fry in batches of one or two at most.
- Rest on a wire rack, not paper towels: I make this at least once a week – it’s become a family favourite – and this tip was a game-changer. Paper towels trap steam against the crust, making it soft. A wire rack allows air to circulate, keeping every side perfectly crisp until serving.
Equipment You’ll Need
- Large frying pan or skillet
- Sharp knife and cutting board
- Mixing bowls (3 shallow ones)
- Meat mallet or rolling pin
- Cling film
- Wire rack and baking tray
- Tongs
Common Mistakes to Avoid
- Overcrowding the pan: When you crowd the pan, the temperature plummets and the chicken steams instead of frying. This results in a pale, soft crust that lacks that signature crunch. Always fry in batches and allow the oil to come back up to temperature between batches.
- Wrong temperature: If the oil is too cool, the coating absorbs fat and becomes greasy. If it’s too hot, the outside burns before the inside is cooked. Maintain a steady medium-high heat, around 170°C, and test with a breadcrumb before you start.
- Skipping the rest time: Resting the schnitzel on a wire rack for a few minutes after frying allows the residual heat to distribute evenly and the crust to set. Cutting into it immediately will release all the juices onto the plate, leaving the meat dry and the crust less crisp.
What to Serve With Delicious Schnitzel Recipe
- A simple cucumber and dill salad with a light yoghurt dressing for freshness.
- Buttered boiled potatoes or a creamy potato salad for a hearty side.
- A crisp, green salad with a sharp lemon vinaigrette to cut through the richness.
- For a more substantial meal, try serving it alongside a Ground Beef And Rice Recipe Skillet for a satisfying, complete dinner.
Frequently Asked Questions
Delicious Schnitzel Recipe
Ingredients
Method
- Prepare the chicken: Place a chicken breast between two sheets of cling film. Gently pound it with a rolling pin or meat mallet until it's about 1cm thick all over. You'll feel the meat yielding and becoming uniformly flat. Repeat with the remaining breasts. The even thickness ensures they cook at the same rate.
- Set up the breading station: In a shallow bowl, mix the flour with the paprika, garlic powder, salt, and pepper. In a second bowl, beat the eggs until they're a uniform, pale yellow colour with a slightly frothy top. In a third bowl, spread out the breadcrumbs. This mise en place is crucial for a smooth workflow.
- Coat the chicken: Take one pounded breast and dredge it in the seasoned flour, shaking off any excess – you want a light, even coating. Dip it into the beaten eggs, letting any excess drip back into the bowl. Finally, press it firmly into the breadcrumbs, ensuring every inch is covered. Place it on a plate and repeat. The coating should feel dry and sandy to the touch.
- Heat the oil: Pour enough oil into a large frying pan to reach about 1cm depth. Heat it over a medium-high flame. To test if it's ready, drop a single breadcrumb into the oil; it should sizzle immediately and float to the surface. The oil should shimmer but not smoke – that's the sweet spot around 170°C.
- Fry the schnitzel: Gently lay one or two coated chicken breasts into the hot oil, being careful not to overcrowd the pan. You'll hear a vigorous, satisfying sizzle. Fry for 3–4 minutes on the first side, until the underside is a deep, golden brown and the edges look crispy. Flip using tongs and cook for another 3–4 minutes. The crust should feel hard and sound crunchy when tapped.
- Rest and drain: Transfer the cooked schnitzel to a wire rack set over a baking tray. This is better than paper towels because it prevents the bottom from steaming and going soggy. Let them rest for 2–3 minutes. You'll notice the crust is still audibly crackling as it cools.
- Plate and serve: Place each schnitzel on a warm plate. Garnish with a generous sprinkle of fresh parsley and a lemon wedge on the side. The contrast of the bright green parsley against the golden crust makes for a stunning presentation.
Notes
I hope this recipe helps you create a memorable meal for your loved ones. The golden crust, the tender meat, and that proud moment when you set the plate down in front of a guest – it’s all worth the small effort. If you give this a try, I’d love to hear how it went in the comments below. For another wonderfully tender and impressive main course, you might also enjoy this Slow Cooker Beef Stew Recipe Tender, which is perfect for a cosy evening.