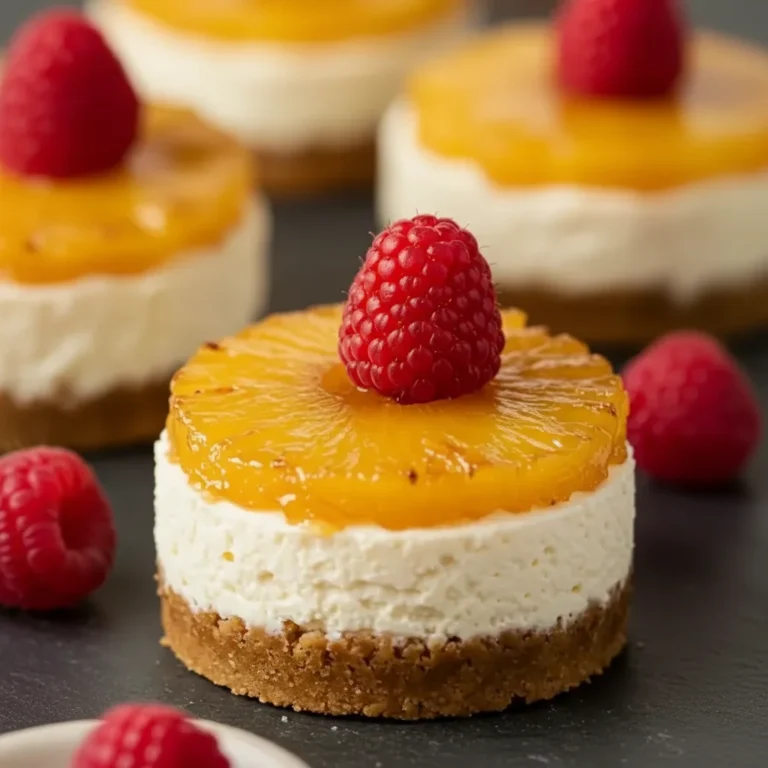
Creamy Summer Berry Peach Cheesecake
There’s something truly special about a dessert that captures the essence of a season on a single plate. For me, that dessert is this no-bake Summer Berry Peach Cheesecake. It’s the taste of long, sunny afternoons and warm evenings spent in the garden. This recipe was born from a glut of beautifully ripe peaches from my neighbour’s tree and a craving for something decadent yet refreshing, without having to turn on the oven. The result is a dessert where a buttery, crunchy biscuit base meets a velvety, rich cream cheese filling, all crowned with a glorious tumble of sweet peaches and sharp, juicy berries.
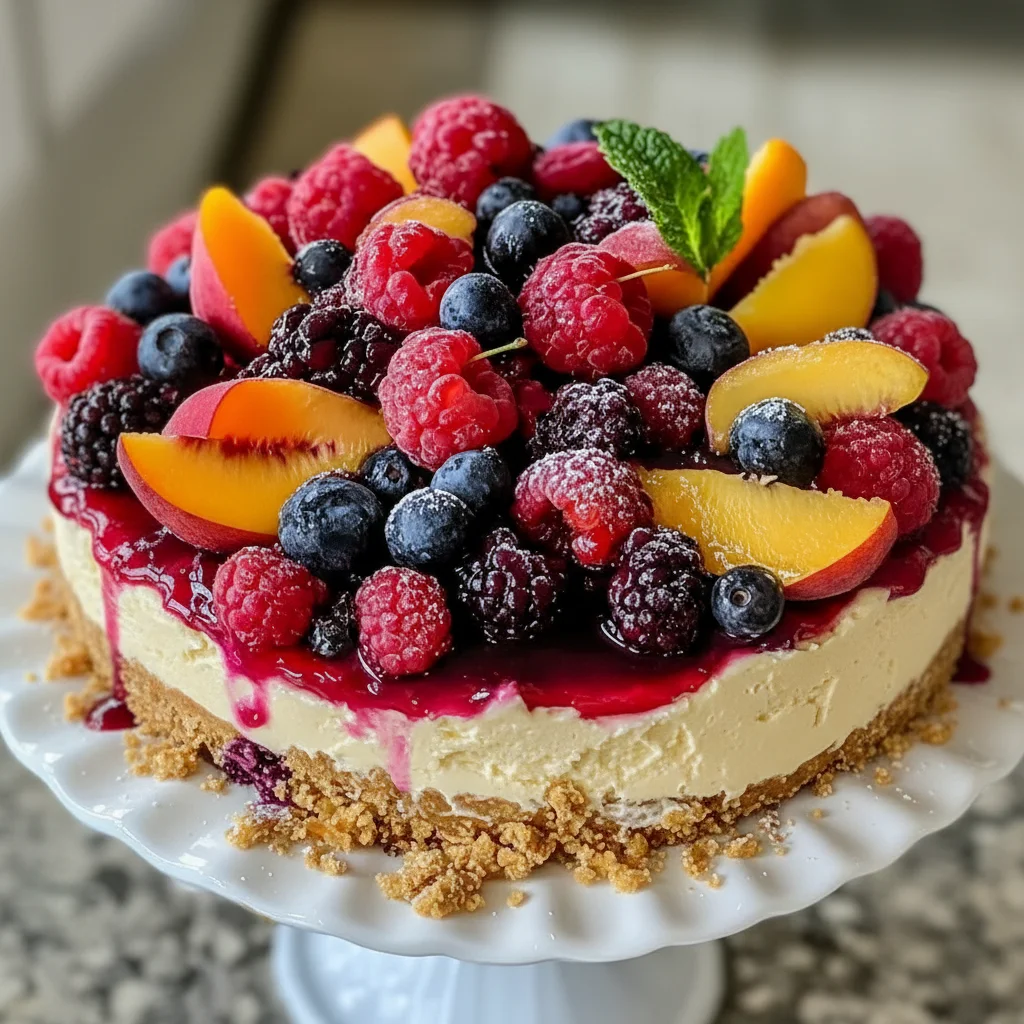
This isn’t just another fruit cheesecake; it’s a wonderfully balanced creation. The sweetness of the ripe peaches is cut through by the slight tartness of the mixed berries, ensuring each spoonful is exciting and not overly sugary. The filling itself is light but creamy, with a subtle hint of vanilla that ties everything together. It works beautifully for a weekend barbecue, a special family dinner, or simply when you want to treat yourself to an exceptional summer dessert. The fact that it requires no baking is just the cherry on top—or in this case, the berry!
Recipe Overview
This no-bake berry and peach cheesecake is all about texture and fresh, vibrant flavours. You can expect a firm, buttery biscuit base, a rich and smooth cream cheese filling that sets beautifully in the fridge, and a fresh fruit topping that sings of summer. I’ve tested this recipe multiple times, and my biggest takeaway is to not rush the chilling process; giving it the full time ensures a perfect slice every single time. It’s a straightforward recipe that delivers a truly show-stopping result.
- Prep Time: 30 minutes
- Chilling Time: At least 6 hours, or overnight
- Total Time: 6 hours 30 minutes
- Servings: 10-12 people
- Difficulty: Easy
Why You’ll Love This Summer Berry Peach Cheesecake Recipe
- Vibrant Summer Flavour: The combination of sweet, fragrant peaches and slightly sharp raspberries and blueberries provides a genuine taste of the season. The creamy filling acts as the perfect canvas, allowing the fruit to be the star.
- Comes Together in 30 Minutes: The active preparation for this cheesecake is remarkably quick. Once you’ve made the base and filling, the fridge does all the hard work, making it a brilliant make-ahead dessert.
- Wonderfully Adaptable: Don’t have peaches? Nectarines or apricots work just as well. You can also swap the berries for whatever is in season – cherries or strawberries would be lovely alternatives. The base can also be made with ginger nuts for a bit of warmth.
- Great for Summer Gatherings: Because it’s made in advance and served cold, this cheesecake is ideal for garden parties, family barbecues, or any occasion where you want an impressive dessert without last-minute stress. It always gets so many compliments.
- Family Tested and Approved: My whole family adores this dessert. The children love the fruity topping, and the adults appreciate the rich, creamy texture. It’s one of those recipes that everyone seems to enjoy.
Ingredients You’ll Need
For a no-bake cheesecake, the quality of your ingredients, especially the dairy, is key. I always opt for full-fat Philadelphia cream cheese as its firm texture provides the best set. Using light or low-fat versions can result in a filling that doesn’t hold its shape. Everything should be at room temperature before you begin, which helps create a silky-smooth, lump-free filling.
- For the Biscuit Base:
- 300g digestive biscuits
- 150g unsalted butter, melted
- For the Creamy Filling:
- 600g full-fat cream cheese, at room temperature
- 100g icing sugar, sifted
- 1 tsp vanilla extract
- 300ml double cream, cold
- For the Fruit Topping:
- 3 ripe peaches, stoned and sliced
- 200g mixed summer berries (such as raspberries, blueberries, and blackberries)
- 1 tbsp caster sugar (optional, depending on fruit sweetness)
- 1 tbsp lemon juice
Ashley’s Tip: If your peaches aren’t perfectly ripe, you can gently poach the slices in a little water and sugar for a few minutes to soften them and bring out their sweetness. Let them cool completely before topping the cheesecake.
How to Make This Summer Berry Peach Cheesecake Recipe
The process for this no bake cheesecake is wonderfully simple. We’ll start by creating a solid foundation with the biscuit base, then whip up the luscious filling, and finally let it chill to perfection before adding the beautiful fruit topping. It’s all about simple steps executed well.
- Prepare the Tin: Lightly grease a 23cm (9-inch) loose-bottomed or springform cake tin and line the base with baking parchment. This will make it much easier to remove the cheesecake later.
- Make the Biscuit Base: Crush the digestive biscuits into a fine crumb. I find that using a food processor gives the most uniform crumb, but a sandwich bag and a rolling pin work just as well for a bit of a stress-relieving bash! Pour the melted butter over the crumbs and mix until it resembles damp sand.
- Press the Base: Tip the buttery crumbs into your prepared tin. Use the back of a spoon or the bottom of a glass to press the mixture down firmly and evenly across the base and slightly up the sides. Place it in the fridge to chill for at least 30 minutes while you make the filling.
- Whip the Filling: In a large bowl, use an electric mixer to beat the room-temperature cream cheese, sifted icing sugar, and vanilla extract until completely smooth and free of lumps. This step is crucial for a velvety texture.
- Fold in the Cream: In a separate bowl, whip the cold double cream until it holds soft peaks. Be careful not to over-whip it. Gently fold the whipped cream into the cream cheese mixture in two stages until just combined. You want to keep as much air in the mixture as possible.
- Fill the Tin: Spoon the creamy filling over the chilled biscuit base and smooth the top with a spatula or the back of a spoon.
- Chill to Perfection: Cover the cheesecake with cling film and place it in the fridge to set for at least 6 hours, but overnight is even better. This chilling time is non-negotiable for a firm cheesecake that slices cleanly.
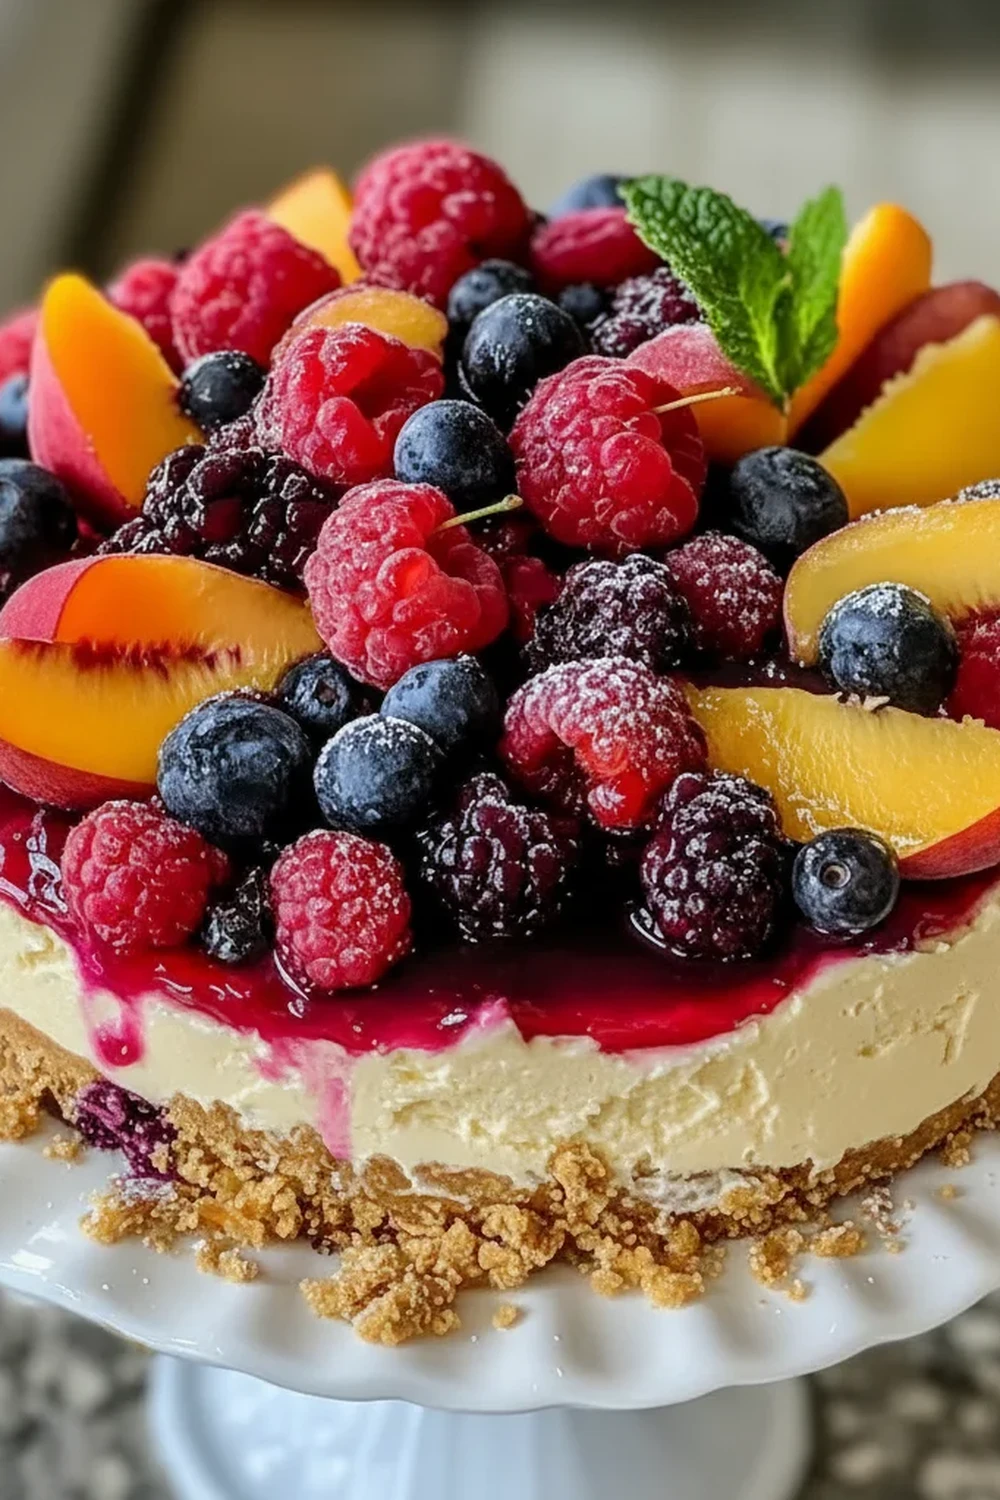
- Prepare the Topping: Just before serving, prepare your fruit. Gently toss the sliced peaches and mixed berries with the lemon juice and optional caster sugar. The lemon juice will help prevent the peaches from browning.
- Decorate and Serve: Carefully remove the cheesecake from the tin and place it on a serving plate. Arrange the fresh peach slices and berries beautifully over the top. Slice with a sharp, clean knife and serve immediately.
Tips From My Kitchen
- Room Temperature is Key: For the smoothest possible filling, your cream cheese must be at room temperature. Cold cream cheese will result in a lumpy mixture that no amount of beating can fix. I take mine out of the fridge about an hour before I start.
- The Secret to Firmness: I used to struggle with getting my no-bake cheesecakes to set firmly until I learned the importance of full-fat ingredients. Full-fat cream cheese and double cream contain the necessary fat content to help the cheesecake set without gelatine. Don’t be tempted to substitute with lower-fat alternatives.
- Make-Ahead Magic: This is a brilliant dessert to make a day ahead. The cheesecake base and filling can be prepared and left to chill in the fridge overnight. Just add the fresh fruit topping right before you’re ready to serve to keep it looking its best.
- Storing Leftovers: If you have any leftovers (which is rare in my house!), they can be stored in an airtight container in the fridge for up to 3 days. The biscuit base may soften slightly over time, but it will still be delicious.
Common Mistakes to Avoid
- Over-whipping the Cream: It’s easy to take your double cream from soft peaks to a grainy, buttery mess. Keep a close eye on it and stop as soon as it’s thick enough to hold its shape but still has a soft, billowy texture. For a great visual guide, you can check out this article on how to whip cream correctly from BBC Good Food.
- Using Cold Ingredients: As mentioned in my tips, using cold cream cheese is the number one cause of a lumpy cheesecake filling. If you forget to take it out in advance, you can unwrap it and leave it on the counter for 30-60 minutes to take the chill off.
- Not Chilling it Long Enough: Patience is a virtue, especially with a no bake cheesecake. Cutting into it too soon will result in a soft, sloppy slice. A minimum of 6 hours is needed for the fats in the cream and cheese to solidify and set the structure. Overnight is always my preferred method for a guaranteed firm set.
Delicious Variations to Try
While this Summer Berry Peach Cheesecake Recipe is wonderful as it is, it’s also a great base for experimentation. Here are a few ideas to get you started:
- A Gingery Kick: Swap the digestive biscuits for ginger nuts. The gentle warmth and spice of the ginger pairs beautifully with the sweet peaches and adds a lovely new dimension to the flavour profile.
- Lemony Zing: Add the finely grated zest of one lemon to the cream cheese filling when you add the vanilla. It will brighten the entire dessert and complement the berries wonderfully.
- Swap the Fruit: This recipe works with almost any soft summer fruit. Try it with nectarines and cherries, or a simple but elegant topping of fresh strawberries and a drizzle of balsamic glaze for a sophisticated twist. If you enjoy fruity desserts, you might also like our elegant Rose Gold Cake Recipe.
What to Serve With This Summer Berry Peach Cheesecake
This dessert stands proudly on its own, but a few simple accompaniments can elevate it even further. It is a stunning finish to a light summer meal, perhaps after some Tender Grilled Lamb Chops.
- A Drizzle of Coulis: A simple raspberry coulis drizzled over each slice adds an extra pop of colour and intense berry flavour.
- A Sprig of Mint: A few fresh mint leaves scattered over the top not only look pretty but also add a lovely, fresh aroma that complements the fruit.
- A Glass of Bubbly: A chilled glass of Prosecco or a light rosé wine is a fantastic pairing. The bubbles and acidity cut through the richness of the cheesecake beautifully.
Frequently Asked Questions
Summer Berry Peach Cheesecake Recipe
Ingredients
Method
- Prepare the Tin: Lightly grease a 23cm (9-inch) loose-bottomed or springform cake tin and line the base with baking parchment. This will make it much easier to remove the cheesecake later.
- Make the Biscuit Base: Crush the digestive biscuits into a fine crumb. I find that using a food processor gives the most uniform crumb, but a sandwich bag and a rolling pin work just as well for a bit of a stress-relieving bash! Pour the melted butter over the crumbs and mix until it resembles damp sand.
- Press the Base: Tip the buttery crumbs into your prepared tin. Use the back of a spoon or the bottom of a glass to press the mixture down firmly and evenly across the base and slightly up the sides. Place it in the fridge to chill for at least 30 minutes while you make the filling.
- Whip the Filling: In a large bowl, use an electric mixer to beat the room-temperature cream cheese, sifted icing sugar, and vanilla extract until completely smooth and free of lumps. This step is crucial for a velvety texture.
- Fold in the Cream: In a separate bowl, whip the cold double cream until it holds soft peaks. Be careful not to over-whip it. Gently fold the whipped cream into the cream cheese mixture in two stages until just combined. You want to keep as much air in the mixture as possible.
- Fill the Tin: Spoon the creamy filling over the chilled biscuit base and smooth the top with a spatula or the back of a spoon.
- Chill to Perfection: Cover the cheesecake with cling film and place it in the fridge to set for at least 6 hours, but overnight is even better. This chilling time is non-negotiable for a firm cheesecake that slices cleanly.
- Prepare the Topping: Just before serving, prepare your fruit. Gently toss the sliced peaches and mixed berries with the lemon juice and optional caster sugar. The lemon juice will help prevent the peaches from browning.
- Decorate and Serve: Carefully remove the cheesecake from the tin and place it on a serving plate. Arrange the fresh peach slices and berries beautifully over the top. Slice with a sharp, clean knife and serve immediately.
Notes
I really hope you give this Summer Berry Peach Cheesecake recipe a try. It’s a true taste of sunshine and has become a staple in my kitchen every summer. It’s a joy to make and even more of a joy to share. Let me know how you get on in the comments below – I’d love to hear about your creations!
Happy cooking,
Ashley