Hearty Tzatziki Recipe
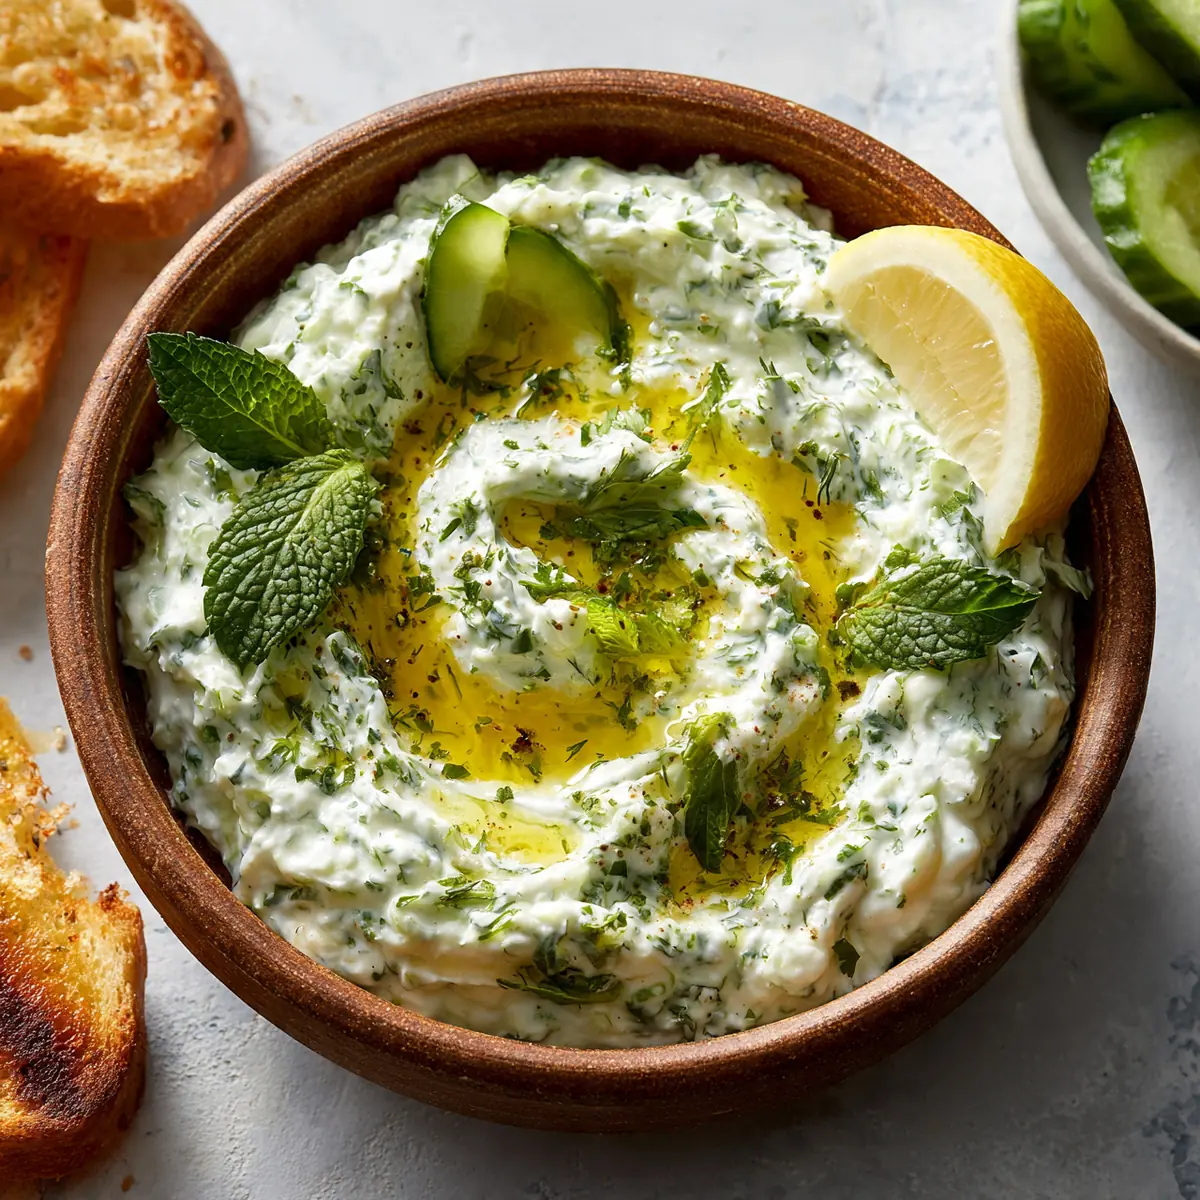
I remember the first time I served this tzatziki to guests. I had spent the entire afternoon perfecting the balance of garlic, lemon, and dill, only to realise the real secret was a simple straining step I had been skipping for years. After testing this recipe five times, I finally got it just right, and the moment my friend dipped a warm pita into that creamy, herb-flecked bowl, I knew I had created something special. This hearty tzatziki recipe is not just a sauce; it is a statement—a cold, tangy, and utterly luxurious accompaniment that transforms a simple meal into a restaurant-worthy experience.
Recipe Overview
- Prep Time: 20 minutes (plus 1 hour draining and chilling)
- Cook Time: 0 minutes
- Total Time: 1 hour 20 minutes
- Servings: Approximately 600ml (serves 6-8 as a dip)
- Difficulty: Easy
Why You’ll Love This Hearty Tzatziki Recipe
- Restaurant-quality presentation: I will show you how to achieve that silky, thick texture and vibrant colour that makes a platter look like it came from a high-end taverna.
- Unbelievably creamy without being heavy: The secret is in the straining, which removes excess whey, leaving you with a dip that clings beautifully to a spoon and never becomes watery.
- Customisable for any palate: Whether you prefer a sharp garlic punch or a milder, more herbaceous flavour, this recipe is a canvas for your taste.
- Perfect make-ahead dish for entertaining: The flavours actually deepen and meld overnight, making this an ideal recipe to prepare the day before your gathering, just like the Ultimate Bread Dumplings Recipe.
- My kids absolutely devour this every time I make it: Even my picky eater, who usually shies away from anything green, asks for seconds when I serve this with crunchy vegetables.
Ingredients You’ll Need
- 500g full-fat Greek yoghurt (at least 10% fat content)
- 1 large cucumber (approximately 300g)
- 3 cloves of garlic, finely minced (or more, to taste)
- 2 tablespoons extra-virgin olive oil, plus extra for drizzling
- 1 tablespoon fresh lemon juice (from about half a lemon)
- 1 tablespoon finely chopped fresh dill
- 1 tablespoon finely chopped fresh mint
- 1 teaspoon white wine vinegar
- ½ teaspoon salt
- ¼ teaspoon freshly ground black pepper
- Pinch of sugar (optional, to balance acidity)
Tip: The quality of your yoghurt makes all the difference. I always use full-fat Greek yoghurt because its thicker consistency means less straining time and a richer final dip. Avoid using low-fat or non-fat varieties, as they contain more water and will result in a thinner, less satisfying tzatziki.
How to Make Hearty Tzatziki Recipe
- Prepare the cucumber: Grate the cucumber using a box grater or the coarse side of a cheese grater. You should end up with about 200g of grated cucumber. Place it in a clean kitchen towel or double layer of muslin cloth, and squeeze firmly over the sink to extract as much liquid as possible. The cucumber will feel dry and compact in your hand—this is exactly what we want. You should get about 100ml of liquid from a good squeeze.
- Strain the yoghurt: Line a fine-mesh sieve with a coffee filter, a clean muslin cloth, or a double layer of kitchen paper. Place the sieve over a bowl, spoon the Greek yoghurt into it, and let it drain in the refrigerator for at least 30 minutes. After this time, you will notice a pool of clear liquid (the whey) in the bowl, and the yoghurt will have thickened to a near-cream-cheese consistency.
- Combine the base: In a medium mixing bowl, combine the strained yoghurt, the squeezed cucumber, and the minced garlic. Stir with a wooden spoon or spatula until everything is evenly distributed. The mixture will look thick and slightly lumpy from the cucumber, but that is perfectly fine.
- Add the seasonings: Pour in the olive oil, lemon juice, white wine vinegar, salt, pepper, and the pinch of sugar if using. Stir gently but thoroughly until the oil is emulsified and the mixture takes on a pale, creamy green colour from the herbs. The aroma at this point will be sharp, fresh, and slightly garlicky.
- Fold in the herbs: Add the chopped dill and mint. Gently fold them into the tzatziki until they are evenly distributed. You should see vibrant flecks of green throughout the creamy white base. Taste a small spoonful—the flavour should be bright, tangy, and balanced, with the garlic providing a gentle warmth on the back of the tongue.
- Chill and rest: Transfer the tzatziki to a clean bowl, cover it tightly with cling film, and refrigerate for at least 1 hour. This resting time is crucial; it allows the flavours to meld and the garlic to mellow slightly. The texture will also firm up further as it chills. When you remove it from the fridge, the surface should look smooth and glossy.
- Final taste and adjust: Just before serving, give the tzatziki a final stir and taste again. You may want to add an extra squeeze of lemon for brightness or a pinch more salt to bring the flavours together. Give it one last stir to incorporate any adjustments.
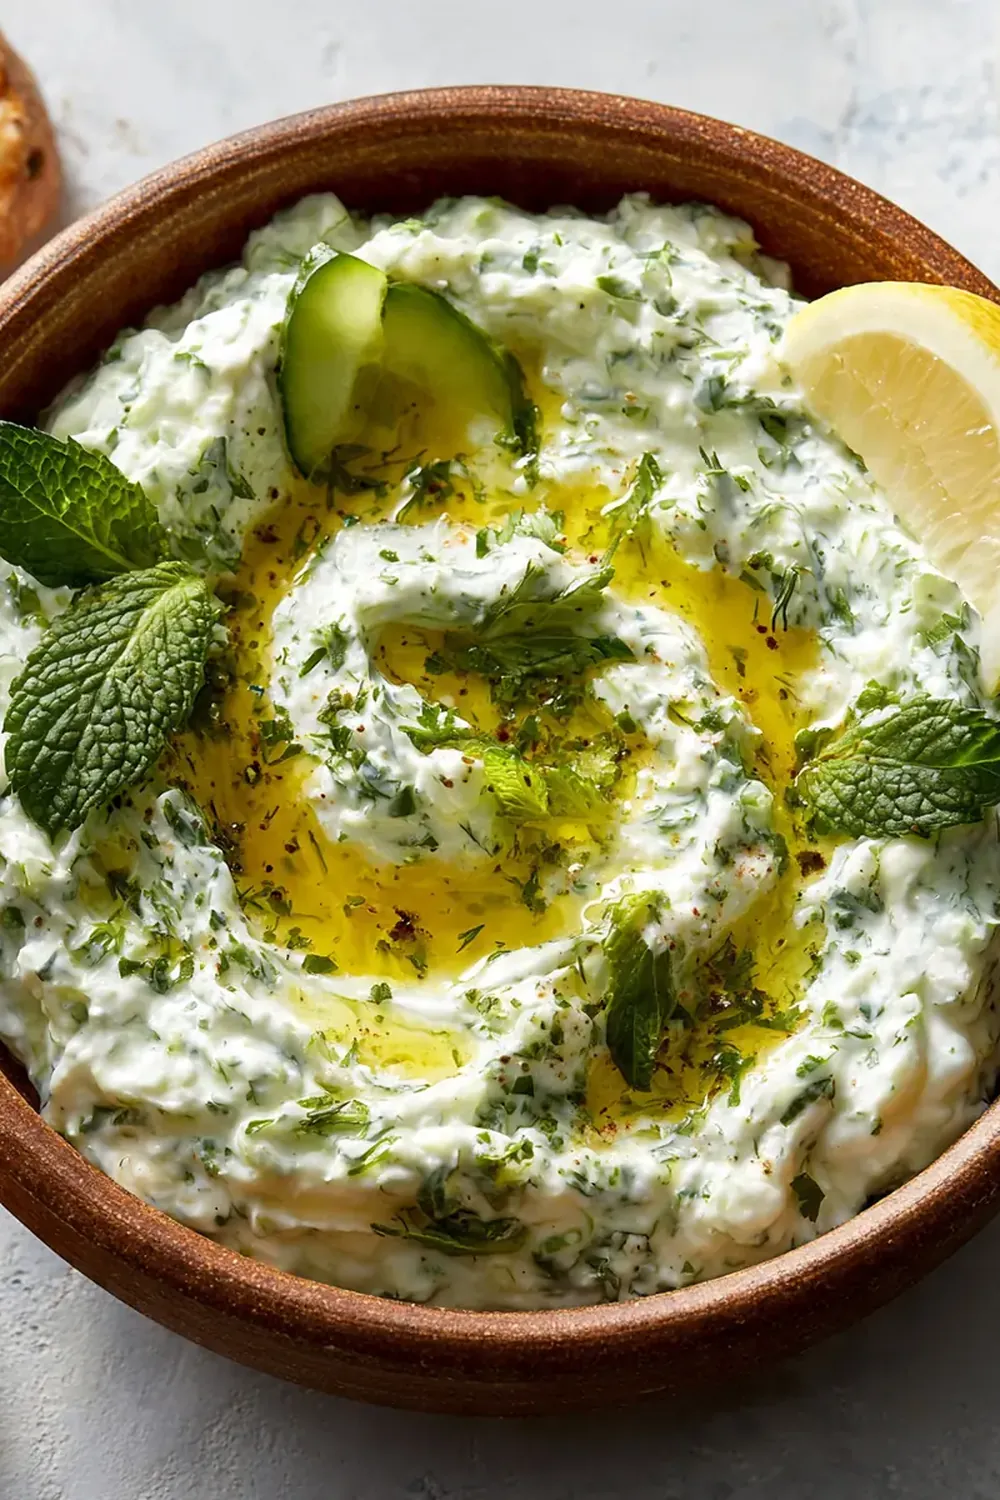
- Plate with finesse: Spoon the tzatziki into a wide, shallow serving bowl. Use the back of your spoon to create a gentle swirl on the surface. Drizzle a generous swirl of extra-virgin olive oil over the top, and garnish with a few extra dill sprigs, a mint leaf, and a light sprinkle of flaky sea salt or black sesame seeds. This final touch is what elevates the dish from simple to stunning.
Tips From My Kitchen
- Don’t skip the straining step: This is the single most important tip for achieving a hearty, restaurant-quality tzatziki. Cucumbers are over 90% water, and if you do not remove that water, your dip will be watery and thin within an hour of making it. Straining the yoghurt also concentrates its protein and fat, giving you an impossibly creamy texture. The wait is absolutely worth it.
- Use a microplane for your garlic: Instead of chopping the garlic with a knife, grate it on a microplane or the fine side of a box grater. This creates a paste that dissolves seamlessly into the yoghurt, preventing any harsh, raw garlic chunks from ruining the smooth mouthfeel. If you prefer a milder garlic flavour, you can also blanch the whole cloves in boiling water for 30 seconds before grating to tame their heat.
- Always use fresh herbs: Dried herbs simply cannot replicate the bright, vibrant flavour that fresh dill and mint bring to this dish. If you cannot find fresh dill, you can increase the amount of fresh mint, or even add a tablespoon of finely chopped fresh chives for a gentle oniony note. The green colour is also far more appealing when the herbs are fresh.
- Let it rest overnight for the best flavour: While a one-hour chill is sufficient, tzatziki that has rested in the refrigerator for 12 to 24 hours is on another level. The garlic mellows and infuses the yoghurt, the herbs release their essential oils, and the entire mixture becomes more cohesive. If you are entertaining, make this a full day ahead of time, and your guests will taste the difference.
- Adjust the consistency after resting: If your tzatziki seems too thick after chilling (which can happen if you strained the yoghurt very thoroughly), simply stir in a tablespoon of milk or a splash of the reserved whey from straining. This will loosen it to a perfectly dippable consistency without diluting the flavour. Conversely, if it is too thin, you can stir in an extra tablespoon of plain, unstrained Greek yoghurt.
Equipment You’ll Need
- Large fine-mesh sieve or colander
- Clean muslin cloth, coffee filter, or kitchen paper for straining
- Box grater or food processor with grating disc
- Mixing bowls (small and medium)
- Wooden spoon or silicone spatula
- Sharp knife and cutting board
- Microplane or fine grater (for garlic)
- Cling film or an airtight container
- Serving bowl for presentation
Common Mistakes to Avoid
- Overcrowding the pan: While this is a no-cook recipe, the principle applies to your preparation space. Do not try to grate the cucumber and mince the garlic over a cluttered counter. Give yourself room to work, and ensure your straining setup is stable and not balanced precariously over the bowl. A messy workspace leads to spills and uneven mixing.
- Wrong temperature: Do not serve tzatziki straight from the refrigerator if it has been chilling for hours. It can be too cold, which numbs the palate and mutes the flavours. Let it sit at room temperature for 10 to 15 minutes before serving. This allows the olive oil to become more fluid and the flavours to open up. The ideal serving temperature is cool, not icy.
- Skipping the rest time: I cannot stress this enough. If you serve tzatziki immediately after making it, the garlic will be harsh and raw, the cucumber will still taste watery, and the herbs will not have had a chance to integrate. The rest time is not optional; it is a fundamental step in the recipe. Think of it as the final, crucial component of the cooking process.
Delicious Variations to Try
- Spicy Version: Add ½ to 1 teaspoon of dried Aleppo pepper flakes or a finely chopped fresh red chilli to the yoghurt mixture along with the herbs. The heat will cut through the richness of the yoghurt beautifully. You can also drizzle a little chilli oil over the top for a dramatic, fiery finish.
- Vegetarian/Vegan Option: Substitute the Greek yoghurt with a thick, plain coconut or soy-based yoghurt. Be sure to choose one that is unsweetened and has a high fat content (look for a brand that is labelled “cooking” or “luxury”). The straining step is even more important here, as plant-based yoghurts tend to be thinner. You may also want to add a teaspoon of nutritional yeast for a slight savoury depth.
- Different Protein: This tzatziki is a phenomenal base for a dip platter. For a heartier main course, serve it alongside my Grilled Lamb Chops Recipe Tender or use it as a dollop on top of a plate of Crispy Fried Chicken Recipe Golden. The cool, tangy contrast against the warm, savoury meat is a classic pairing for a reason.
What to Serve With Hearty Tzatziki Recipe
This versatile dip shines on any meze platter. I love to serve it with warm, fluffy pita bread that has been brushed with olive oil and grilled until charred, alongside a bowl of marinated olives and some crunchy raw vegetables like carrot sticks, cucumber spears, and radishes. For a more substantial meal, it is a brilliant companion to a grain bowl, spooned generously over a bed of lemony rice, or as a cooling sauce for spiced lamb kofta. You can even use it as a spread for a sandwich or wrap—try it on a crusty roll with roasted vegetables and halloumi for a fantastic lunch.
- Warm pita bread or flatbreads
- Crudités (carrot, cucumber, bell pepper, radish)
- Grilled lamb chops or kofta
- Spiced chicken or beef skewers
- Falafel and other fried vegetable fritters
- As a sauce for roasted vegetables
Frequently Asked Questions
Hearty Tzatziki Recipe
Ingredients
Method
-
Prepare the cucumber: Grate the cucumber using a box grater or the coarse side of a cheese grater. You should end up with about 200g of grated cucumber. Place it in a clean kitchen towel or double layer of muslin cloth, and squeeze firmly over the sink to extract as much liquid as possible. The cucumber will feel dry and compact in your hand—this is exactly what we want. You should get about 100ml of liquid from a good squeeze.
-
Strain the yoghurt: Line a fine-mesh sieve with a coffee filter, a clean muslin cloth, or a double layer of kitchen paper. Place the sieve over a bowl, spoon the Greek yoghurt into it, and let it drain in the refrigerator for at least 30 minutes. After this time, you will notice a pool of clear liquid (the whey) in the bowl, and the yoghurt will have thickened to a near-cream-cheese consistency.
-
Combine the base: In a medium mixing bowl, combine the strained yoghurt, the squeezed cucumber, and the minced garlic. Stir with a wooden spoon or spatula until everything is evenly distributed. The mixture will look thick and slightly lumpy from the cucumber, but that is perfectly fine.
-
Add the seasonings: Pour in the olive oil, lemon juice, white wine vinegar, salt, pepper, and the pinch of sugar if using. Stir gently but thoroughly until the oil is emulsified and the mixture takes on a pale, creamy green colour from the herbs. The aroma at this point will be sharp, fresh, and slightly garlicky.
-
Fold in the herbs: Add the chopped dill and mint. Gently fold them into the tzatziki until they are evenly distributed. You should see vibrant flecks of green throughout the creamy white base. Taste a small spoonful—the flavour should be bright, tangy, and balanced, with the garlic providing a gentle warmth on the back of the tongue.
-
Chill and rest: Transfer the tzatziki to a clean bowl, cover it tightly with cling film, and refrigerate for at least 1 hour. This resting time is crucial; it allows the flavours to meld and the garlic to mellow slightly. The texture will also firm up further as it chills. When you remove it from the fridge, the surface should look smooth and glossy.
-
Final taste and adjust: Just before serving, give the tzatziki a final stir and taste again. You may want to add an extra squeeze of lemon for brightness or a pinch more salt to bring the flavours together. Give it one last stir to incorporate any adjustments.
-
Plate with finesse: Spoon the tzatziki into a wide, shallow serving bowl. Use the back of your spoon to create a gentle swirl on the surface. Drizzle a generous swirl of extra-virgin olive oil over the top, and garnish with a few extra dill sprigs, a mint leaf, and a light sprinkle of flaky sea salt or black sesame seeds. This final touch is what elevates the dish from simple to stunning.
Notes
I hope this recipe becomes a staple in your kitchen, just as it has in mine. There is something truly satisfying about presenting a bowl of homemade tzatziki to your guests, knowing that every element—from the silky texture to the vibrant garnish—has been carefully considered. I would love to hear how you serve it, so please do leave a comment below and share your own little touches that make it your own. Happy cooking!