Salmon Cakes Canned Salmon Recipe
There’s something truly satisfying about creating a fantastic meal from what you already have in the kitchen cupboard. For me, a tin of salmon is one of those versatile staples that can be transformed into something special with just a few fresh ingredients. This salmon cakes canned salmon recipe is the result of many weeknight experiments, born from a need for a dinner that’s both straightforward and feels a little bit elegant. My kids absolutely devour this every time I make it, often before I’ve even had a chance to sit down myself.
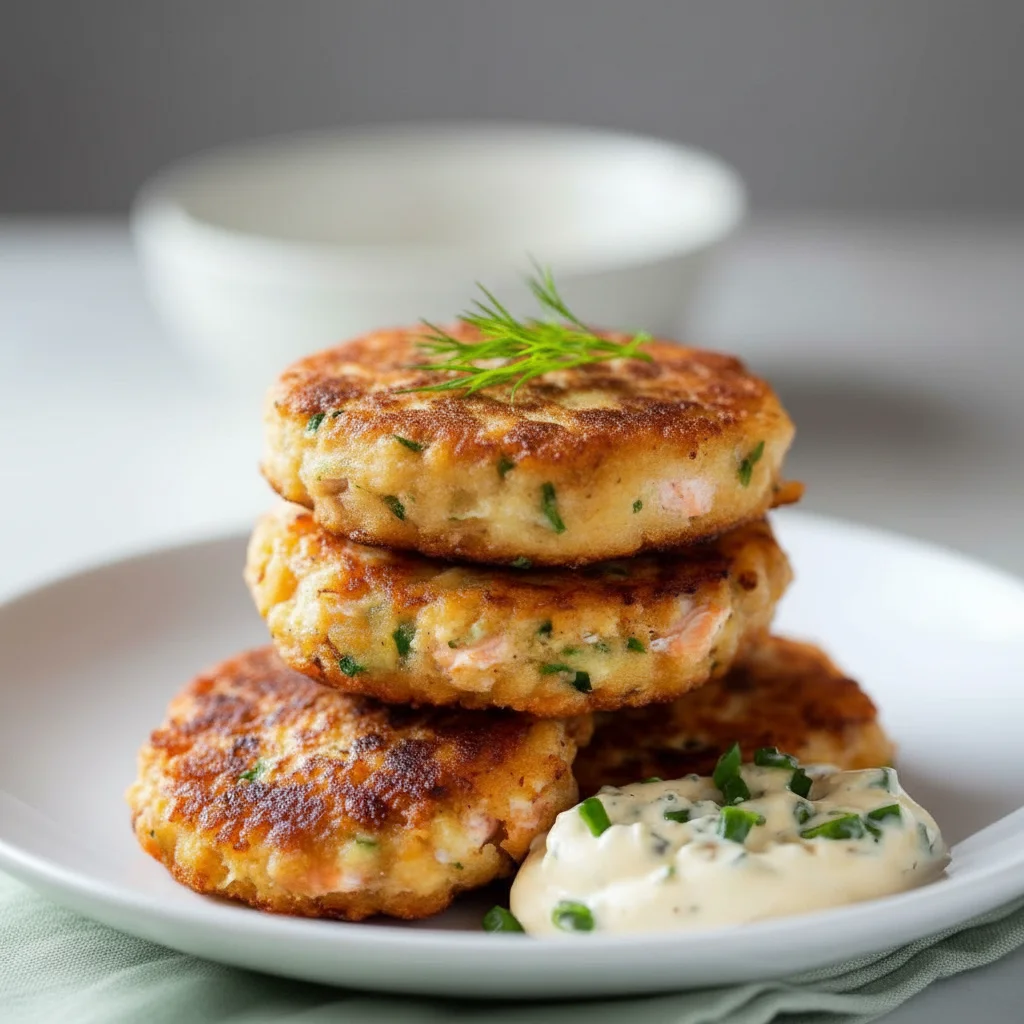
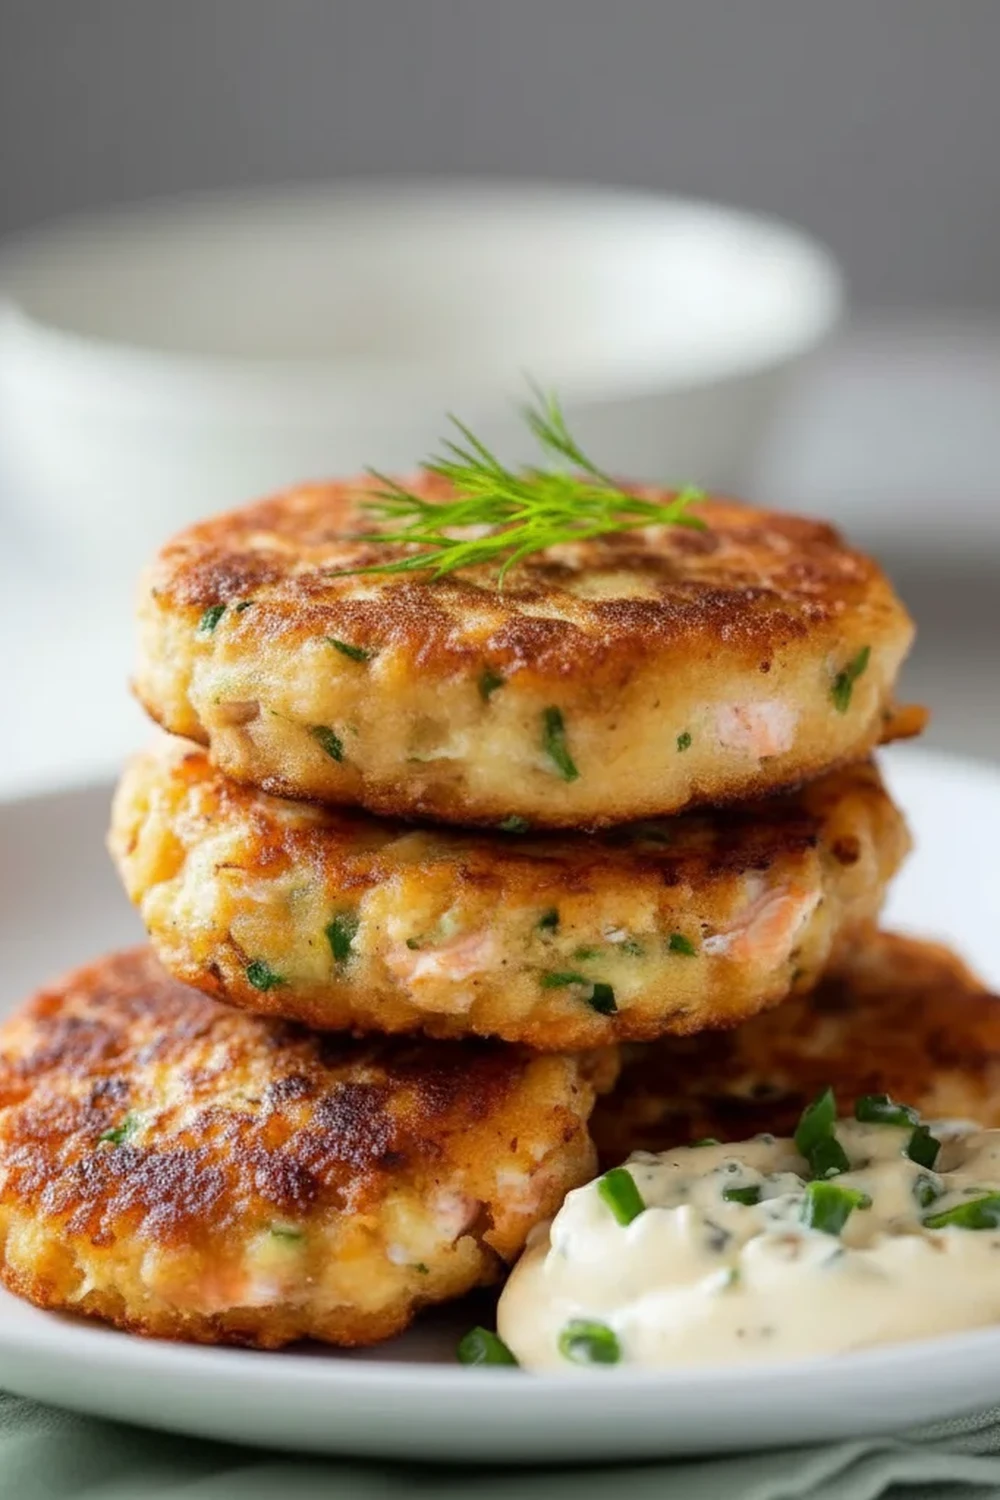
What sets these salmon cakes apart is their texture and flavour. We’re aiming for a beautifully golden, crisp exterior that gives way to a moist, flaky, and flavour-packed interior. The combination of fresh dill, sharp spring onions, and a little zing from lemon zest lifts the humble canned salmon to new heights. They aren’t heavy or greasy; instead, they are light yet substantial, making them a brilliant choice for a nutritious dinner that comes together without much fuss.
This recipe is ideal when you want a delicious seafood dish without the expense or effort of starting with fresh fish. It works beautifully for a speedy mid-week dinner served with a crisp salad, a satisfying lunch tucked into a pitta with some yoghurt sauce, or even as smaller patties for an appetiser when you have guests. It’s a recipe we return to again and again in my home, and I’m so excited to share it with you.
Recipe Overview
This salmon cakes canned salmon recipe produces wonderfully moist and flavourful fish cakes with a satisfyingly crisp crust. The key is a balanced mix of salmon, fresh herbs, and a good binder, all chilled before frying to ensure they hold together perfectly. I’ve tested this with different binders, and I find a combination of fresh breadcrumbs and a single egg gives the most reliable, non-crumbly result every time.
- Prep Time: 15 minutes
- Chilling Time: 30 minutes
- Cook Time: 10 minutes
- Total Time: 55 minutes
- Servings: 4 people (makes 8 cakes)
- Difficulty: Easy
Why You’ll Love This Salmon Cakes Canned Salmon Recipe
- Genuine Flavour: The canned salmon is beautifully elevated by fresh dill, zesty lemon, and a subtle warmth from Dijon mustard. This isn’t just a basic fish cake; it’s a thoughtfully flavoured dish where each ingredient shines.
- Ready in Under an Hour: The hands-on preparation takes just 15 minutes, and after a short, essential chill in the fridge, they cook in about 10 minutes. It’s a brilliant meal for those busier evenings.
- Flexible Recipe: This recipe is wonderfully adaptable. If you don’t have dill, fresh parsley or chives work well. You can also swap the spring onions for finely chopped red onion for a sharper bite, or add a handful of sweetcorn for texture.
- Great for Mid-week Meals: These are ideal for a swift dinner with a simple side salad and some new potatoes. You can also make them smaller to serve as canapés at a gathering, and they always get compliments.
- Family Tested: This is one of those rare dishes that gets a unanimous thumbs-up in our house. Even my fussiest eater asks for seconds, especially when served with a dollop of our homemade Authentic Tzatziki Sauce.
Ingredients You’ll Need
Most of these ingredients are pantry or fridge staples, which is what makes this canned salmon recipe so convenient. When it comes to the salmon, I prefer using a good quality wild red salmon (sockeye) for its richer flavour and firmer texture, but pink salmon works just as well. I often use the John West brand here in the UK.
- 418g tin of red or pink salmon, drained well
- 100g fresh breadcrumbs (or panko for extra crunch)
- 1 large free-range egg, lightly beaten
- 3 spring onions, finely chopped
- 2 tbsp fresh dill, chopped
- 1 tbsp good quality mayonnaise
- 1 tsp Dijon mustard
- Zest of 1 lemon
- A pinch of salt
- A few grinds of freshly ground black pepper
- 2 tbsp plain flour, for dusting
- 3 tbsp vegetable or sunflower oil, for frying
- Lemon wedges, to serve
- For the Simple Dill Sauce (Optional):
- 150g Greek yoghurt
- 1 tbsp fresh dill, chopped
- A squeeze of fresh lemon juice
Ashley’s Tip: Make sure you drain the canned salmon thoroughly. I press it gently with the back of a fork in a sieve to squeeze out as much liquid as possible. This is the single most important step to prevent the cakes from being too wet and falling apart during cooking.
How to Make Salmon Cakes Canned Salmon Recipe
The process for making these fish cakes is very straightforward. The most important part is the chilling time, which helps them firm up beautifully before they hit the heat. It’s a step you really shouldn’t skip!
- Prepare the Salmon: Open and thoroughly drain the canned salmon. Place the salmon in a large mixing bowl and use a fork to flake it into small pieces. Be sure to remove any noticeable skin or large, hard bones you come across.
- Combine the Ingredients: To the bowl with the flaked salmon, add the breadcrumbs, beaten egg, finely chopped spring onions, dill, mayonnaise, Dijon mustard, and lemon zest. Season with a pinch of salt and a good grind of black pepper.
- Mix Gently: Using a fork or your hands, gently combine all the ingredients until they are just mixed together. What works best for me is using my hands, as you can feel when it’s combined without overworking the mixture, which can make the cakes tough.
- Shape the Patties: Divide the mixture into 8 equal portions. Roll each portion into a ball and then gently flatten it into a patty about 2cm thick.
- Chill the Cakes: Place the shaped salmon cakes onto a plate or baking tray lined with parchment paper. Cover with cling film and place in the refrigerator to chill for at least 30 minutes (or up to a few hours). This step is crucial for helping them hold their shape when frying.
- Coat the Cakes: Once chilled, spread the plain flour on a separate plate. Lightly dust each salmon cake on both sides, shaking off any excess.
- Pan-Fry to Perfection: Heat the oil in a large, non-stick frying pan over a medium heat. When the oil is shimmering, carefully place the salmon cakes into the pan, ensuring you don’t overcrowd it. You may need to cook them in two batches.
- Cook Until Golden: Fry the cakes for 4-5 minutes on each side. They should be a deep golden brown and feel firm to the touch. The internal temperature should be hot all the way through.
- Drain and Serve: Remove the cooked salmon cakes from the pan using a fish slice and place them on a plate lined with kitchen paper to absorb any excess oil. If you made the optional dill sauce, mix the ingredients together in a small bowl. Serve the salmon cakes immediately with lemon wedges and the dill sauce on the side.
Tips From My Kitchen
- Temperature Control: Keep your hob at a steady medium heat. If the pan is too hot, the breadcrumb coating will burn before the inside is warmed through. If the heat is too low, the cakes will sit in the oil for too long and can become greasy.
- The Secret Step: That 30-minute chilling time is non-negotiable! I learned that the hard way when my first few attempts resulted in a pan of crumbly fish. The cold helps the egg and breadcrumbs bind everything together properly.
- Make-Ahead Magic: You can form the uncooked patties and store them in the fridge on a covered plate for up to 24 hours. This makes them a brilliant option for a speedy dinner after a busy day.
- Storage: Leftover cooked salmon cakes can be stored in an airtight container in the fridge for up to 2 days. To reheat, place them on a baking tray in an oven preheated to 180°C (160°C fan) for about 10 minutes until hot and crisp again. Avoid the microwave, as it will make them soggy.
Equipment You’ll Need
You don’t need any fancy gadgets for this recipe, just some basic kitchen tools.
- Large mixing bowl
- Large non-stick frying pan
- Fish slice or spatula
- Baking tray or large plate
- Parchment paper
- Sieve (for draining the salmon)
Common Mistakes to Avoid
- Overcrowding the pan: It’s tempting to squeeze all the cakes in at once, but this lowers the oil temperature and causes them to steam rather than fry. Cook in two batches if needed to give each cake enough space to develop that gorgeous, crisp crust. For a deeper dive into frying techniques, Serious Eats has some great science-backed tips on getting the perfect sear.
- Not Draining the Salmon Enough: Any excess liquid will make the mixture too wet, and your salmon cakes will struggle to hold their shape. Squeeze it out!
- Skipping the Rest Time: I’ve mentioned it a few times because it’s so important. Chilling solidifies the fats and allows the binder to work its magic, resulting in a firm patty that fries perfectly.
Delicious Variations to Try
Once you’ve mastered the basic recipe, feel free to get creative. These salmon cakes are a fantastic base for different flavours.
- Spicy Salmon Cakes: Add 1/4 teaspoon of dried chilli flakes or one finely chopped fresh red chilli to the mixture for a gentle, lingering heat.
- A Taste of Thailand: Swap the dill for fresh coriander, and add a teaspoon of grated fresh ginger and a splash of lime juice for a vibrant, Southeast Asian twist.
- Add Some Veg: For an extra nutritional boost and a bit of texture, mix in 50g of cooked sweetcorn or some finely diced red pepper into the salmon mixture. They pair wonderfully with our Grilled Lamb Chops for a mixed platter.
What to Serve With Salmon Cakes
These salmon cakes are versatile enough to be paired with many different sides. Here are a few of my favourite combinations:
- A Crisp Green Salad: A simple salad with rocket, cucumber, and a sharp lemon vinaigrette is my go-to. The freshness and acidity cut through the richness of the fried cakes perfectly.
- New Potatoes: Boiled or steamed new potatoes tossed with butter and fresh parsley are a classic and comforting accompaniment.
- Tartare Sauce or Aioli: While the dill yoghurt is lovely and light, a classic homemade tartare sauce or a punchy garlic aioli also works brilliantly as a dipping sauce.
- Drink Pairing: A crisp, dry white wine like a Sauvignon Blanc or a Pinot Grigio is a wonderful match. For a non-alcoholic option, a sparkling elderflower pressé is delightful.
Frequently Asked Questions
Salmon Cakes Canned Salmon Recipe
Ingredients
Method
- Prepare the Salmon: Open and thoroughly drain the canned salmon. Place the salmon in a large mixing bowl and use a fork to flake it into small pieces. Be sure to remove any noticeable skin or large, hard bones you come across.
- Combine the Ingredients: To the bowl with the flaked salmon, add the breadcrumbs, beaten egg, finely chopped spring onions, dill, mayonnaise, Dijon mustard, and lemon zest. Season with a pinch of salt and a good grind of black pepper.
- Mix Gently: Using a fork or your hands, gently combine all the ingredients until they are just mixed together. What works best for me is using my hands, as you can feel when it's combined without overworking the mixture, which can make the cakes tough.
- Shape the Patties: Divide the mixture into 8 equal portions. Roll each portion into a ball and then gently flatten it into a patty about 2cm thick.
- Chill the Cakes: Place the shaped salmon cakes onto a plate or baking tray lined with parchment paper. Cover with cling film and place in the refrigerator to chill for at least 30 minutes (or up to a few hours). This step is crucial for helping them hold their shape when frying.
- Coat the Cakes: Once chilled, spread the plain flour on a separate plate. Lightly dust each salmon cake on both sides, shaking off any excess.
- Pan-Fry to Perfection: Heat the oil in a large, non-stick frying pan over a medium heat. When the oil is shimmering, carefully place the salmon cakes into the pan, ensuring you don't overcrowd it. You may need to cook them in two batches.
- Cook Until Golden: Fry the cakes for 4-5 minutes on each side. They should be a deep golden brown and feel firm to the touch. The internal temperature should be hot all the way through.
- Drain and Serve: Remove the cooked salmon cakes from the pan using a fish slice and place them on a plate lined with kitchen paper to absorb any excess oil. If you made the optional dill sauce, mix the ingredients together in a small bowl. Serve the salmon cakes immediately with lemon wedges and the dill sauce on the side.
Notes
I hope you and your family enjoy this simple but satisfying Salmon Cakes Canned Salmon Recipe as much as we do. It’s a testament to how fantastic a humble tin of salmon can be, and a great way to turn a pantry staple into a memorable meal, much like our hearty Lentil Soup. Let me know how you get on in the comments below – I love hearing about your kitchen adventures!
– Ashley