Ingredients
Method
- Prepare the Salmon: Open and thoroughly drain the canned salmon. Place the salmon in a large mixing bowl and use a fork to flake it into small pieces. Be sure to remove any noticeable skin or large, hard bones you come across.
- Combine the Ingredients: To the bowl with the flaked salmon, add the breadcrumbs, beaten egg, finely chopped spring onions, dill, mayonnaise, Dijon mustard, and lemon zest. Season with a pinch of salt and a good grind of black pepper.
- Mix Gently: Using a fork or your hands, gently combine all the ingredients until they are just mixed together. What works best for me is using my hands, as you can feel when it's combined without overworking the mixture, which can make the cakes tough.
- Shape the Patties: Divide the mixture into 8 equal portions. Roll each portion into a ball and then gently flatten it into a patty about 2cm thick.
- Chill the Cakes: Place the shaped salmon cakes onto a plate or baking tray lined with parchment paper. Cover with cling film and place in the refrigerator to chill for at least 30 minutes (or up to a few hours). This step is crucial for helping them hold their shape when frying.
- Coat the Cakes: Once chilled, spread the plain flour on a separate plate. Lightly dust each salmon cake on both sides, shaking off any excess.
- Pan-Fry to Perfection: Heat the oil in a large, non-stick frying pan over a medium heat. When the oil is shimmering, carefully place the salmon cakes into the pan, ensuring you don't overcrowd it. You may need to cook them in two batches.
- Cook Until Golden: Fry the cakes for 4-5 minutes on each side. They should be a deep golden brown and feel firm to the touch. The internal temperature should be hot all the way through.
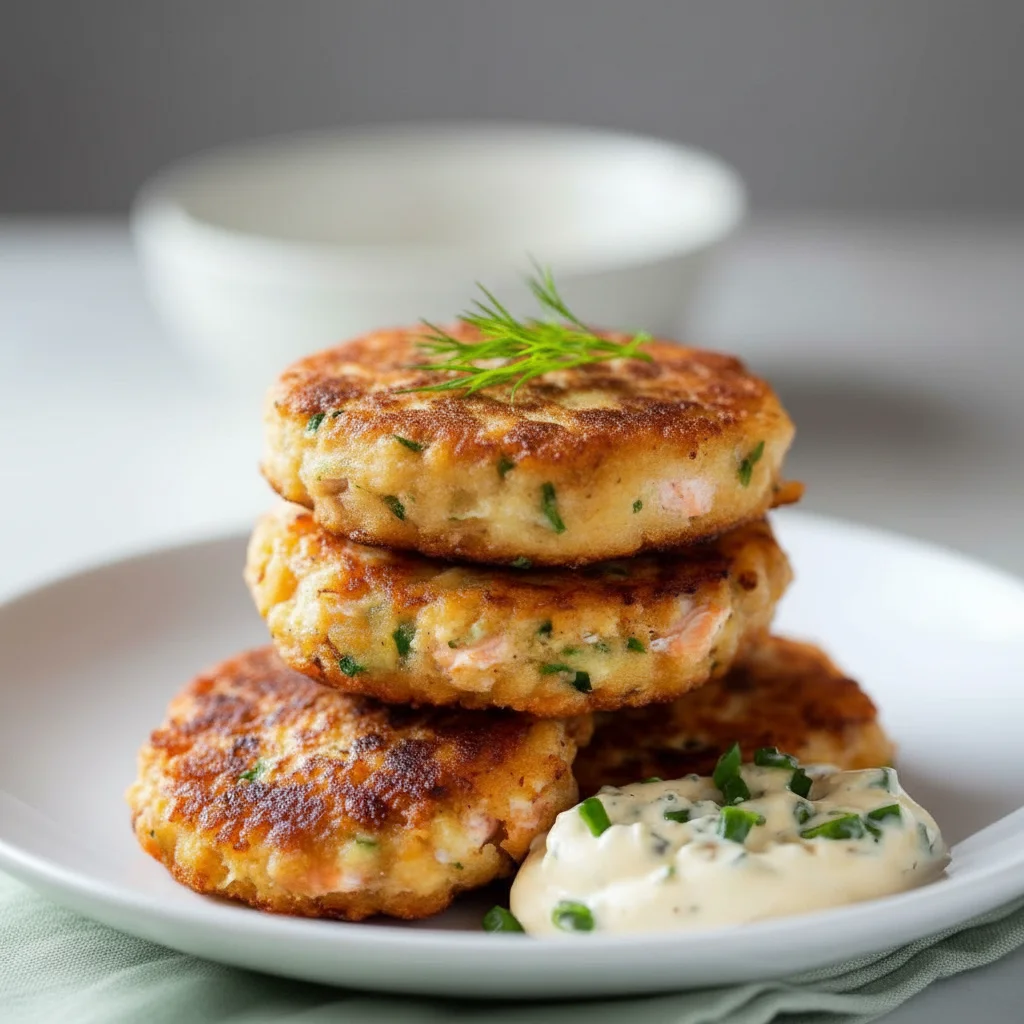
- Drain and Serve: Remove the cooked salmon cakes from the pan using a fish slice and place them on a plate lined with kitchen paper to absorb any excess oil. If you made the optional dill sauce, mix the ingredients together in a small bowl. Serve the salmon cakes immediately with lemon wedges and the dill sauce on the side.
Notes
The 30-minute chilling step is crucial for the cakes to hold their shape. Serve immediately for the best texture. Leftovers can be stored in an airtight container in the fridge for up to 2 days.