Ingredients
Method
- Make the biscuit base: Place the digestive biscuits in a sealed food bag and crush them into fine crumbs using a rolling pin — you want a texture like damp sand, with no large chunks remaining. Tip the crumbs into a bowl, add the caster sugar, then pour in the melted butter. Stir until every crumb is coated and the mixture clumps together when pressed between your fingers.
- Press into the tin: Line a 12-hole muffin tin with paper cases or use a loose-bottomed tart tin. Divide the crumb mixture evenly between the cases, then press down firmly using the back of a spoon or the bottom of a glass. The base should feel compact and hold its shape when touched. Place the tin in the fridge to firm up while you prepare the filling.
- Prepare the lemon filling: In a medium heatproof bowl, whisk together the condensed milk, lemon juice, lemon zest, egg yolks, vanilla extract, and salt. The mixture will look smooth and pale yellow at first, then it will begin to thicken slightly as the lemon juice reacts with the condensed milk — this is exactly what you want.
- Cook the filling gently: Set the bowl over a pan of simmering water (make sure the bowl doesn’t touch the water). Stir continuously with a silicone spatula for 8-10 minutes, until the mixture visibly thickens and coats the back of a spoon. You’ll notice it change from a runny liquid to a custard-like consistency, and it will smell intensely of fresh lemon.
- Cool the filling: Remove the bowl from the heat and set it aside to cool for 15 minutes, stirring occasionally to prevent a skin from forming. The filling should be warm but not hot to the touch before you proceed.
- Whip the cream: In a separate large bowl, pour the cold double cream and add the sifted icing sugar. Whisk using an electric hand mixer on medium speed until soft peaks form — when you lift the beaters, the cream should hold a gentle curl but still be smooth and silky. Be careful not to overwhip, or the cream will become grainy.
- Fold together: Gently fold the cooled lemon mixture into the whipped cream using a large metal spoon. Use a figure-of-eight motion, cutting through the centre and bringing the mixture up from the bottom. Stop as soon as you can’t see any streaks of white — the finished filling should be a uniform pale yellow, airy, and mousse-like in texture.
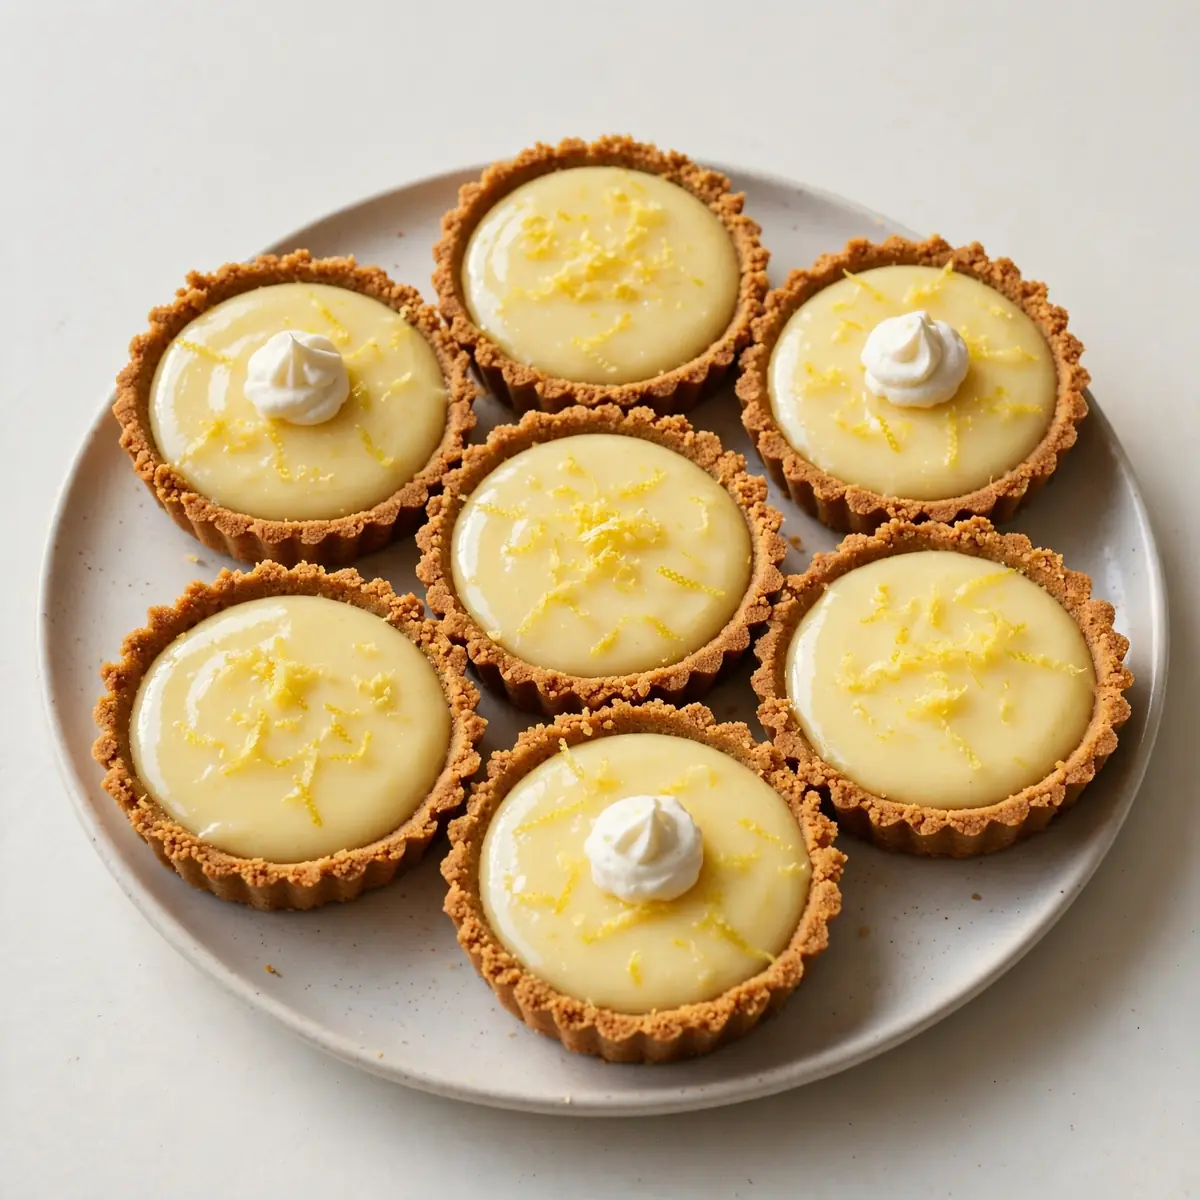
- Fill and chill: Spoon the filling into the chilled biscuit bases, dividing it evenly. Smooth the tops with the back of a spoon. Place the tarts back in the fridge for at least 4 hours, preferably overnight. The filling will set to a firm yet creamy consistency that holds its shape when sliced. After testing this recipe five times, I finally got it just right — the overnight chill really makes a difference to the texture.
Notes
Chilling overnight is recommended for the best texture. The filling will set to a firm yet creamy consistency.