Ingredients
Method
- Prepare Your Tin: Preheat your oven to 160°C (140°C fan/Gas Mark 3). Line a 20x20cm square baking tin with baking parchment, leaving an overhang on all sides. This will make lifting the finished bars out much easier.
- Toast the Nuts and Seeds: Spread the mixed nuts, pumpkin seeds, and sunflower seeds evenly on a large baking tray. Pop them into the preheated oven for 8-10 minutes, until they smell wonderfully fragrant and have a slight golden tint. Keep a close eye on them to prevent burning. Once toasted, remove from the oven and allow them to cool slightly. Their aroma will fill your kitchen with a nutty warmth.
- Combine Dry Ingredients: In a large mixing bowl, combine the toasted nuts and seeds, rolled oats, dried cranberries (or chopped dates), and the fine sea salt. Give everything a good stir with a wooden spoon until all the elements are evenly distributed. You'll see a vibrant mix of colours and textures.
- Create the Sticky Binder: In a small saucepan over medium heat, gently warm the honey (or maple syrup), light brown sugar, and nut butter. Stir constantly with a spatula until the sugar has completely dissolved and the mixture is smooth and glossy, with a rich caramel hue. It should look like a thick, bubbling syrup and smell subtly sweet. Remove from the heat and stir in the vanilla extract.
- Bind and Press: Pour the warm, sticky binder over the dry nut mixture in the large bowl. Stir thoroughly with your wooden spoon, ensuring every nut, seed, and oat flake is coated in the sweet, glossy syrup. The mixture will feel quite sticky and cohesive. Transfer this entire mixture into your prepared baking tin. Using the back of a spoon or a piece of parchment paper, press the mixture down firmly and evenly into the tin. This is a crucial step for well-formed bars; press until it’s tightly packed and level across the surface.
- Bake and Cool: Return the tin to the oven and bake for 15-20 minutes, or until the edges are lightly golden brown and the top feels firm to the touch. The kitchen will smell glorious with toasted nuts and caramel notes. Once baked, remove the tin from the oven and let it cool completely in the tin on a wire rack. This cooling period is vital; resist the urge to cut them warm, as they need to firm up.
- Add the Dark Chocolate Layer: Once the nut mixture is completely cool, melt the dark chocolate. You can do this in a heatproof bowl set over a saucepan of simmering water (bain-marie) or in the microwave in short bursts, stirring frequently. If you prefer a thinner, glossier chocolate, stir in the coconut oil. Once smooth and shimmering, pour the melted chocolate over the cooled nut base, spreading it evenly with a spatula.
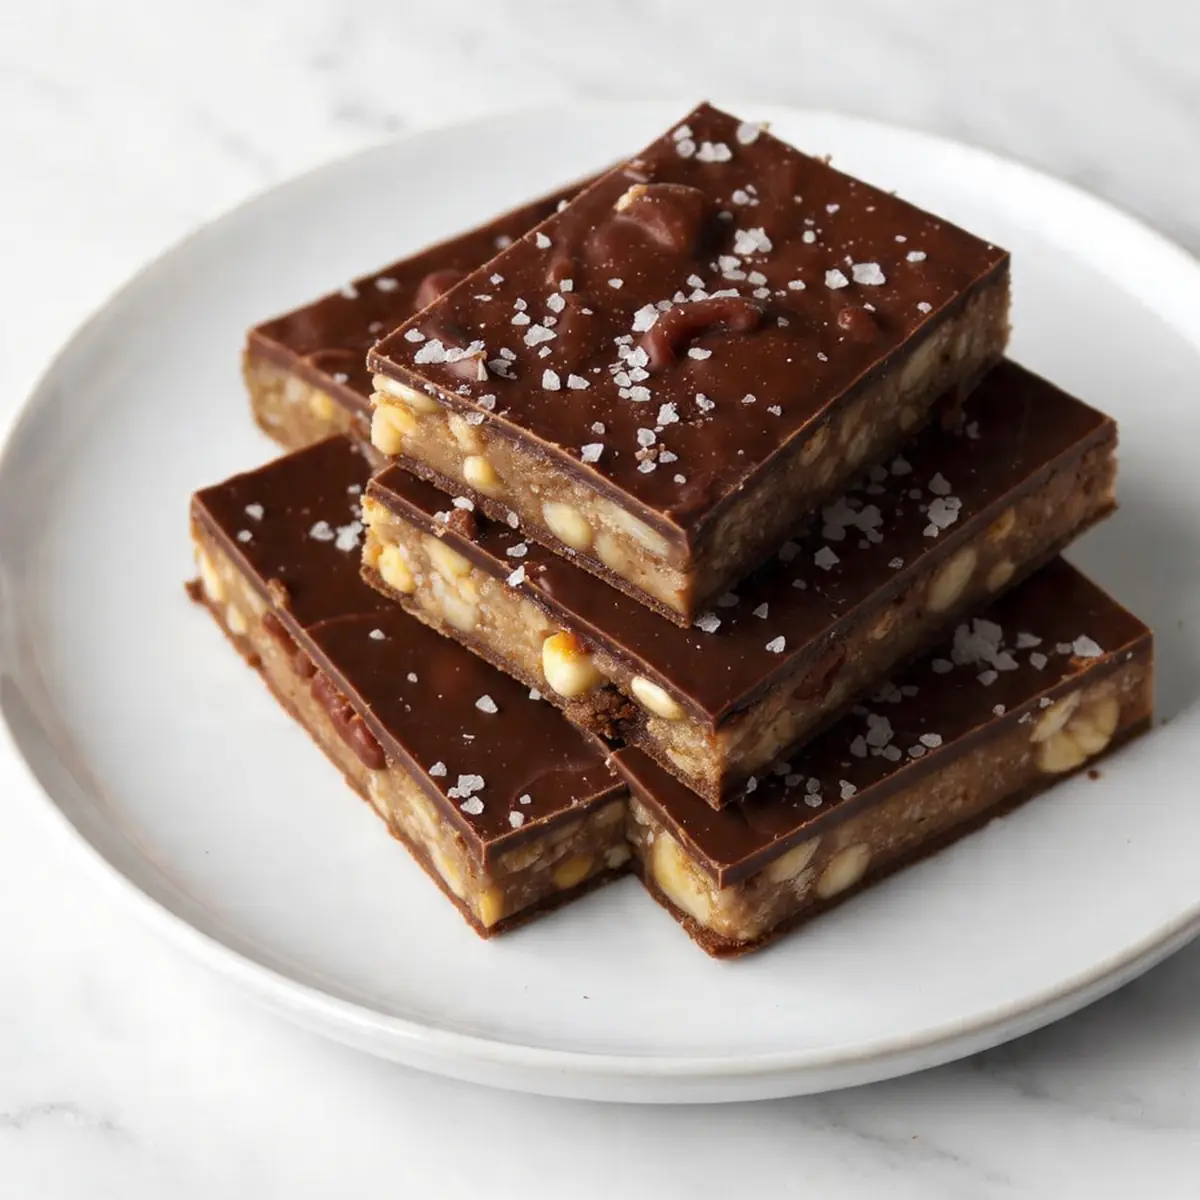
- Chill and Cut: Immediately sprinkle the flaky sea salt generously over the melted chocolate. Place the tin in the refrigerator for at least 1-2 hours, or until the chocolate is completely set and firm to the touch. Once chilled, lift the slab out of the tin using the parchment paper overhang. Place it on a cutting board and, using a sharp, warm knife (run it under hot water and wipe dry), carefully cut it into 12 bars. Each cut will reveal the distinct layers and crunchy texture.
Notes
Ensure all ingredients are at room temperature for best mixing. Pressing the bar mixture firmly into the tin is crucial for well-formed bars. Allow the bars to cool completely before adding chocolate, and chill thoroughly before cutting for clean slices. A sharp, warm knife works best for cutting through the chocolate layer.