Ingredients
Method
- Prepare the Biscuit Base: Take your 250g of Oreo biscuits and place them into a food processor. Blitz them until they resemble fine crumbs, like dark, damp sand. Alternatively, place them in a zip-top bag and crush them thoroughly with a rolling pin. Once finely crushed, transfer them to a medium bowl. Melt the 75g of unsalted butter in a small saucepan or microwave until it's a clear, golden liquid. Pour the melted butter over the Oreo crumbs and mix well until every crumb is coated and appears moist and cohesive.
- Form the Bases: Divide the buttery Oreo crumb mixture evenly among 8-10 individual serving cups or ramekins. Use the back of a spoon or your fingertips to press the crumbs down firmly into an even layer at the bottom of each cup. You want them to be compact and solid. Once pressed, place the cups into the refrigerator to chill for at least 15 minutes, allowing the butter to firm up and the bases to set.
- Whip the Cream Cheese Mixture: In a large mixing bowl, add the 500g softened full-fat cream cheese, 100g sifted icing sugar, and 1 teaspoon of vanilla extract. Using an electric hand mixer or stand mixer, beat the ingredients together on medium speed until the mixture is completely smooth, pale, and fluffy, with no lumps visible. The cream cheese should be light and airy, taking on a slightly whipped appearance.
- Whip the Double Cream: In a separate, chilled bowl, pour the 300ml of cold double cream. Using clean beaters, whip the cream on high speed until it forms stiff peaks. This means when you lift the beaters, the cream stands up straight without flopping over. Be careful not to over-whip, as it can quickly turn grainy. The cream will look thick, voluminous, and wonderfully white.
- Combine and Fold: Gently fold the whipped double cream into the cream cheese mixture in three stages. Add about a third of the whipped cream, folding it in with a spatula until just combined. Then add the next third, and finally the last. The goal is to keep as much air in the mixture as possible, so use a light hand. The resulting cheesecake filling should be wonderfully light, airy, and uniformly pale, with a soft, cloud-like texture.
- Add Crushed Oreos: Take the 100g of roughly crushed Oreo biscuits and gently fold them into the cheesecake filling. Distribute them evenly throughout the mixture. The dark flecks of Oreo will be visible against the pale filling, adding delightful texture and visual appeal.
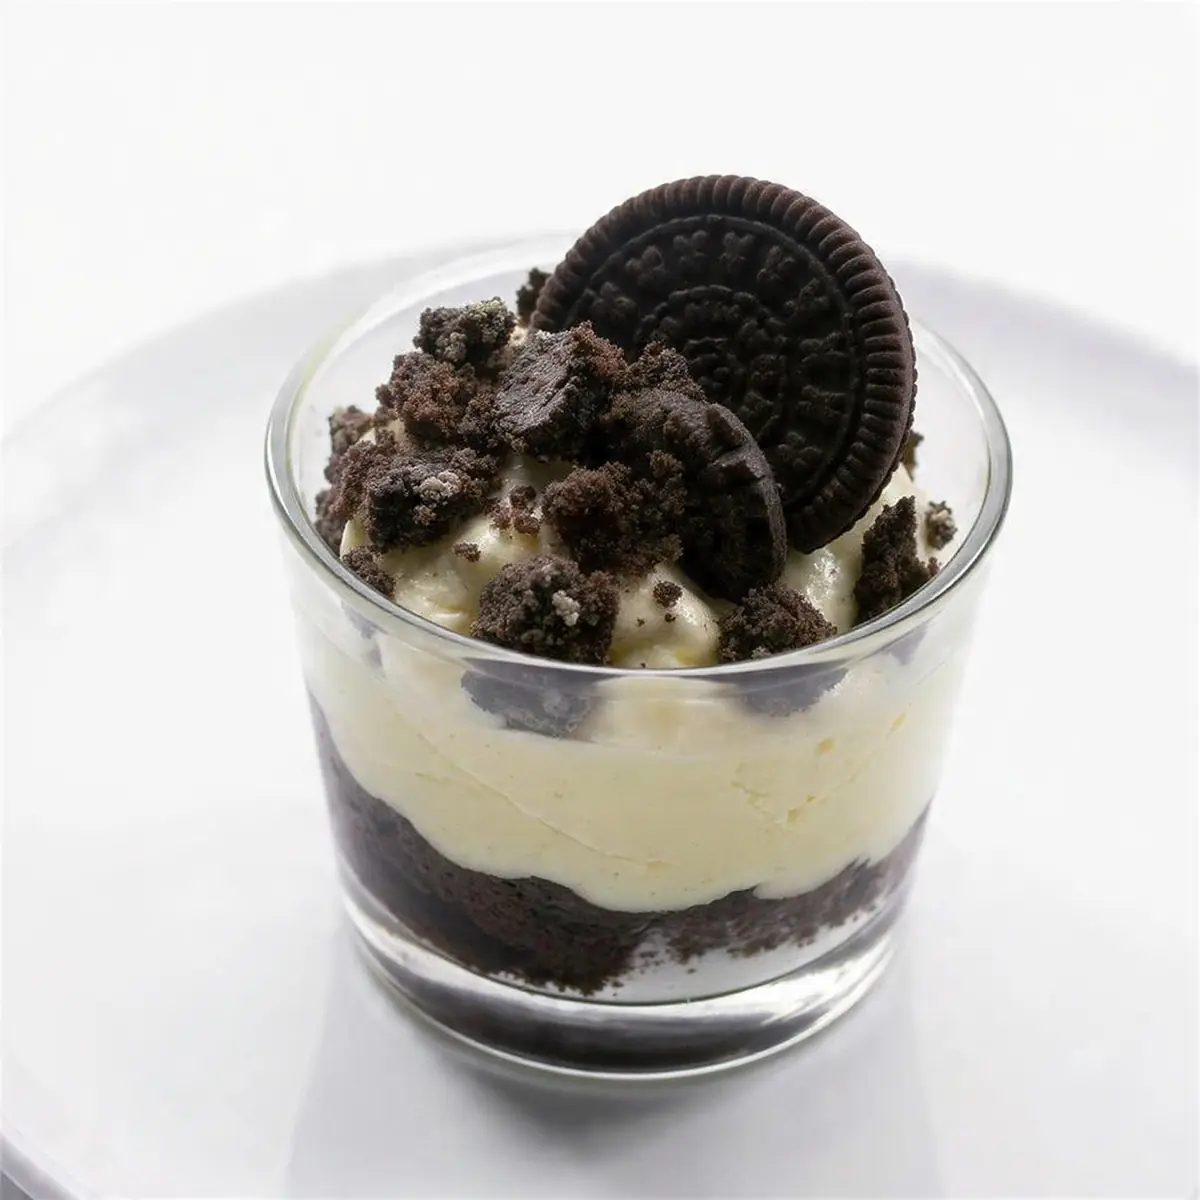
- Assemble the Cheesecake Cups: Retrieve the chilled biscuit bases from the refrigerator. Spoon or pipe the Oreo cheesecake filling evenly into each cup, filling them almost to the top. Use the back of a spoon to smooth the tops. The cups will now look full and inviting, with a distinct dark base and a creamy, speckled white filling.
- Chill and Garnish: Place the assembled cheesecake cups back into the refrigerator to chill for a minimum of 4 hours, or ideally overnight. This crucial step allows the cheesecake to firm up and set completely, ensuring a stable, sliceable (if you were making a whole cheesecake!) texture. Before serving, you can garnish each cup with extra finely crushed Oreo biscuits or a halved Oreo on top for an extra flourish. When properly chilled, the cheesecake will feel firm to the touch and hold its shape beautifully.
Notes
Chilling for at least 4 hours, or ideally overnight, is crucial for the cheesecake cups to set properly. For best results, use full-fat cream cheese and ensure all dairy ingredients are well-chilled before whipping. Garnish just before serving for the freshest look.