Tiramisu Cake Recipe Coffee Layer
There is something utterly magical about the classic Italian dessert, Tiramisu. That combination of coffee-soaked sponge, creamy mascarpone, and a whisper of cocoa is pure elegance. For years, I adored the traditional version, but I kept thinking: what if we could transform that experience into a show-stopping layer cake? This Tiramisu Cake recipe is the glorious result of that daydream. It takes all the elements we love and elevates them into a structured, sliceable cake with distinct, beautiful layers. This was inspired by a dish I had at a little restaurant in Spain, of all places, where they served a deconstructed tiramisu that got my creative wheels turning.
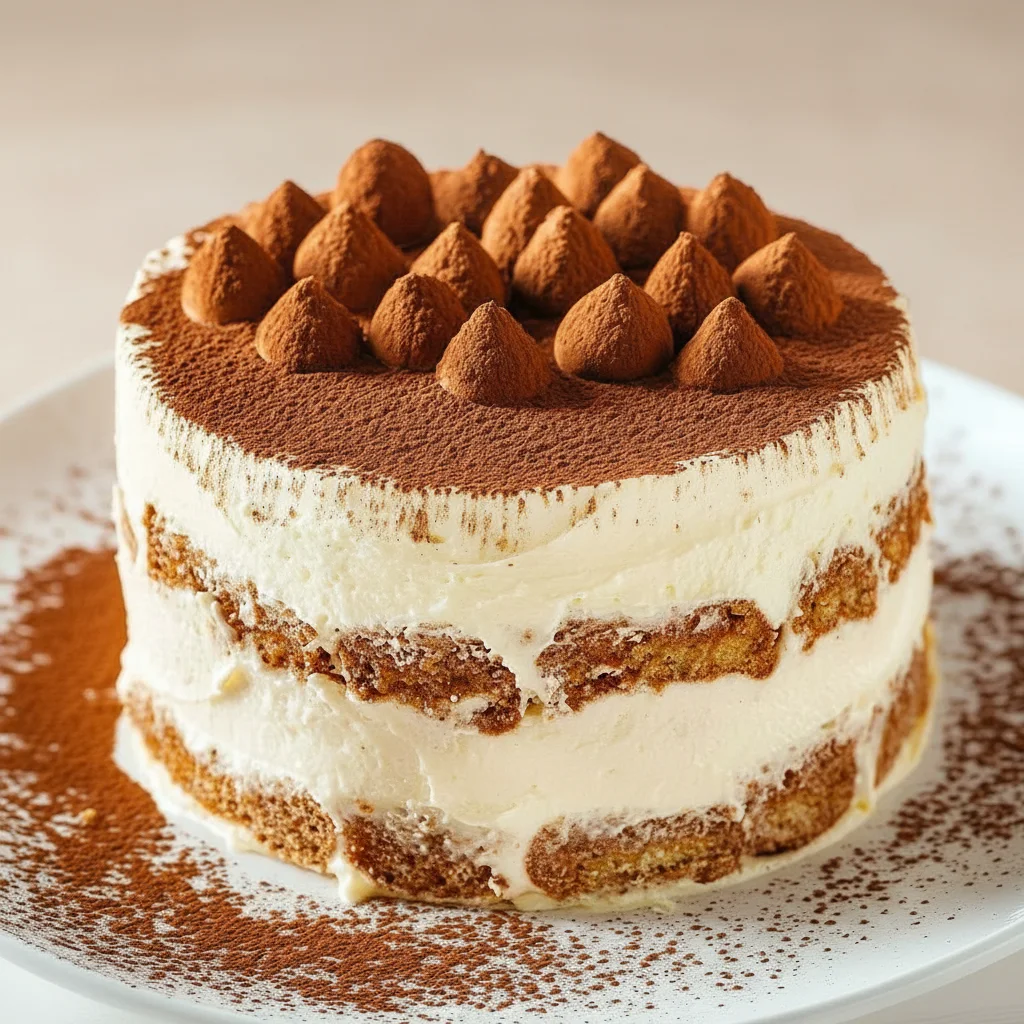
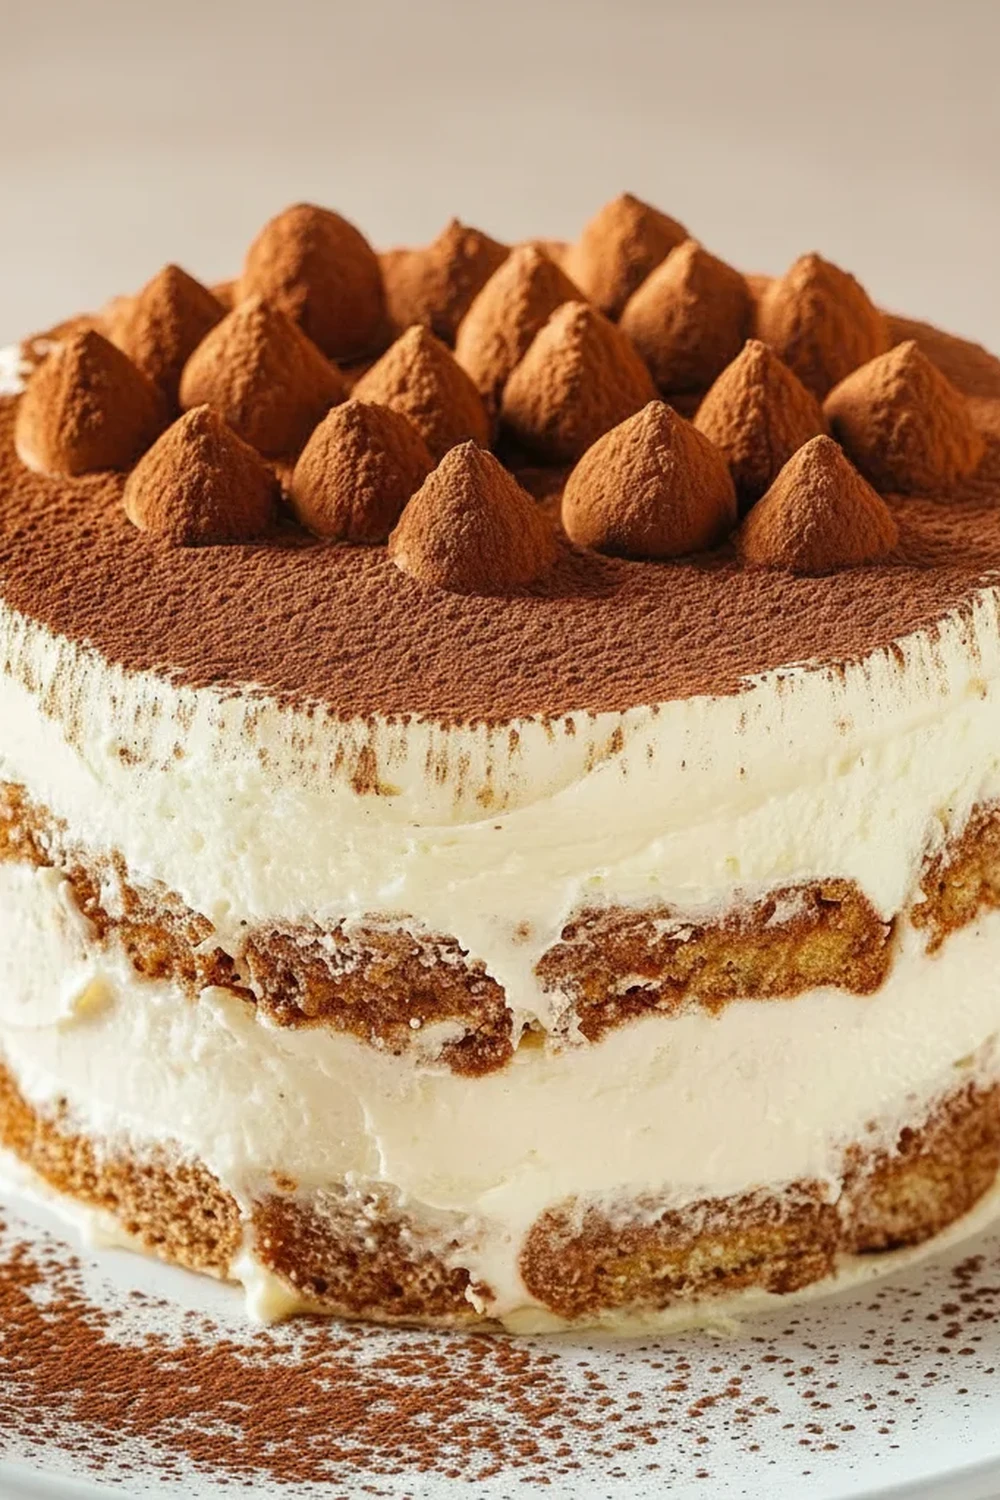
This isn’t just a coffee-flavoured cake; it’s a true Tiramisu experience. We bake light, airy vanilla sponges that act as the perfect vehicle for a potent espresso soak. They absorb the coffee flavour beautifully without becoming heavy or waterlogged. Sandwiched between these layers is a luscious, velvety cream made from authentic mascarpone cheese and whipped double cream, which is stabilised just enough to hold its shape when sliced. The final dusting of high-quality cocoa powder provides that signature, slightly bitter finish that balances the sweetness perfectly.
This Tiramisu Cake recipe is ideal when you want to impress guests at a dinner party or create a memorable birthday cake that feels a little more grown-up. It always gets compliments, with people marvelling at how it captures the soul of the dessert in cake form. It’s a project that is both rewarding and genuinely delicious.
Recipe Overview
This recipe guides you through creating a three-layer Tiramisu cake, from baking the delicate sponges to whipping up the iconic mascarpone cream. The final result is a wonderfully balanced cake, rich with coffee flavour but surprisingly light in texture. When I was testing this, I realised that letting the assembled cake chill overnight is non-negotiable; it allows the coffee to permeate the sponge and the flavours to meld into something truly special.
- Prep Time: 45 minutes
- Cook Time: 30 minutes
- Chilling Time: At least 6 hours, or overnight
- Total Time: 7 hours 15 minutes
- Servings: 10-12 slices
- Difficulty: Medium
Why You’ll Love This Tiramisu Cake Recipe
- Genuine Flavour: This isn’t just a coffee cake. The robust espresso soak, combined with the rich, slightly tangy mascarpone cream and the bitter cocoa topping, creates a flavour profile that is unmistakably Tiramisu.
- Stunning Presentation: With its clean, distinct layers, this layer cake looks incredibly impressive. The contrast between the dark, coffee-soaked sponge and the pale cream is a visual treat.
- A Straightforward Method: While it looks complex, the steps are logical and broken down. The sponge is a simple whisk-and-fold affair, and the cream comes together in about 10 minutes.
- Works Brilliantly for Special Occasions: This is my go-to for dinner parties, milestone birthdays, or any event where a standard chocolate cake just won’t do. It has an air of sophistication that suits a celebration. For other elegant bakes, you might also like my Rose Gold Cake Recipe Elegant Dessert.
- Family Tested: This cake has been a huge success in my house. My kids absolutely devour this every time I make it, often asking for a slice for breakfast the next day!
Ingredients You’ll Need
For the best results, using high-quality ingredients is key, especially the mascarpone and coffee. I find that using freshly brewed espresso from a machine or a Moka pot gives a much deeper flavour than instant coffee, although a good quality instant espresso powder will work in a pinch. If you’re looking for a great way to use up leftover instant coffee, my Instant Coffee Iced Coffee Recipe Brew is a great place to start.
- For the Vanilla Sponge:
- 225g plain flour
- 2 tsp baking powder
- 1/4 tsp salt
- 4 large free-range eggs, at room temperature
- 225g caster sugar
- 125ml whole milk, at room temperature
- 115g unsalted butter, melted and slightly cooled
- 2 tsp vanilla extract
- For the Espresso Soak:
- 250ml strong, freshly brewed espresso or coffee, cooled
- 50g caster sugar
- 2 tbsp Marsala wine, dark rum, or Amaretto (optional)
- For the Mascarpone Cream:
- 500g full-fat mascarpone cheese, cold
- 400ml double cream, cold
- 100g icing sugar, sifted
- 1 tsp vanilla extract
- For Assembly:
- 2 tbsp unsweetened cocoa powder, for dusting
Ashley’s Tip: Make sure your eggs and milk for the sponge are at room temperature. This helps them emulsify properly with the butter, creating a lighter, more tender crumb for your cake layers.
How to Make Tiramisu Cake
The process involves three main stages: baking the sponges, preparing the soak and cream, and then the fun part – assembly! We’ll build it layer by layer to create that classic Tiramisu structure.
- Prepare the Sponges: Preheat your oven to 180°C (160°C fan). Grease and line the bases of three 20cm (8-inch) round cake tins with parchment paper. In a medium bowl, whisk together the plain flour, baking powder, and salt. Set aside.
- Mix the Wet Ingredients: In the bowl of a stand mixer fitted with the whisk attachment (or using a hand mixer), beat the eggs and caster sugar on high speed for 5-7 minutes. The mixture should become very pale, thick, and triple in volume. When you lift the whisk, it should leave a ribbon-like trail on the surface for a few seconds.
- Combine and Fold: Reduce the mixer speed to low and stream in the milk, melted butter, and vanilla extract. Mix just until combined. Add the dry ingredients to the bowl in two batches, gently folding with a large spatula until no flour streaks remain. Be careful not to overmix and deflate the batter.
- Bake the Cakes: Divide the batter evenly between the three prepared tins. Bake for 25-30 minutes, or until the sponges are golden, have pulled away from the sides of the tins, and a skewer inserted into the centre comes out clean. Let them cool in the tins for 10 minutes before turning them out onto a wire rack to cool completely.
- Make the Coffee Soak: While the cakes cool, prepare the soak. In a small bowl, stir the caster sugar into the hot espresso until it dissolves completely. If using, stir in the Marsala wine or rum. Set aside to cool to room temperature.
- Whip the Mascarpone Cream: In the clean bowl of your stand mixer (or a large bowl with a hand mixer), place the cold mascarpone, cold double cream, sifted icing sugar, and vanilla. Start on low speed to combine, then increase to medium-high and whip until the cream is thick and holds stiff peaks. This should take 2-4 minutes. Watch it carefully, as over-whipping can cause it to split. What works best for me is to stop just as stiff peaks form.
- Assemble the First Layer: Once the sponges are completely cool, place one layer on your serving plate or cake stand. Using a pastry brush, generously soak the top of the sponge with about one-third of the coffee mixture. Don’t be shy; you want it to be flavourful!
- Add the Cream: Spread about one-third of the mascarpone cream evenly over the coffee-soaked sponge, right to the edges. Place the second cake layer on top and repeat the process: soak with another third of the coffee, then spread with another third of the cream.
- Finish and Chill: Place the final cake layer on top. Soak it with the remaining coffee mixture. You can either use the remaining cream to cover the top and sides for a fully frosted look or simply create a thick, rustic layer on top. For the classic Tiramisu finish, leave the sides bare. Dust the top generously with cocoa powder using a fine-mesh sieve.
- Crucial Chilling Time: Refrigerate the assembled cake for at least 6 hours, but preferably overnight. This step is essential for the flavours to develop and for the cake to set properly, making it easy to slice.
Tips From My Kitchen
- Temperature Control is Key: For the fluffiest cream, both your mascarpone and double cream must be very cold, straight from the fridge. This ensures they whip up to a stable, thick consistency without becoming grainy.
- The Secret Step: I learned that to avoid a runny filling, you must not over-whip the mascarpone cream. Stop mixing the second it holds a stiff peak. If it starts to look curdled, you’ve gone too far. It’s better to be slightly under-whipped than over-whipped.
- Make-Ahead Magic: This cake is a brilliant make-ahead dessert. In fact, it tastes even better on day two! You can assemble it completely the day before you plan to serve it. Just hold off on the final cocoa dusting until right before serving to keep it looking fresh.
- Storage: Store any leftover Tiramisu Cake in an airtight container in the fridge. It will keep well for up to 3 days. The sponge will become softer and more flavourful each day.
Equipment You’ll Need
- Stand mixer or a good quality hand mixer
- Three 20cm (8-inch) round cake tins
- Parchment paper
- Wire cooling rack
- Pastry brush
- Fine-mesh sieve
Delicious Variations to Try
Once you’ve mastered the classic version, feel free to get creative. This recipe is a fantastic base for a few delicious twists.
- Chocolate Tiramisu Cake: Add a layer of finely grated dark chocolate over the mascarpone cream on each layer before adding the next sponge. You could also fold 100g of melted and cooled dark chocolate into the final mascarpone cream mixture.
- Alcohol-Free Version: Simply omit the Marsala wine or rum from the coffee soak. The cake will still be wonderfully flavourful. You could add an extra teaspoon of vanilla extract to the soak if you like.
- Fruity Twist: For a summery variation, swap the coffee soak for a raspberry or strawberry coulis. Layer fresh berries on top of the mascarpone cream for a burst of freshness that complements the rich cheese.
What to Serve With Tiramisu Cake
This cake is a complete dessert in its own right, but a few simple pairings can enhance the experience even more.
- Fresh Berries: A small handful of fresh raspberries or sliced strawberries on the side provides a lovely, sharp contrast to the rich, creamy cake.
- A Shot of Espresso: For the true coffee lovers, serving a small, fresh espresso alongside a slice echoes the flavours within the cake and creates a very authentic Italian moment.
- Dessert Wine: A small glass of a sweet Italian dessert wine like Vin Santo or a coffee liqueur like Kahlúa makes for a truly decadent pairing.
Frequently Asked Questions
Tiramisu Cake Recipe
Ingredients
Method
- Prepare the Sponges: Preheat your oven to 180°C (160°C fan). Grease and line the bases of three 20cm (8-inch) round cake tins with parchment paper. In a medium bowl, whisk together the plain flour, baking powder, and salt. Set aside.
- Mix the Wet Ingredients: In the bowl of a stand mixer fitted with the whisk attachment (or using a hand mixer), beat the eggs and caster sugar on high speed for 5-7 minutes. The mixture should become very pale, thick, and triple in volume. When you lift the whisk, it should leave a ribbon-like trail on the surface for a few seconds.
- Combine and Fold: Reduce the mixer speed to low and stream in the milk, melted butter, and vanilla extract. Mix just until combined. Add the dry ingredients to the bowl in two batches, gently folding with a large spatula until no flour streaks remain. Be careful not to overmix and deflate the batter.
- Bake the Cakes: Divide the batter evenly between the three prepared tins. Bake for 25-30 minutes, or until the sponges are golden, have pulled away from the sides of the tins, and a skewer inserted into the centre comes out clean. Let them cool in the tins for 10 minutes before turning them out onto a wire rack to cool completely.
- Make the Coffee Soak: While the cakes cool, prepare the soak. In a small bowl, stir the caster sugar into the hot espresso until it dissolves completely. If using, stir in the Marsala wine or rum. Set aside to cool to room temperature.
- Whip the Mascarpone Cream: In the clean bowl of your stand mixer (or a large bowl with a hand mixer), place the cold mascarpone, cold double cream, sifted icing sugar, and vanilla. Start on low speed to combine, then increase to medium-high and whip until the cream is thick and holds stiff peaks. This should take 2-4 minutes. Watch it carefully, as over-whipping can cause it to split. What works best for me is to stop just as stiff peaks form.
- Assemble the First Layer: Once the sponges are completely cool, place one layer on your serving plate or cake stand. Using a pastry brush, generously soak the top of the sponge with about one-third of the coffee mixture. Don't be shy; you want it to be flavourful!
- Add the Cream: Spread about one-third of the mascarpone cream evenly over the coffee-soaked sponge, right to the edges. Place the second cake layer on top and repeat the process: soak with another third of the coffee, then spread with another third of the cream.
- Finish and Chill: Place the final cake layer on top. Soak it with the remaining coffee mixture. You can either use the remaining cream to cover the top and sides for a fully frosted look or simply create a thick, rustic layer on top. For the classic Tiramisu finish, leave the sides bare. Dust the top generously with cocoa powder using a fine-mesh sieve.
- Crucial Chilling Time: Refrigerate the assembled cake for at least 6 hours, but preferably overnight. This step is essential for the flavours to develop and for the cake to set properly, making it easy to slice.
Notes
I really hope you enjoy making this Tiramisu Cake. It’s a true labour of love that results in a dessert that is elegant, impressive, and unbelievably tasty. It brings a little piece of Italy into your kitchen, transformed into a cake that’s wonderful for sharing. If you try it, please let me know how it turned out in the comments below – I love hearing from you! Happy baking, Ashley.