Quick Teriyaki Sauce Recipe
I remember the first time I attempted a teriyaki dinner for friends; I thought soy sauce, sugar, and a prayer would suffice. The result was a cloying, thin syrup that pooled unpleasantly on the plate, leaving my guests reaching for their water glasses. It was a humbling lesson in the art of balance. This Quick Teriyaki Sauce Recipe is the culmination of those early failures, a foolproof method I now rely on to create glossy, deeply savoury dishes that look as though they’ve been plated by a professional. It’s not just about throwing ingredients in a pan; it’s about building layers of flavour and that lacquer-like finish that makes a simple midweek meal feel like a special occasion.
Recipe Overview
- Prep Time: 5 minutes
- Cook Time: 10 minutes
- Total Time: 15 minutes
- Servings: Makes roughly 250ml (enough for 4 servings)
- Difficulty: Very Easy
Why You’ll Love This Quick Teriyaki Sauce Recipe
- Restaurant-Quality Glaze at Home: This sauce thickens to a perfect, mirror-like sheen that clings beautifully to proteins and vegetables, mimicking the results you’d see in a high-end Japanese steakhouse.
- Balanced, Not Cloying: The careful ratio of savoury soy, sweet honey, and sharp rice vinegar creates a sophisticated, umami-rich sauce that is never one-dimensionally sweet. It’s deeply complex for just ten minutes of work.
- Impressive Plating in Minutes: A well-made teriyaki sauce is a plate’s best friend. It provides instant visual appeal and a professional finish, transforming a simple grilled chicken breast or salmon fillet into a centrepiece dish.
- Uses Pantry Staples: You likely already have everything you need. There is no need for obscure ingredients; just soy sauce, honey, ginger, garlic, and a few other basics create a stunning result.
- Naturally Versatile: This base recipe is a fantastic canvas. You can adjust the spice level, add citrus, or thicken it further for dipping, making it a reliable foundation for countless meals.
Ingredients You’ll Need
- 120ml (½ cup) low-sodium soy sauce
- 80ml (⅓ cup) honey (use a runny, clear honey for the best sheen)
- 60ml (¼ cup) rice vinegar (not seasoned)
- 2 large cloves garlic, very finely minced
- 1 tablespoon fresh ginger, peeled and finely grated
- 1 tablespoon cornflour (cornstarch)
- 2 tablespoons cold water
- 1 teaspoon sesame oil (toasted, for a nutty aroma)
- 1 tablespoon brown sugar (light or dark, packed)
- A pinch of white pepper (optional, but adds a gentle heat)
Tip: To get the finest mince on your garlic and ginger, use a microplane grater. This releases their oils and creates a paste that dissolves seamlessly into the sauce, preventing any unpleasant, chunky bites in the final dish.
How to Make Quick Teriyaki Sauce Recipe
- Prepare the slurry: In a small bowl, whisk together the cornflour and 2 tablespoons of cold water until the mixture is completely smooth and looks like a milky, opaque liquid. You should see no lumps at all; set this aside. This is your thickening agent.
- Combine the liquid base: In a cold, medium-sized saucepan (non-stick is best), pour in the low-sodium soy sauce, honey, and rice vinegar. Add the brown sugar, finely minced garlic, and grated ginger. Do not turn on the heat yet. Stir gently to combine, watching the honey dissolve slightly into the liquid. The mixture will look a deep, murky brown.
- Heat and dissolve: Place the saucepan over a medium heat. Stir occasionally with a wooden spoon or silicone spatula. You will see the sugar crystals dissolve, and the liquid will begin to shimmer and look clearer. Small bubbles will start to form around the edges of the pan, and the aroma of ginger and garlic will fill your kitchen.
- Simmer to infuse: Once the mixture reaches a gentle simmer—you’ll see steady, lazy bubbles breaking the surface, not a rolling boil—lower the heat to medium-low. Let it bubble gently for 2-3 minutes. The colour will deepen slightly, and the sauce will reduce just a touch, concentrating the flavours. You will smell a sweet, savoury, and slightly sharp fragrance.
- Thicken the sauce: Give your cornflour slurry a quick whisk (it will have settled) and pour it into the simmering sauce in a steady stream while stirring constantly. You will see the sauce transform almost immediately. Within 30-45 seconds, it will change from a thin, watery liquid to a glossy, thickened glaze that coats the back of your spoon. The bubbles will become larger and slower. You are looking for a consistency slightly thinner than maple syrup, as it will thicken further as it cools.
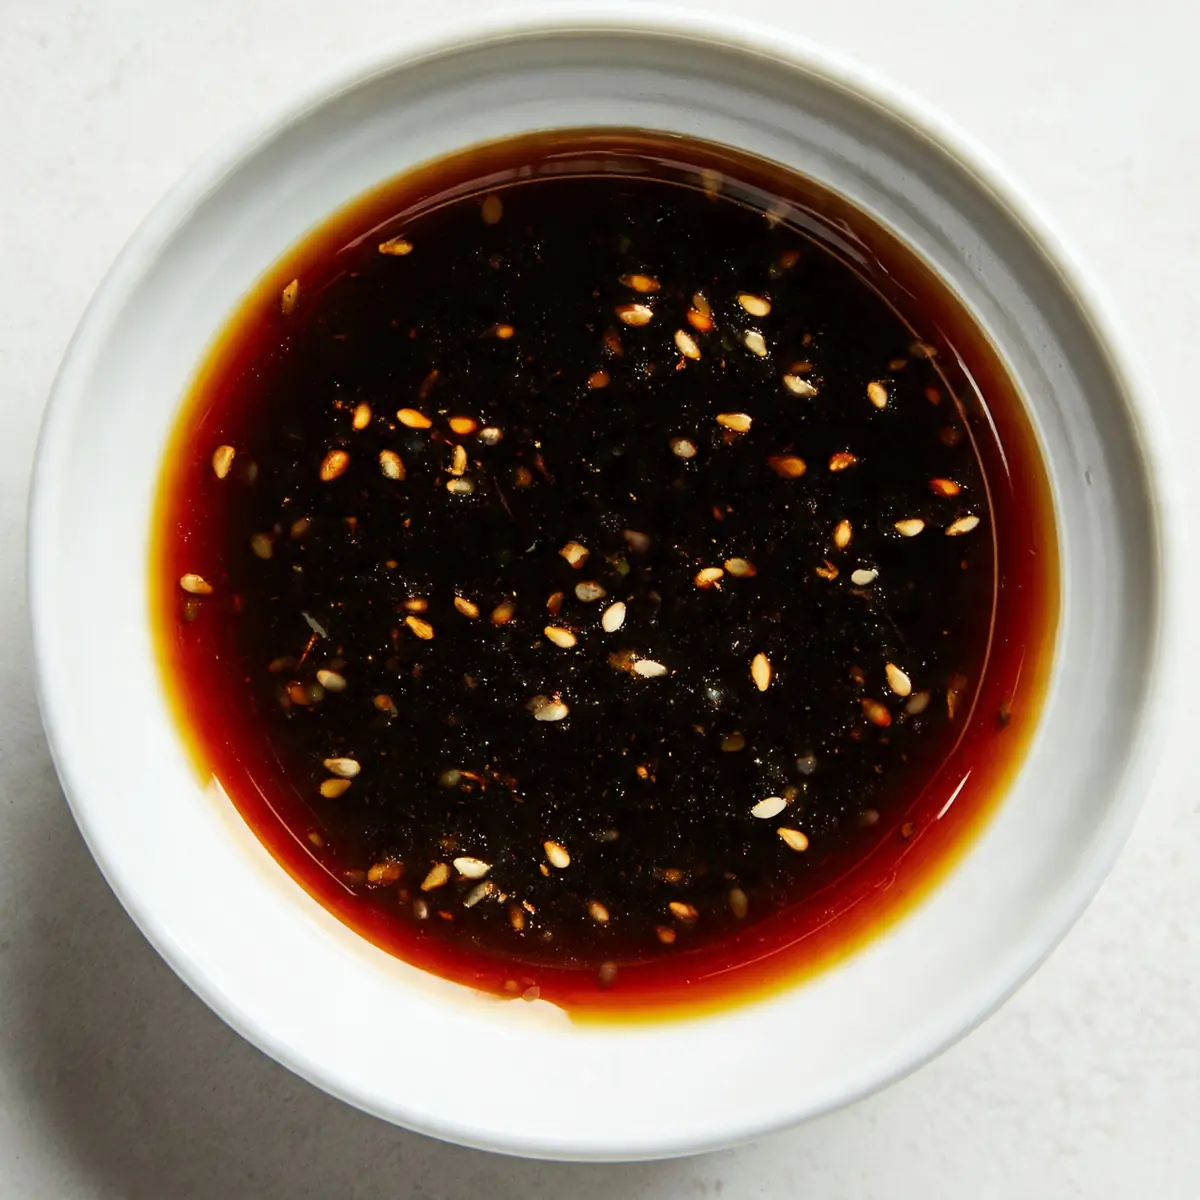
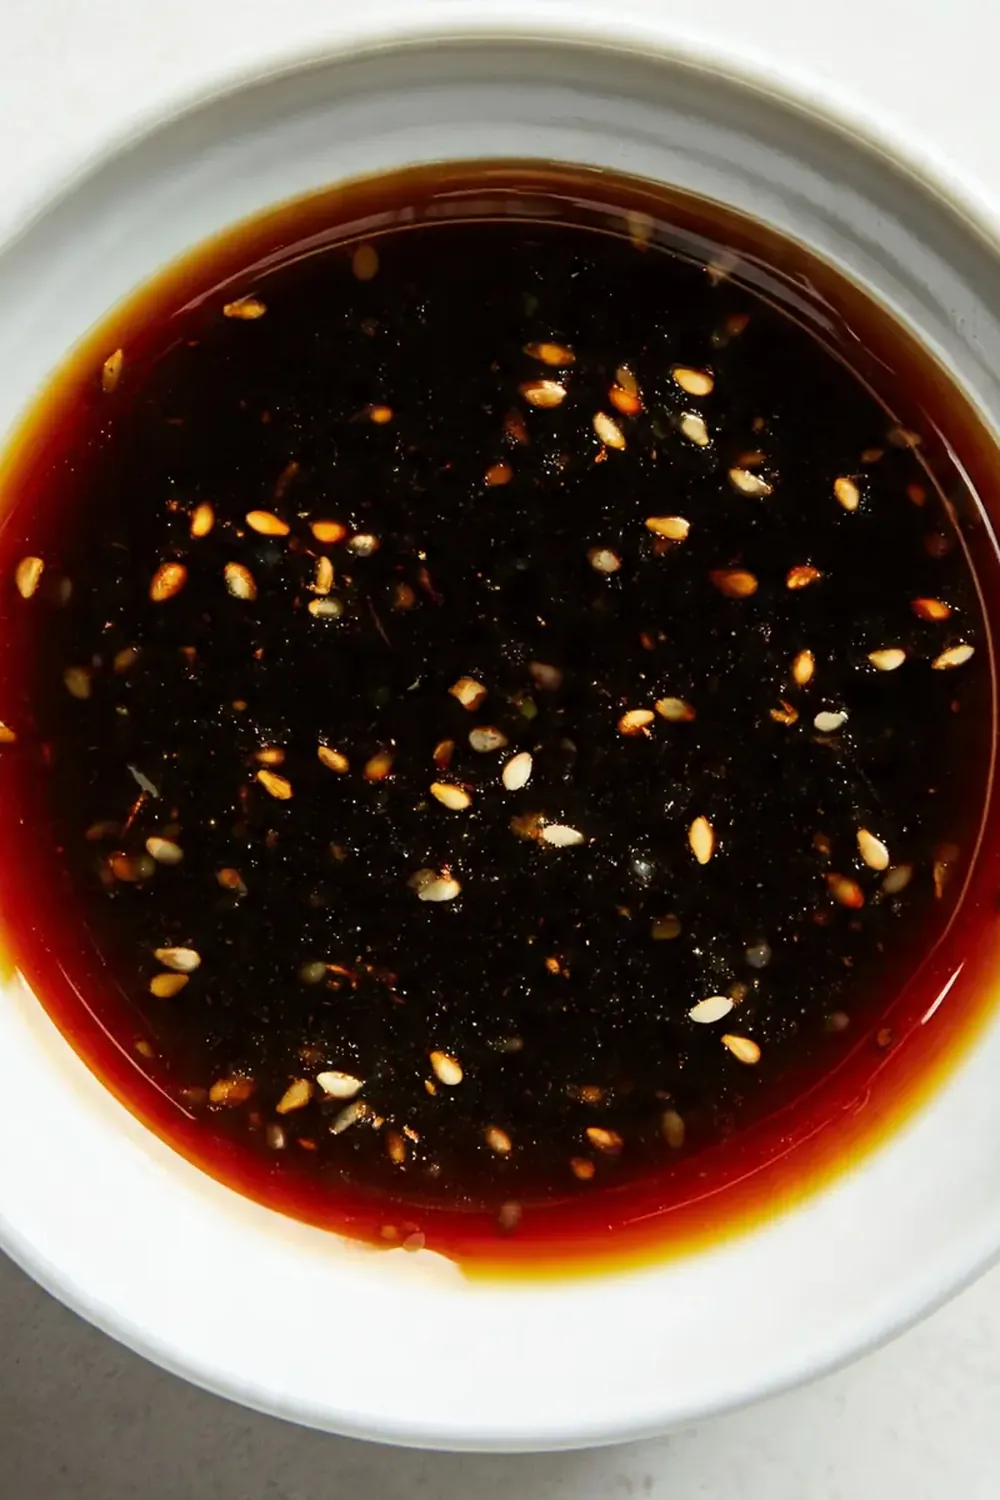
- Finish with sesame oil: Remove the pan from the heat immediately. Drizzle in the toasted sesame oil and stir it through. The oil will release a deep, nutty fragrance that rounds out the sauce beautifully. The final sauce should be a rich, dark mahogany colour with a brilliant, lacquer-like shine.
- Rest and cool (crucial for plating): Pour the sauce into a heatproof jug or bowl. Let it sit for 5 minutes. This rest time allows the starch molecules to settle and the sauce to reach its final, perfect consistency. It will look slightly matte and very thick. Do not skip this step.
Tips From My Kitchen
- The Slurry Secret: Always mix your cornflour with cold water. Hot water will cause the starch to clump instantly, creating a lumpy sauce. Cold water creates a smooth paste that integrates evenly. This is the single most important step for a silky, not starchy, texture.
- Don’t Boil the Garlic and Ginger: A gentle simmer is all you need. A hard, rolling boil can make the garlic and ginger turn bitter and harsh. Keep the heat low and steady to coax out their sweet, aromatic qualities without scorching them.
- Test Your Consistency: Dip a cold spoon into the hot sauce. If it coats the spoon evenly and doesn’t run off immediately, it’s ready. If it drips off like water, simmer it for another minute. If it’s too thick, whisk in a tablespoon of hot water at a time until it loosens.
- Use Low-Sodium Soy Sauce: This is non-negotiable. Standard soy sauce is intensely salty and will make your sauce inedible. Low-sodium gives you control, allowing the other flavours to shine through. My husband, who’s usually picky, asked for seconds after I made this switch!
- Glaze with a Brush: For a truly restaurant-style finish, use a pastry brush to apply the sauce to your protein in thin layers during the last few minutes of cooking. Build the glaze slowly rather than drowning the food in sauce. This creates that coveted, sticky, lacquered crust.
- Make it Ahead: This sauce keeps brilliantly. Make a double batch and store it in a sterilised jar in the fridge for up to two weeks. It’s a fantastic secret weapon for a speedy, impressive dinner after a long day. I used to struggle with this dish until I discovered this technique of making the sauce in advance.
Common Mistakes to Avoid
- Overcrowding the pan: If you are cooking meat or vegetables to serve with the sauce, do not crowd the pan. Crowding traps steam, which prevents browning. You want a sear, not a steam. Cook in batches to ensure a golden crust that the sauce can beautifully cling to. A dry surface is essential for a sticky glaze.
- Wrong temperature: Thickening the sauce over high heat is a recipe for disaster. The cornflour can scorch, and the sugar will burn, leaving a bitter, acrid taste. Always thicken over a gentle simmer (medium-low heat). A visual cue: you want the bubbles to be small and lazy, not large and aggressive.
- Skipping the rest time: This is the most common reason for a sauce that slides off the food. The sauce needs those few minutes off the heat for the starch molecules to fully gelatinise and bind with the liquid. Rushing this step results in a thin, watery sauce that refuses to coat anything. Patience here is rewarded with a perfect, clingy glaze.
What to Serve With Quick Teriyaki Sauce Recipe
- Grilled chicken thighs or breasts (a classic pairing).
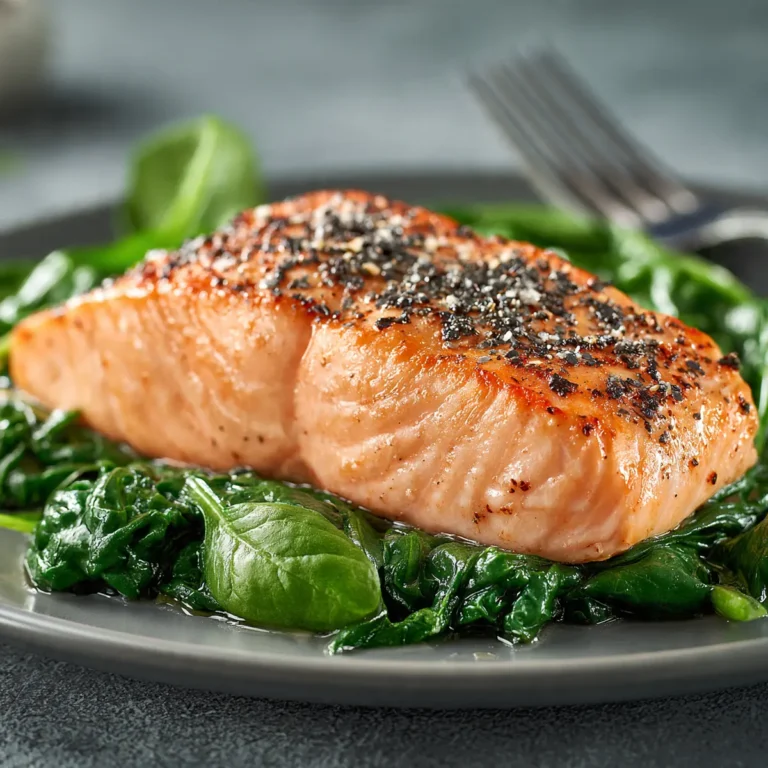
- Pan-seared or baked salmon fillets for an elegant, quick dinner.
- Stir-fried vegetables like broccoli, bell peppers, and snap peas.
- As a dipping sauce for homemade spring rolls or gyoza.
- Drizzled over steamed rice and a soft-boiled egg for a simple, satisfying bowl. If you are looking for another incredibly savoury, protein-rich meal to impress, you might also enjoy these Butter Steak Recipe Juicy Beef
- Try it with our Chicken Kebab Platters Recipe Grilled for a unique flavour fusion.
Frequently Asked Questions
Quick Teriyaki Sauce Recipe
Ingredients
Method
- Prepare the slurry: In a small bowl, whisk together the cornflour and 2 tablespoons of cold water until the mixture is completely smooth and looks like a milky, opaque liquid. You should see no lumps at all; set this aside. This is your thickening agent.
- Combine the liquid base: In a cold, medium-sized saucepan (non-stick is best), pour in the low-sodium soy sauce, honey, and rice vinegar. Add the brown sugar, finely minced garlic, and grated ginger. Do not turn on the heat yet. Stir gently to combine, watching the honey dissolve slightly into the liquid. The mixture will look a deep, murky brown.
- Heat and dissolve: Place the saucepan over a medium heat. Stir occasionally with a wooden spoon or silicone spatula. You will see the sugar crystals dissolve, and the liquid will begin to shimmer and look clearer. Small bubbles will start to form around the edges of the pan, and the aroma of ginger and garlic will fill your kitchen.
- Simmer to infuse: Once the mixture reaches a gentle simmer—you’ll see steady, lazy bubbles breaking the surface, not a rolling boil—lower the heat to medium-low. Let it bubble gently for 2-3 minutes. The colour will deepen slightly, and the sauce will reduce just a touch, concentrating the flavours. You will smell a sweet, savoury, and slightly sharp fragrance.
- Thicken the sauce: Give your cornflour slurry a quick whisk (it will have settled) and pour it into the simmering sauce in a steady stream while stirring constantly. You will see the sauce transform almost immediately. Within 30-45 seconds, it will change from a thin, watery liquid to a glossy, thickened glaze that coats the back of your spoon. The bubbles will become larger and slower. You are looking for a consistency slightly thinner than maple syrup, as it will thicken further as it cools.
- Finish with sesame oil: Remove the pan from the heat immediately. Drizzle in the toasted sesame oil and stir it through. The oil will release a deep, nutty fragrance that rounds out the sauce beautifully. The final sauce should be a rich, dark mahogany colour with a brilliant, lacquer-like shine.
- Rest and cool (crucial for plating): Pour the sauce into a heatproof jug or bowl. Let it sit for 5 minutes. This rest time allows the starch molecules to settle and the sauce to reach its final, perfect consistency. It will look slightly matte and very thick. Do not skip this step.
Notes
So there you have it—a Quick Teriyaki Sauce Recipe that is both a reliable weeknight saviour and a secret weapon for impressing dinner guests. It’s that rare thing: a sauce that tastes complex but comes together in a single saucepan with minimal fuss. I’d love to know how you use it in your own kitchen. Did you serve it with salmon, chicken, or perhaps as a drizzle over roasted vegetables? Please, drop a comment below and share your experience—I read every single one.