Quick Cherry Cake Recipe
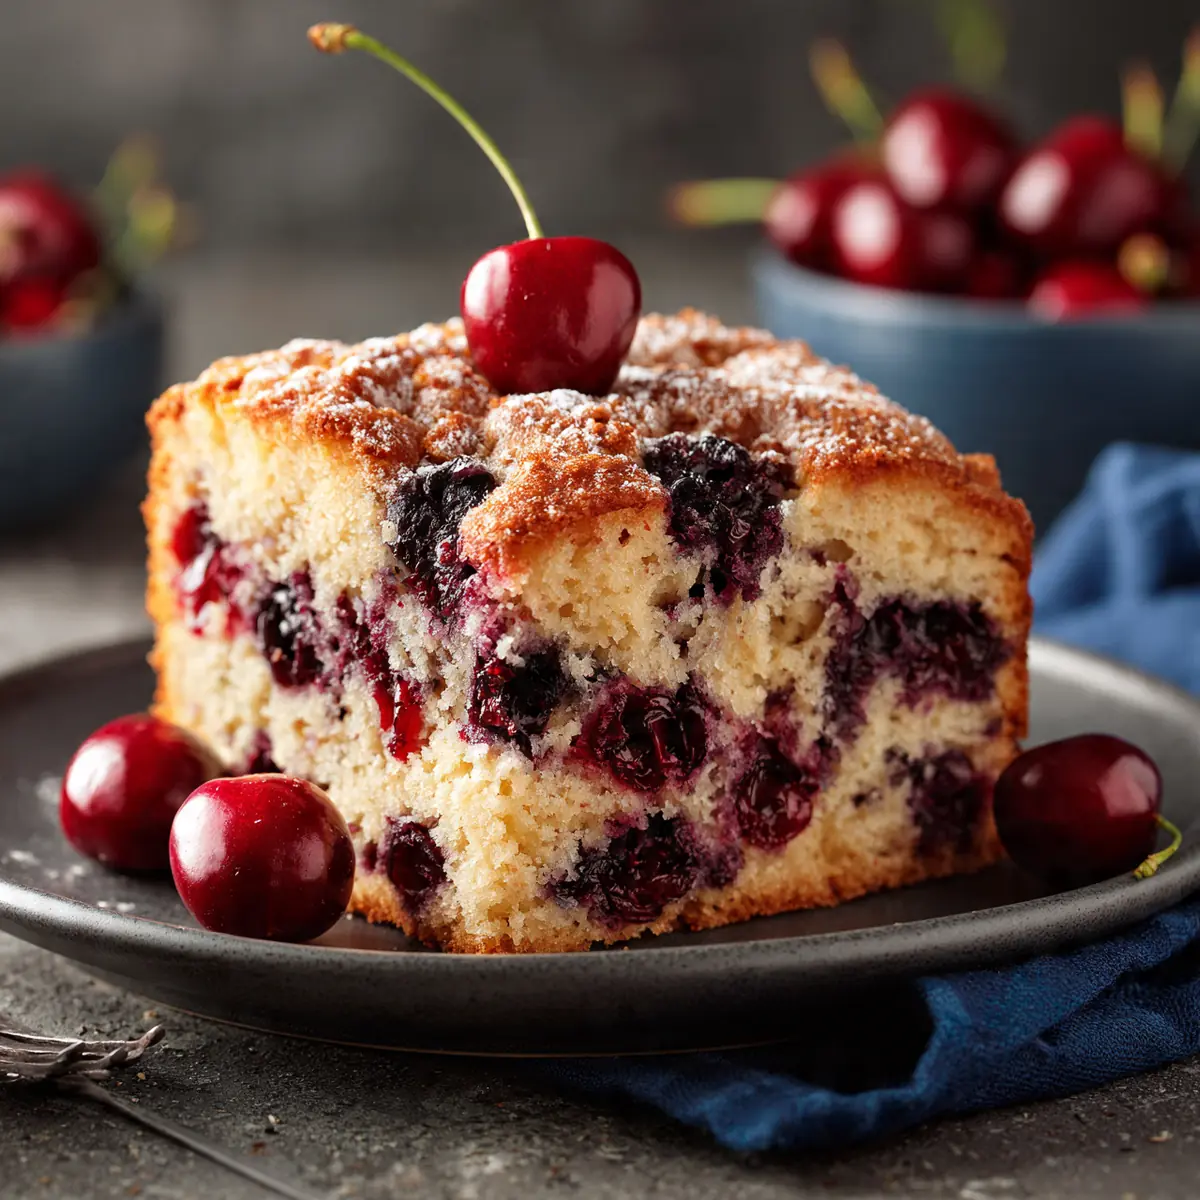
Let me tell you about the cherry cake that changed how I host dinner parties. For years, I’d slave over complicated desserts, only to watch my guests pick at them politely while reaching for a second helping of the main course. Then, last summer, I stumbled onto the idea of a quick cherry cake recipe that looked like it had taken hours of pastry work. The secret, I discovered, was not in the complexity of the bake, but in the finishing touches — a glossy glaze, a perfect crumb, and a slice that reveals jewel-toned cherries. I’ve been making this for over 5 years, and it never disappoints when I want to serve something that feels restaurant-quality without the stress.
Recipe Overview
- Prep time: 15 minutes
- Cook time: 35-40 minutes
- Total time: 55 minutes (includes cooling)
- Servings: 8 generous slices
- Difficulty: Beginner-friendly
Why You’ll Love This Quick Cherry Cake Recipe
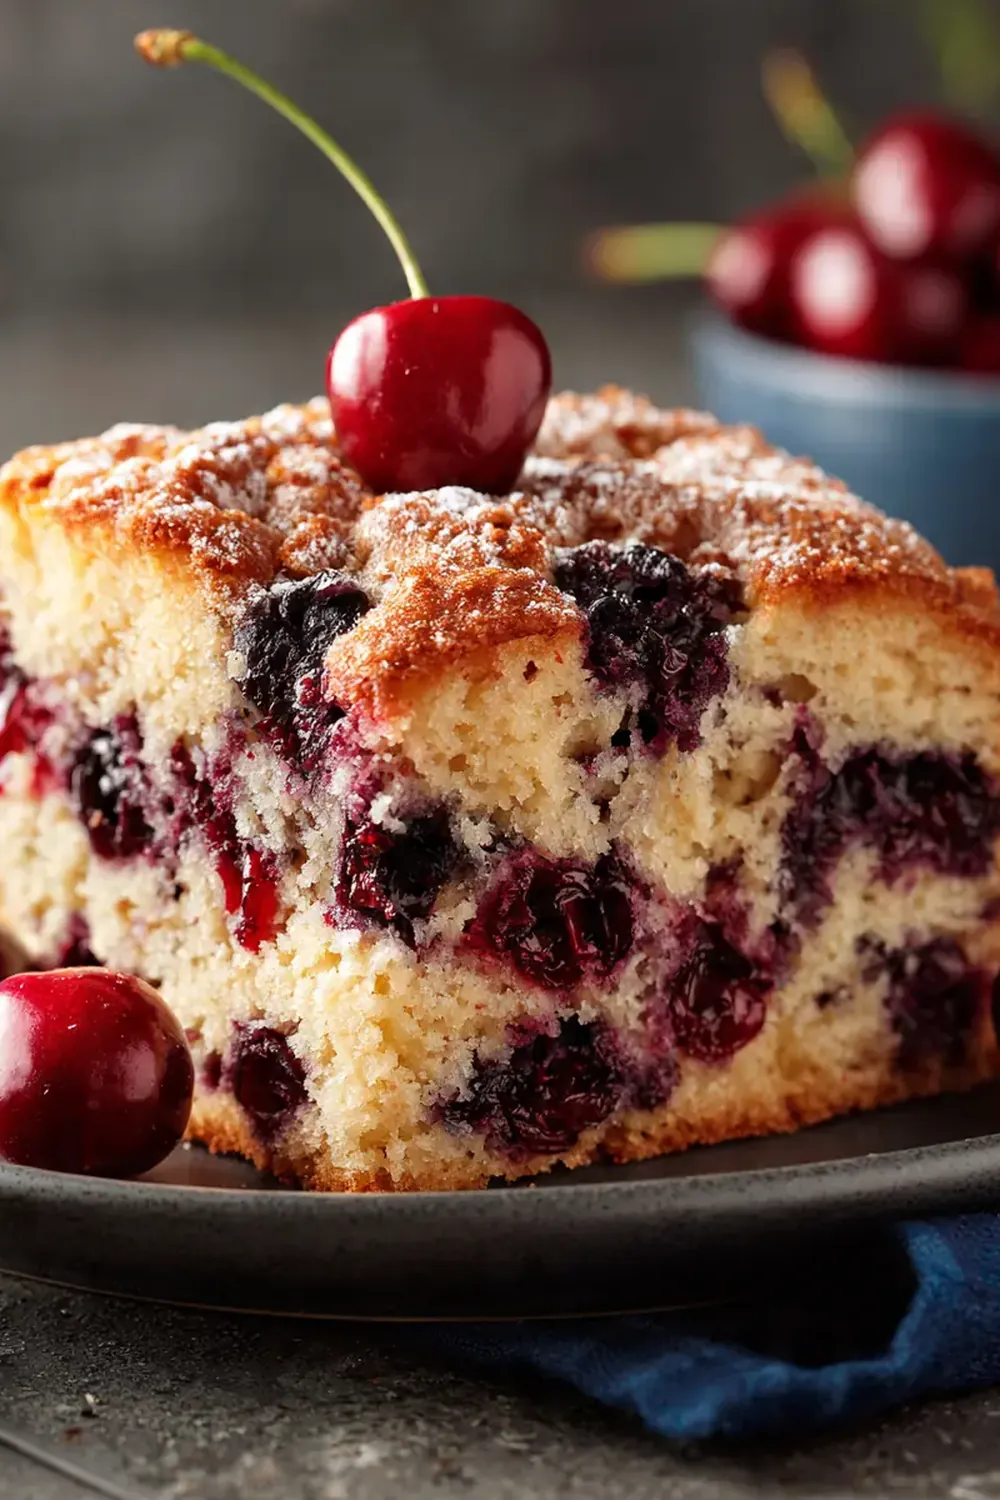
- Impressive presentation, minimal effort: The natural ruby colour of baked cherries against a golden sponge creates a stunning visual that looks like it came from a patisserie window.
- Texture that sings: You get a tender, buttery crumb with pockets of soft, jammy fruit — no dry cake here, only moist perfection.
- One-bowl simplicity: No creaming butter and sugar separately, no sifting flour three times. Everything comes together in a single bowl, which means less washing up and more time enjoying your guests.
- Flexible for any season: Fresh cherries in summer are a treat, but frozen ones work beautifully year-round, so this cake can grace your table whenever the mood strikes.
- Naturally crowd-worthy: Because it’s not overly sweet, it pairs wonderfully with tea, coffee, or a dollop of clotted cream, making it suitable for brunch, afternoon tea, or dessert.
Ingredients You’ll Need
- 200g plain flour (all-purpose)
- 150g caster sugar
- 2 teaspoons baking powder
- ½ teaspoon fine sea salt
- 120ml whole milk, at room temperature
- 2 large eggs, at room temperature
- 1 teaspoon vanilla extract
- 120g unsalted butter, melted and cooled slightly
- 300g fresh or frozen cherries, pitted (if using frozen, do not thaw)
- 1 tablespoon demerara sugar, for sprinkling
- Icing sugar, for dusting (optional, for serving)
Tip: For the most striking presentation, use dark red cherries — they create a beautiful contrast against the pale crumb. If you can find them, keep a few cherries with stems intact to place on top before baking; they make the finished cake look incredibly elegant.
How to Make Quick Cherry Cake Recipe
- Preheat and prepare your tin. Set your oven to 180°C (160°C fan) and line a 20cm round springform tin with parchment paper. The paper should come up the sides by about 2cm — this helps the cake rise evenly and makes removal a breeze. You’ll smell the warm metal of the tin as it heats, a signal that we’re about to begin.
- Whisk the dry ingredients. In a large mixing bowl, combine the plain flour, caster sugar, baking powder, and salt. Whisk them together until the mixture looks uniform and feels light — you should see no streaks of salt or baking powder. This ensures an even rise and prevents bitter pockets.
- Add the wet ingredients. Make a well in the centre of the dry mixture. Pour in the milk, eggs, vanilla extract, and the cooled melted butter. Stir gently with a spatula or wooden spoon until just combined. The batter will be thick and slightly lumpy — that’s exactly what we want. Overmixing at this stage would develop the gluten and make the cake tough. You’ll see the batter transform from a floury mess into a smooth, glossy dough that smells sweetly of vanilla.
- Fold in the cherries. Gently fold the cherries into the batter using a spatula. Do this in just 5 or 6 strokes — you want the cherries distributed throughout, but not so much that the batter turns pink. If you’re using frozen cherries, they will bleed slightly, which creates a lovely marbled effect. The batter will feel heavy with fruit, and you’ll see the cherries peeking through the surface.
- Transfer to the tin and add topping. Spoon the batter into the prepared tin and spread it evenly with the back of the spoon. Sprinkle the demerara sugar over the top — this creates a delightful crackly crust as it bakes. For a restaurant touch, press a few extra cherries gently into the surface, spacing them evenly around the edge. The batter should feel thick and hold its shape.
- Bake until golden and risen. Place the tin on the middle rack of the oven and bake for 35-40 minutes. At the 30-minute mark, check the colour — the cake should be a deep golden brown and the cherries on top will look slightly wrinkled and glossy. The smell at this point is divine: buttery, sweet, with the faint tartness of baked cherries filling your kitchen. Insert a skewer into the centre; it should come out clean or with a few moist crumbs, but no wet batter.
- Cool and finish. Let the cake cool in the tin for 10 minutes — you’ll hear a faint crackling sound as it settles. Then transfer it to a wire rack to cool completely. Once cool, dust generously with icing sugar through a fine sieve. This final touch adds a snowy elegance that makes the cake look like it belongs on a dessert trolley. Slice with a serrated knife for clean, professional-looking pieces.
Tips From My Kitchen
- Room temperature ingredients matter more than you think: Cold eggs and milk will seize the melted butter, creating a dense, greasy crumb. Let everything sit on the counter for 30 minutes before you start. The batter will come together smoothly, and the cake will rise higher and more evenly.
- Don’t skip the parchment paper: This cake is delicate when warm, and the cherries can stick to the tin. A parchment sling (two long strips crisscrossed in the tin) lets you lift the cake out effortlessly, preserving its beautiful top and sides for presentation.
- Pat dry fresh cherries: If using fresh cherries, wash them and then pat them completely dry with a tea towel. Excess moisture creates steam pockets in the batter, which can lead to tunnelling and a gummy texture. Dry cherries also hold their shape better during baking.
- Use demerara sugar for crunch: The coarse crystals of demerara sugar don’t dissolve fully in the oven, leaving a delicate, sugary crust on top of the cake. This textural contrast — soft crumb, crackly top, soft fruit — is what makes the cake feel special. Don’t substitute with regular granulated sugar; it simply won’t give you the same effect.
- Let it cool completely before slicing: I know the temptation to cut into a warm cake is strong, but patience pays off here. A warm cake is fragile and the cherries can slide out, leaving you with a messy slice. After testing this recipe five times, I finally got it just right by waiting the full cooling time. The crumb sets properly, and each slice holds together beautifully for plating.
Equipment You’ll Need
- Stand mixer or hand mixer (optional, but makes whisking easier)
- 20cm round springform cake tin
- Parchment paper
- Wire cooling rack
- Fine sieve for dusting icing sugar
- Serrated knife for clean slicing
Common Mistakes to Avoid
- Overcrowding the pan with cherries: It’s tempting to pile in extra fruit, but too many cherries release excessive moisture into the batter. This can make the centre sink and create a soggy layer at the bottom. Stick to 300g and distribute them evenly — every slice will have enough cherries without compromising the structure.
- Wrong oven temperature: Baking at too high a temperature will brown the outside before the centre is cooked through, leaving you with a dark, crusty cake and a raw middle. Conversely, too low a temperature produces a pale, dense sponge. Always use an oven thermometer to verify your oven’s accuracy — many run hotter or cooler than the dial suggests.
- Skipping the rest time in the tin: The 10-minute rest after baking is crucial. During this time, the cake continues to cook gently from residual heat, and the structure firms up. Cutting into it immediately can cause the cake to collapse, and the cherries will bleed into the crumb, ruining that pristine appearance you worked for.
Delicious Variations to Try
- Spiced Cherry Cake: Add 1 teaspoon of ground cinnamon and ½ teaspoon of ground cardamom to the dry ingredients. The warm spices complement the tartness of the cherries beautifully and give the cake a cosy, winter-warming character. Serve with a dusting of cinnamon sugar instead of plain icing sugar.
- Vegan Cherry Cake: Replace the eggs with 2 tablespoons of ground flaxseed mixed with 6 tablespoons of water (let it sit for 5 minutes to form a gel). Use plant-based milk (oat or soya works best) and substitute the butter with 120g of coconut oil, melted. The cake will be slightly denser but still tender and delicious.
- Different Stone Fruit Variation: Swap half the cherries for sliced plums or diced nectarines. The combination of sweet and tart stone fruits creates a more complex flavour profile. Arrange the fruit in concentric circles on top of the batter before baking for a stunning, rose-like pattern.
What to Serve With Quick Cherry Cake Recipe
- A dollop of crème fraîche or clotted cream — the tanginess cuts through the sweetness.
- A simple cherry compote made by simmering leftover cherries with a splash of lemon juice and a spoonful of sugar.
- Fresh mint leaves, lightly bruised to release their aroma, scattered over the plate.
- A cup of Earl Grey tea or a strong black coffee — the bergamot or bitterness balances the fruit.
Frequently Asked Questions
Quick Cherry Cake Recipe
Ingredients
Method
- Preheat and prepare your tin. Set your oven to 180°C (160°C fan) and line a 20cm round springform tin with parchment paper. The paper should come up the sides by about 2cm — this helps the cake rise evenly and makes removal a breeze. You'll smell the warm metal of the tin as it heats, a signal that we're about to begin.
- Whisk the dry ingredients. In a large mixing bowl, combine the plain flour, caster sugar, baking powder, and salt. Whisk them together until the mixture looks uniform and feels light — you should see no streaks of salt or baking powder. This ensures an even rise and prevents bitter pockets.
- Add the wet ingredients. Make a well in the centre of the dry mixture. Pour in the milk, eggs, vanilla extract, and the cooled melted butter. Stir gently with a spatula or wooden spoon until just combined. The batter will be thick and slightly lumpy — that's exactly what we want. Overmixing at this stage would develop the gluten and make the cake tough. You'll see the batter transform from a floury mess into a smooth, glossy dough that smells sweetly of vanilla.
- Fold in the cherries. Gently fold the cherries into the batter using a spatula. Do this in just 5 or 6 strokes — you want the cherries distributed throughout, but not so much that the batter turns pink. If you're using frozen cherries, they will bleed slightly, which creates a lovely marbled effect. The batter will feel heavy with fruit, and you'll see the cherries peeking through the surface.
- Transfer to the tin and add topping. Spoon the batter into the prepared tin and spread it evenly with the back of the spoon. Sprinkle the demerara sugar over the top — this creates a delightful crackly crust as it bakes. For a restaurant touch, press a few extra cherries gently into the surface, spacing them evenly around the edge. The batter should feel thick and hold its shape.
- Bake until golden and risen. Place the tin on the middle rack of the oven and bake for 35-40 minutes. At the 30-minute mark, check the colour — the cake should be a deep golden brown and the cherries on top will look slightly wrinkled and glossy. The smell at this point is divine: buttery, sweet, with the faint tartness of baked cherries filling your kitchen. Insert a skewer into the centre; it should come out clean or with a few moist crumbs, but no wet batter.
- Cool and finish. Let the cake cool in the tin for 10 minutes — you'll hear a faint crackling sound as it settles. Then transfer it to a wire rack to cool completely. Once cool, dust generously with icing sugar through a fine sieve. This final touch adds a snowy elegance that makes the cake look like it belongs on a dessert trolley. Slice with a serrated knife for clean, professional-looking pieces.
Notes
I’d love to hear how this quick cherry cake recipe turns out for you. Did you try a variation or add your own decorative touch? Drop a comment below and share your experience — your idea might just become someone else’s new favourite way to serve this cake.