Funfetti Cake Recipe Birthday
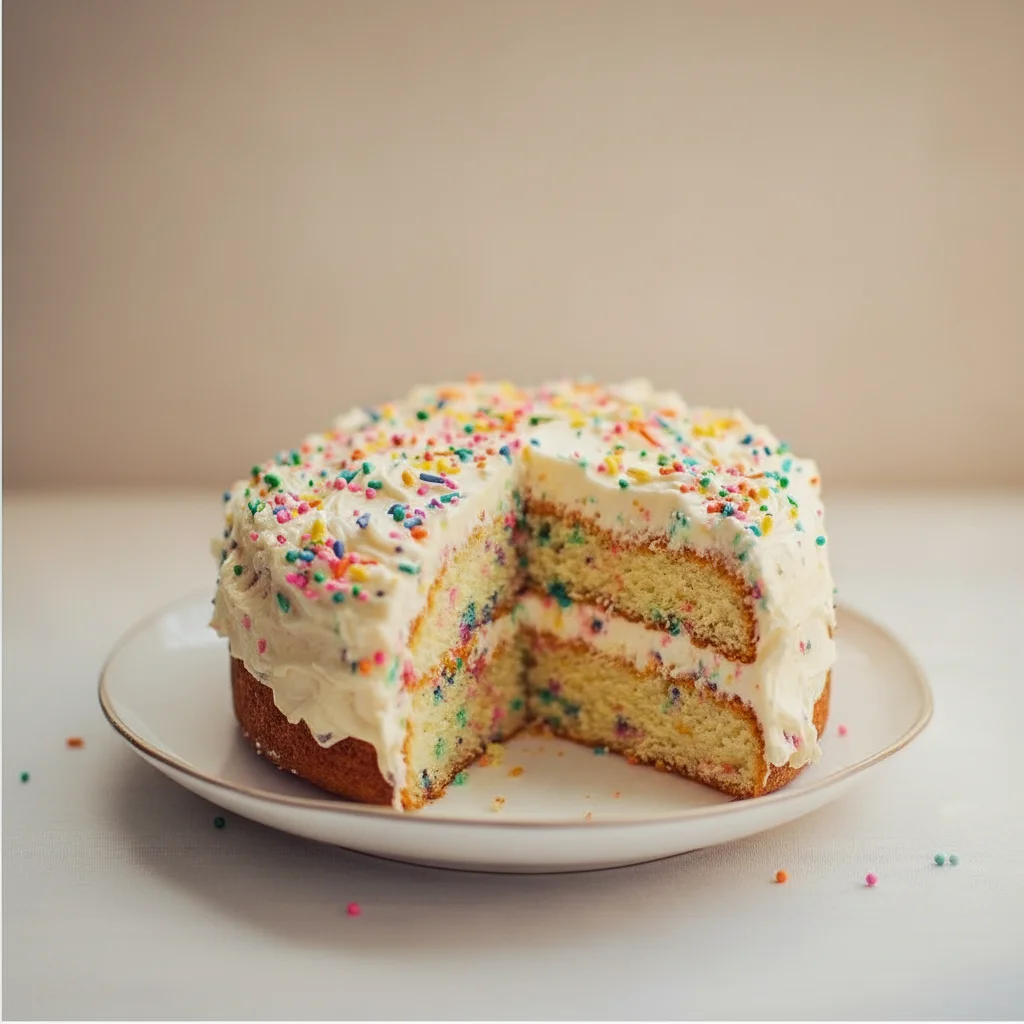
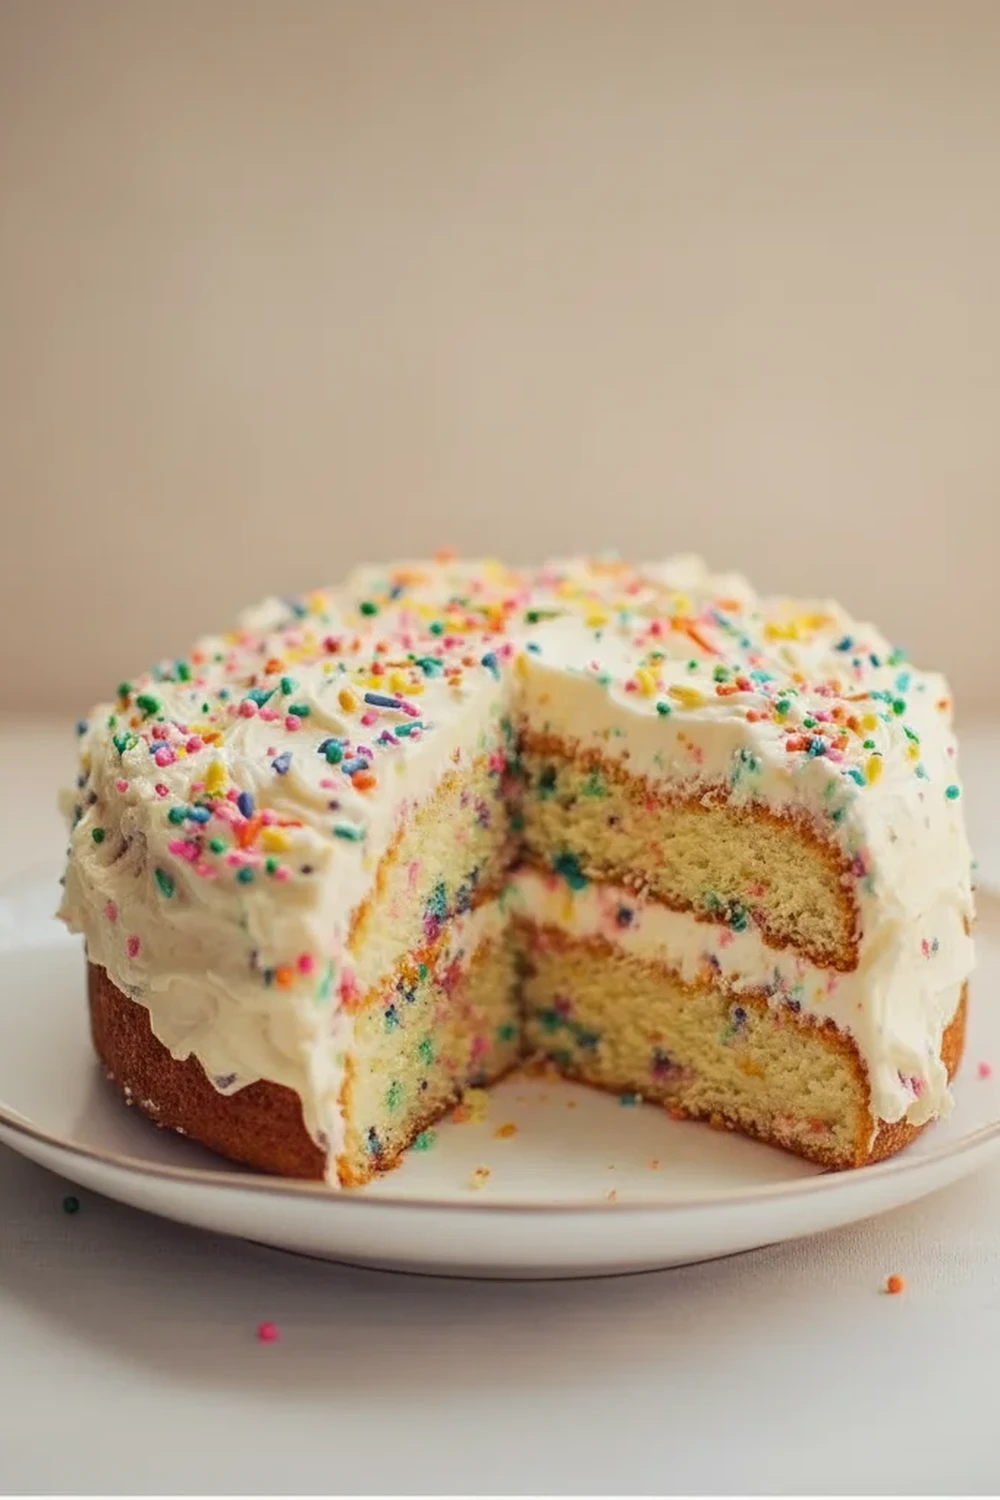
There’s a special kind of joy that comes from cutting into a cake and finding it studded with a kaleidoscope of colourful sprinkles. It takes you right back to childhood parties and pure, simple happiness. This funfetti cake recipe is the grown-up version of that nostalgic treat, but with a buttery, soft crumb and a rich vanilla flavour that is anything but childish. Friends always ask me for this recipe after trying it at dinner parties, and it’s become my go-to for birthdays, anniversaries, or just a Tuesday that needs a bit of brightening up. It’s a wonderfully cheerful bake that delivers on both looks and taste.
What sets this particular sprinkle cake apart is the texture. We’re using a combination of butter for flavour and a neutral oil for moisture, which results in a cake that is beautifully soft and stays that way for days. Paired with a classic vanilla buttercream, every slice is a delicious reminder that some of the best things in life are both simple and celebratory. This is the kind of dessert recipe you’ll turn to again and again, whether you’re baking for your family or bringing something special to a friend’s house.
Recipe Overview
This funfetti cake recipe produces a moist, tender crumb with a prominent vanilla flavour, enhanced by a hint of almond. The sprinkles are folded in right at the end to ensure they don’t bleed their colour into the batter. After testing this recipe five times, I finally got it just right by finding the perfect balance between butter and oil for a cake that’s flavourful yet incredibly moist.
- Prep Time: 25 minutes
- Cook Time: 30-35 minutes
- Total Time: 1 hour (plus cooling time)
- Servings: 12-16 slices
- Difficulty: Medium
Why You’ll Love This Funfetti Cake Recipe
- Sublime Texture and Flavour: This isn’t just a pretty cake. The crumb is incredibly soft and moist thanks to the oil, while the butter provides a rich, classic flavour. We use real vanilla extract and a touch of almond extract to give it a depth that you just don’t get from a box mix.
- Ready in About an Hour: From starting the mixer to pulling the cakes from the oven, the active process comes together in around 60 minutes, making it a manageable baking project for a weekend afternoon.
- A Versatile Bake: You can easily adapt this recipe. Bake it in two 20cm round tins for a classic layer cake, a 23x33cm rectangular tin for a sheet cake, or even as cupcakes. The batter is very forgiving.
- Ideal for Celebrations: This is a quintessential birthday cake. Its cheerful appearance makes it a centrepiece for parties, baby showers, or any occasion that calls for a bit of edible happiness.
- Family Tested and Approved: I made this for my niece’s 8th birthday, and the look on her face when she saw the sprinkles inside was priceless. It always gets compliments from adults and children alike.
Ingredients You’ll Need
For the best results, we’re using standard baking ingredients, but quality really matters here. I recommend using a good quality vanilla extract, not an essence, for the purest flavour. For the sprinkles, make sure you use rainbow jimmies (the long, thin ones) as they are less likely to bleed their colour into the batter than the tiny balls (nonpareils).
- For the Funfetti Cake:
- 340g plain flour
- 1 ½ tsp baking powder
- ½ tsp bicarbonate of soda
- ½ tsp salt
- 170g unsalted butter, at room temperature
- 250g caster sugar
- 60ml vegetable oil (or other neutral oil)
- 3 large free-range eggs, at room temperature
- 2 tsp pure vanilla extract
- ½ tsp almond extract (optional, but recommended)
- 240ml buttermilk, at room temperature
- 100g rainbow sprinkles (jimmies/strands)
- For the Vanilla Buttercream:
- 225g unsalted butter, softened
- 450g icing sugar, sifted
- 60ml double cream or whole milk, at room temperature
- 2 tsp pure vanilla extract
- Pinch of salt
- Extra rainbow sprinkles, for decorating
Ashley’s Tip: Don’t skip bringing your cold ingredients (butter, eggs, buttermilk) to room temperature. This is a crucial step for achieving a smooth, emulsified batter, which leads to a light and even crumb. For a quick method, you can place the eggs in a bowl of warm water for 10 minutes.
How to Make this Funfetti Cake
We’ll be using the traditional creaming method for this cake, which helps to incorporate air for a light, fluffy texture. Be gentle when folding in the sprinkles to keep the batter pristine and white.
- Prepare Your Tins: Preheat your oven to 180°C (160°C fan). Grease and flour two 20cm round cake tins, and line the bottoms with parchment paper.
- Combine Dry Ingredients: In a medium bowl, whisk together the plain flour, baking powder, bicarbonate of soda, and salt. Set this aside.
- Cream Butter and Sugar: In the bowl of a stand mixer fitted with the paddle attachment, or using a hand mixer, beat the room-temperature butter and caster sugar on medium-high speed for a full 4-5 minutes, until it’s very light, pale, and fluffy. Scrape down the sides and bottom of the bowl as needed.
- Add Wet Ingredients: With the mixer on low, drizzle in the vegetable oil. Then, add the eggs one at a time, beating well after each addition. Finally, mix in the vanilla and almond extracts.
- Alternate Flour and Buttermilk: Reduce the mixer speed to low. Add the dry ingredients in three additions, alternating with the buttermilk in two additions, beginning and ending with the dry ingredients. Mix only until just combined – do not overmix. I find that it’s best to finish the last few folds by hand with a spatula to ensure you don’t overwork the gluten.
- Fold in the Sprinkles: Gently fold the 100g of rainbow sprinkles into the finished batter using a rubber spatula.
- Bake the Cakes: Divide the batter evenly between your prepared tins and smooth the tops. Bake for 30-35 minutes, or until a skewer inserted into the centre comes out clean.
- Cool Completely: Let the cakes cool in their tins on a wire rack for 15 minutes before inverting them onto the rack to cool completely. Do not attempt to frost a warm cake!
- Make the Buttercream: While the cakes cool, beat the softened butter in a clean mixer bowl until creamy. Gradually add the sifted icing sugar, mixing on low speed until incorporated. Add the vanilla, salt, and double cream, then increase the speed to medium-high and beat for 3-4 minutes until light and fluffy.
- Assemble and Decorate: Place one cooled cake layer on your serving plate. Spread a generous layer of buttercream on top. Place the second cake layer on top. Cover the top and sides of the entire cake with the remaining buttercream. Decorate with the extra rainbow sprinkles. For a really lovely finish, press sprinkles around the base of the cake.
Tips From My Kitchen
- Room Temperature is Key: I can’t stress this enough. Cold ingredients don’t emulsify properly. This can lead to a dense, greasy cake. Plan ahead and leave your butter, eggs, and buttermilk out on the counter for at least an hour before you begin.
- The Secret to Non-Bleeding Sprinkles: Toss your sprinkles with a teaspoon of plain flour before folding them into the batter. I learned that this light coating helps prevent the colours from streaking through the cake, keeping those little dots of colour nice and sharp.
- Make-Ahead Method: The cake layers can be baked, cooled, and wrapped tightly in cling film a day in advance. You can store them at room temperature. The buttercream can also be made ahead and stored in an airtight container in the fridge for up to a week; just bring it to room temperature and re-whip it before using.
- Storage: Once assembled, this funfetti cake will keep in an airtight container at room temperature for up to 3 days. The oil in the batter helps it stay wonderfully moist.
Equipment You’ll Need
- Stand mixer with paddle attachment, or a hand mixer
- Two 20cm (8-inch) round cake tins
- Parchment paper
- Wire cooling rack
- Offset spatula for frosting
- Rubber spatula
Common Mistakes to Avoid
- Overmixing the Batter: Once you add the flour, you’re developing gluten. Overmixing will result in a tough, dense cake. Mix only until the flour streaks disappear, then stop.
- Using the Wrong Sprinkles: Avoid using nonpareils (the tiny, hard balls) in the batter. Their colour bleeds instantly, which will turn your lovely white batter a murky grey. Stick to jimmies or strands for the best results.
- Not Cooling the Cakes Fully: Frosting a warm cake is a recipe for disaster. The buttercream will melt and slide right off. Be patient and wait until the layers are completely cool to the touch.
Delicious Variations to Try
While this classic funfetti cake is fantastic as is, you can easily customise it to your liking. Here are a few ideas we’ve enjoyed:
- Citrus Funfetti: Add the finely grated zest of one large lemon or two oranges to the butter and sugar mixture when creaming. It adds a lovely, fresh brightness that complements the vanilla.
- Chocolate Chip Funfetti: For a different kind of treat, swap out half of the sprinkles for mini chocolate chips. It’s a lovely combination, especially if you’re making a celebratory cake.
- Almond Funfetti: If you love almond flavour, increase the almond extract to 1 full teaspoon and omit the vanilla. You could even top the cake with toasted flaked almonds along with the sprinkles.
What to Serve With Your Funfetti Cake
This birthday cake is a star on its own, but a few simple pairings can make it even more special.
- A Scoop of Ice Cream: A classic vanilla bean ice cream is a natural partner. The cold, creamy texture works beautifully with the soft cake.
- Fresh Berries: A small bowl of fresh raspberries or sliced strawberries on the side provides a lovely tart contrast to the sweetness of the cake and frosting.
- A Glass of Milk: Sometimes the simplest pairings are the best. A cold glass of milk is the ultimate nostalgic accompaniment to a slice of sprinkle cake. For a grown-up drink, a glass of Prosecco works wonderfully.
Frequently Asked Questions
Funfetti Cake Recipe
Ingredients
Method
- Prepare Your Tins: Preheat your oven to 180°C (160°C fan). Grease and flour two 20cm round cake tins, and line the bottoms with parchment paper.
- Combine Dry Ingredients: In a medium bowl, whisk together the plain flour, baking powder, bicarbonate of soda, and salt. Set this aside.
- Cream Butter and Sugar: In the bowl of a stand mixer fitted with the paddle attachment, or using a hand mixer, beat the room-temperature butter and caster sugar on medium-high speed for a full 4-5 minutes, until it’s very light, pale, and fluffy. Scrape down the sides and bottom of the bowl as needed.
- Add Wet Ingredients: With the mixer on low, drizzle in the vegetable oil. Then, add the eggs one at a time, beating well after each addition. Finally, mix in the vanilla and almond extracts.
- Alternate Flour and Buttermilk: Reduce the mixer speed to low. Add the dry ingredients in three additions, alternating with the buttermilk in two additions, beginning and ending with the dry ingredients. Mix only until just combined – do not overmix. I find that it’s best to finish the last few folds by hand with a spatula to ensure you don’t overwork the gluten.
- Fold in the Sprinkles: Gently fold the 100g of rainbow sprinkles into the finished batter using a rubber spatula.
- Bake the Cakes: Divide the batter evenly between your prepared tins and smooth the tops. Bake for 30-35 minutes, or until a skewer inserted into the centre comes out clean.
- Cool Completely: Let the cakes cool in their tins on a wire rack for 15 minutes before inverting them onto the rack to cool completely. Do not attempt to frost a warm cake!
- Make the Buttercream: While the cakes cool, beat the softened butter in a clean mixer bowl until creamy. Gradually add the sifted icing sugar, mixing on low speed until incorporated. Add the vanilla, salt, and double cream, then increase the speed to medium-high and beat for 3-4 minutes until light and fluffy.
- Assemble and Decorate: Place one cooled cake layer on your serving plate. Spread a generous layer of buttercream on top. Place the second cake layer on top. Cover the top and sides of the entire cake with the remaining buttercream. Decorate with the extra rainbow sprinkles. For a really lovely finish, press sprinkles around the base of the cake.
Notes
I hope you have as much fun making (and eating!) this funfetti cake as we do in my house. It’s a truly joyful bake that is guaranteed to put a smile on everyone’s face. If you try this dessert recipe, I’d love to hear how it turned out for you. Please leave a comment below and let me know!
Happy baking,
Ashley Rivera