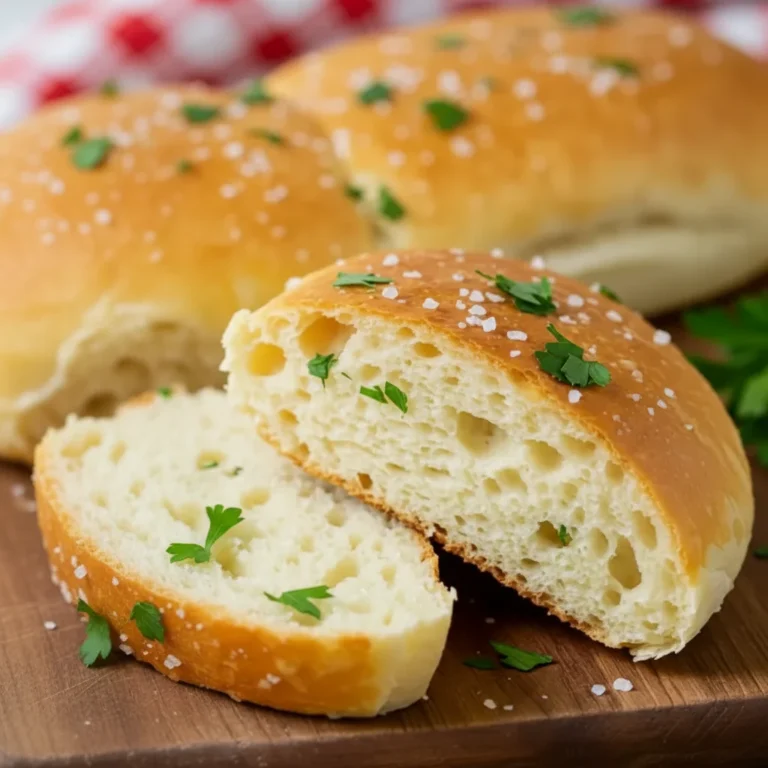
Fluffy Homemade Pita Bread Recipe
There’s something truly magical about watching a flat disc of dough puff up into a perfect, billowy pillow in a hot oven. It’s a moment of kitchen alchemy that never fails to bring a smile to my face. For years, I relied on shop-bought pitas, which were often dry and disappointing. Then I discovered just how straightforward it is to make homemade pita bread from scratch, and honestly, I’ve never looked back. I’ve been making this for over 4 years, and it never disappoints; the resulting bread is so wonderfully soft, chewy, and flavourful that it transforms any meal.
This bread recipe is all about creating that signature pocket, ideal for filling with all sorts of delicious things. The secret lies not in a complicated technique, but in getting your oven incredibly hot. That blast of heat instantly turns the moisture in the dough to steam, forcing the bread to inflate dramatically. The result is a light, airy flatbread with a tender crumb and a slightly crisp exterior. It’s a world away from the dense, leathery versions you find in plastic bags at the supermarket.
We love making a big batch of these on a Sunday afternoon. They’re brilliant for scooping up hummus during the week, making speedy lunchbox sandwiches, or serving alongside a tagine or a hearty soup. The aroma of fresh bread baking is just a bonus, filling the whole house with a comforting, wholesome scent that everyone loves.
Recipe Overview
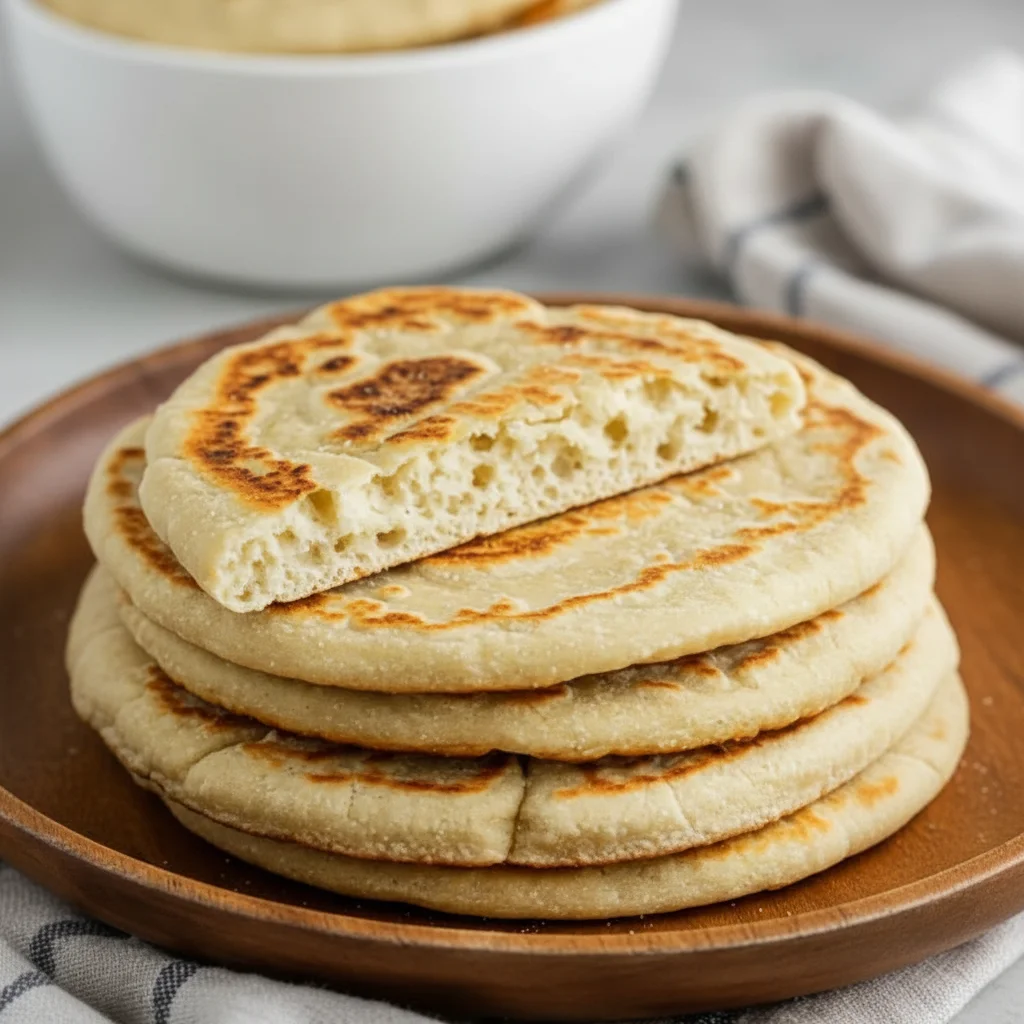
This homemade pita bread recipe guides you through creating beautifully soft and puffy flatbreads with that essential pocket. The dough comes together with a handful of basic pantry ingredients, and while it requires some proving time, the active work is minimal. The flavour is gently yeasty and wholesome, a perfect neutral canvas for countless fillings and dips. I remember the first time I made these, I was mesmerised watching them inflate through the oven door – it’s a genuinely satisfying bake!
- Prep Time: 20 minutes
- Proving Time: 90 minutes
- Cook Time: 16-24 minutes
- Total Time: Approximately 2 hours 30 minutes
- Servings: 8 large pita breads
- Difficulty: Medium
Why You’ll Love This Homemade Pita Bread
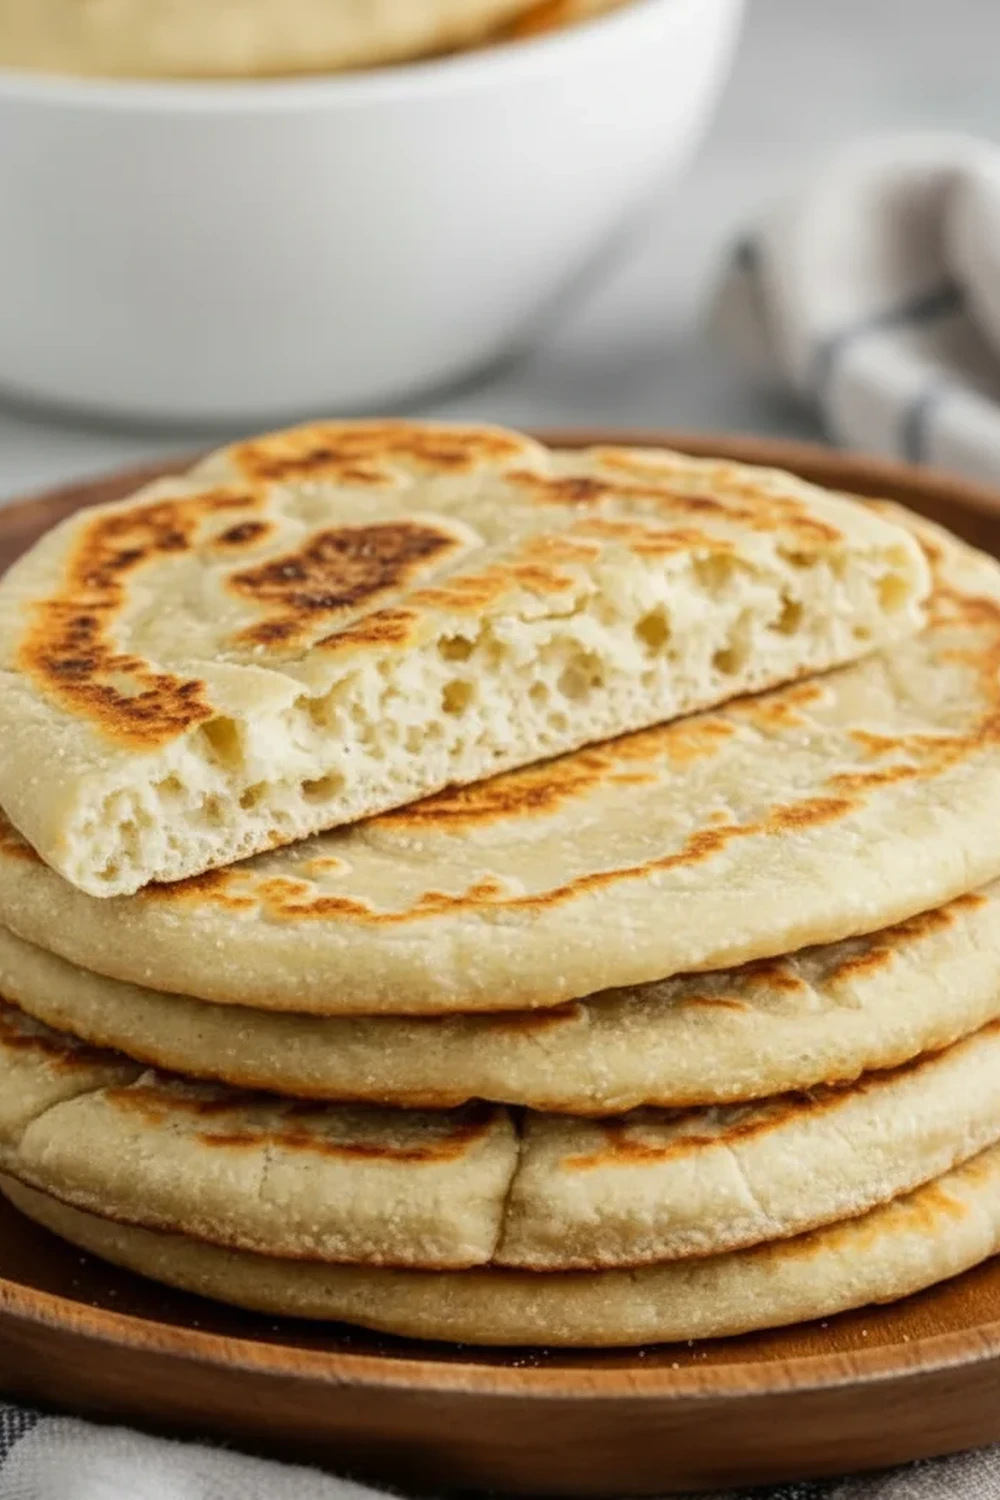
- Authentic Texture and Flavour: Unlike store-bought options, these have a wonderfully soft, slightly chewy texture and a fresh, yeasty flavour that can’t be beaten. They are pliable and strong enough to hold generous fillings without tearing.
- Minimal Active Time: While the dough needs time to rise, you’ll only spend about 20 minutes actively mixing, kneading, and shaping. It’s a great project for a lazy weekend.
- Versatile and Adaptable: You can easily tweak this recipe. Try swapping half the bread flour for wholemeal flour for a nuttier taste, or knead in some finely chopped herbs like rosemary or thyme for extra aroma.
- Ideal for Meal Prep: These are brilliant for making ahead. Bake a batch and they’ll be ready for quick lunches or dinners throughout the week, saving you time and effort when you need it most.
- Family Tested: My family absolutely devours these, especially when I serve them warm with a big bowl of my Authentic Tzatziki Sauce. They disappear from the cooling rack almost as soon as I make them!
Ingredients You’ll Need
You only need a few simple, high-quality ingredients for this bread recipe. For the best texture, I always use a strong white bread flour, which has a higher protein content that develops a strong gluten network for a chewier result. I find that Allinson’s or any good supermarket own-brand strong flour works beautifully.
- 500g strong white bread flour, plus extra for dusting
- 7g sachet of fast-action dried yeast
- 1 tsp caster sugar
- 1 ½ tsp fine sea salt
- 2 tbsp olive oil
- 300ml warm water (lukewarm, not hot)
Ashley’s Tip: The temperature of the water is crucial. It should feel comfortably warm on your wrist, like a baby’s bath. If it’s too hot, it will kill the yeast; too cold, and the dough will take a very long time to rise.
How to Make Homemade Pita Bread
The process is quite methodical and relaxing. The key is allowing the dough enough time to prove and ensuring your oven is preheated properly for that signature ‘puff’.
- Activate the Yeast: In a small bowl, whisk together the warm water, caster sugar, and fast-action yeast. Set it aside for 5-10 minutes. You’ll know the yeast is active when it becomes frothy and bubbly on the surface.
- Combine the Dry Ingredients: In the bowl of a stand mixer fitted with a dough hook (or a large mixing bowl), combine the 500g of strong bread flour and the salt. Give it a quick mix to ensure the salt is evenly distributed.
- Mix the Dough: Pour the activated yeast mixture and the olive oil into the flour. Mix on a low speed until a shaggy dough starts to form.
- Knead to Perfection: Increase the mixer speed to medium-low and knead for 8-10 minutes. The dough should become smooth, elastic, and pull away cleanly from the sides of the bowl. If kneading by hand, tip the dough onto a lightly floured surface and knead for a solid 10-12 minutes until you achieve the same smooth texture. I find that setting a timer for kneading is the best way to ensure you don’t cut it short – this step is vital for a soft crumb.
- First Prove: Lightly oil the mixing bowl, place the dough inside, and turn it over to coat. Cover the bowl with a clean, damp tea towel or cling film. Leave it to rise in a warm, draught-free place for 60-90 minutes, or until it has doubled in size.
- Divide and Shape: Once risen, gently punch the air out of the dough and tip it onto a lightly floured work surface. Divide it into 8 equal pieces (a kitchen scale helps here). Roll each piece into a smooth, tight ball.
- Second Rest: Place the dough balls on the floured surface, cover them with the damp tea towel, and let them rest for 10 minutes. This relaxes the gluten, making them much easier to roll out.
- Preheat and Roll: Place a heavy baking tray or a pizza stone on the middle rack of your oven and preheat it to 230°C (210°C Fan). While the oven heats, roll each dough ball into a circle about 15-20cm in diameter and 3-5mm thick. Try to get them as even as possible.
- Bake the Pitas: Carefully open the oven and place 2-3 pitas directly onto the hot baking tray. Bake for 2-3 minutes. They will puff up dramatically. Don’t be tempted to open the oven door while they bake. Once puffed, you can flip them for another 30 seconds if you want some light browning, but it’s not essential.
- Cool and Serve: Remove the baked pitas from the oven with tongs and wrap them immediately in a clean tea towel. This keeps them soft and pliable as they cool. Repeat with the remaining dough.
Tips From My Kitchen
- Temperature Control is Everything: The single most important factor for getting that pocket is a very hot oven and a preheated baking surface. This intense heat creates a burst of steam inside the dough, forcing it to inflate. Don’t skip the preheating step!
- The Secret Step: Don’t underestimate the 10-minute rest after shaping the dough into balls. I learned that this small step makes a huge difference. It allows the gluten to relax, so when you roll the dough out, it doesn’t spring back and you can achieve a nice, even thickness.
- Make-Ahead Dough: You can prepare the dough through to the end of step 4, then place it in a lightly oiled bowl, cover, and refrigerate for up to 24 hours. This slow, cold fermentation actually develops a more complex flavour. Just let it come to room temperature for about an hour before dividing and shaping.
- Storage: Homemade pita bread is best eaten on the day it’s made. However, you can store leftovers in a sealed plastic bag at room temperature for up to 2 days. To freeze, stack the cooled pitas with a small piece of parchment paper between each one, place in a freezer bag, and freeze for up to 3 months. Reheat directly from frozen in a toaster or a warm oven.
Equipment You’ll Need
- Stand mixer with a dough hook (optional, but helpful)
- Large mixing bowl
- Heavy-duty baking tray or pizza stone
- Rolling pin
- Kitchen scales (for accuracy)
- Clean tea towels
Delicious Variations to Try
Once you’ve mastered the basic recipe, it’s fun to experiment with different flavours. Here are a few ideas we enjoy:
- Wholemeal Pitas: For a healthier, nuttier flatbread, substitute up to half of the strong white bread flour with wholemeal bread flour. You may need to add an extra tablespoon or two of water as wholemeal flour is thirstier.
- Herb-Infused Pitas: Add 1-2 tablespoons of finely chopped fresh herbs like rosemary, thyme, or oregano to the dry ingredients in step 2. Za’atar is also a fantastic addition for a Middle Eastern flair.
- Garlic and Coriander Finish: After the pitas come out of the oven, immediately brush them with a little melted butter mixed with finely crushed garlic and chopped fresh coriander for a flavour reminiscent of a fresh naan bread.
What to Serve With Homemade Pita Bread
These fluffy pitas are incredibly versatile and work as a fantastic base or accompaniment for so many dishes. They are so much more than just a simple flatbread.
- Dips and Meze: The classic pairing! They are brilliant for scooping up hummus, baba ghanoush, or a cooling bowl of my Authentic Tzatziki Sauce Recipe.
- Hearty Mains: Serve them alongside rich stews, tagines, or spicy curries to mop up every last drop of sauce. They are also a wonderful side for a platter of juicy Grilled Lamb Chops.
- As a Sandwich: Split them open and stuff them with falafel, salad, grilled halloumi, or leftover roast chicken for a delicious and satisfying lunch.
- With Soup: A warm, fluffy pita is a brilliant partner to a comforting bowl of soup, like this Hearty Lentil Soup.
Frequently Asked Questions
Homemade Pita Bread
Ingredients
Method
- Activate the Yeast: In a small bowl, whisk together the warm water, caster sugar, and fast-action yeast. Set it aside for 5-10 minutes. You'll know the yeast is active when it becomes frothy and bubbly on the surface.
- Combine the Dry Ingredients: In the bowl of a stand mixer fitted with a dough hook (or a large mixing bowl), combine the 500g of strong bread flour and the salt. Give it a quick mix to ensure the salt is evenly distributed.
- Mix the Dough: Pour the activated yeast mixture and the olive oil into the flour. Mix on a low speed until a shaggy dough starts to form.
- Knead to Perfection: Increase the mixer speed to medium-low and knead for 8-10 minutes. The dough should become smooth, elastic, and pull away cleanly from the sides of the bowl. If kneading by hand, tip the dough onto a lightly floured surface and knead for a solid 10-12 minutes until you achieve the same smooth texture. I find that setting a timer for kneading is the best way to ensure you don't cut it short – this step is vital for a soft crumb.
- First Prove: Lightly oil the mixing bowl, place the dough inside, and turn it over to coat. Cover the bowl with a clean, damp tea towel or cling film. Leave it to rise in a warm, draught-free place for 60-90 minutes, or until it has doubled in size.
- Divide and Shape: Once risen, gently punch the air out of the dough and tip it onto a lightly floured work surface. Divide it into 8 equal pieces (a kitchen scale helps here). Roll each piece into a smooth, tight ball.
- Second Rest: Place the dough balls on the floured surface, cover them with the damp tea towel, and let them rest for 10 minutes. This relaxes the gluten, making them much easier to roll out.
- Preheat and Roll: Place a heavy baking tray or a pizza stone on the middle rack of your oven and preheat it to 230°C (210°C Fan). While the oven heats, roll each dough ball into a circle about 15-20cm in diameter and 3-5mm thick. Try to get them as even as possible.
- Bake the Pitas: Carefully open the oven and place 2-3 pitas directly onto the hot baking tray. Bake for 2-3 minutes. They will puff up dramatically. Don't be tempted to open the oven door while they bake. Once puffed, you can flip them for another 30 seconds if you want some light browning, but it's not essential.
- Cool and Serve: Remove the baked pitas from the oven with tongs and wrap them immediately in a clean tea towel. This keeps them soft and pliable as they cool. Repeat with the remaining dough.
Notes
There is nothing quite like the satisfaction of making your own bread, and these fluffy, pocket-filled pitas are one of the most rewarding bakes you can try. I hope you enjoy the process as much as the delicious results. I’d love to hear how yours turn out in the comments below! Happy baking,
Ashley