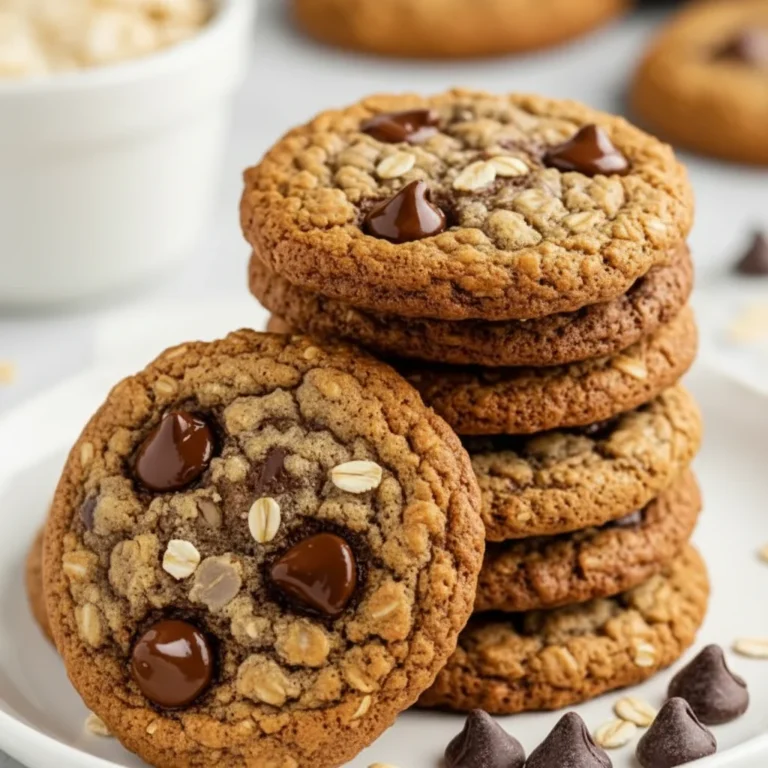
Chocolate Chip Cookies Recipe Chewy
There are few things in life as universally wonderful as the smell of chocolate chip cookies baking in the oven. That warm, buttery, brown sugar aroma that fills the entire house is a promise of good things to come. For years, I searched for the ultimate chocolate chip cookies recipe, one that would deliver on that promise every single time. I wanted a cookie with a delightful chew in the centre, slightly crisp, golden-brown edges, and deep, generous puddles of melted chocolate. After countless batches and tweaks, this is the recipe that made it happen. My husband, who’s usually picky about desserts, asked for a second one straight from the cooling rack!
This isn’t just another cookie recipe; it’s a carefully balanced formula for texture and flavour. The key is in the ratio of sugars, the quality of the ingredients, and one crucial step that many people skip: chilling the dough. This small bit of patience prevents the cookies from spreading into thin, sad discs and instead develops a richer, more complex flavour. The result is a substantial, satisfying cookie that tastes like it came from a high-end bakery, but with all the love of home baking baked right in.
This dessert is ideal for a weekend baking project with the kids, a comforting treat after a long week, or to have on hand for when friends pop over for a cup of tea. After a hearty meal like my Stuffed Peppers With Rice, these cookies are the perfect sweet finish. They are, in my opinion, the very definition of a well-made classic.
Recipe Overview
This chocolate chip cookies recipe produces wonderfully chewy cookies with crisp edges and a deep, caramel-like flavour from the brown sugar. The use of both dark and milk chocolate chunks creates pockets of gooey, melted chocolate with varying levels of sweetness. I’ve found that letting the dough rest for at least an hour is non-negotiable for achieving the best texture and preventing the cookies from spreading too thin.
- Prep Time: 20 minutes
- Chill Time: 1 hour (minimum)
- Cook Time: 12-15 minutes per batch
- Total Time: 1 hour 35 minutes
- Servings: Makes approximately 24 cookies
- Difficulty: Medium
Why You’ll Love This Chocolate Chip Cookies Recipe
- Genuine Flavour: The combination of melted butter and light brown soft sugar creates a rich, toffee-like base. Using a quality vanilla extract and a generous pinch of sea salt enhances the chocolate and balances the sweetness beautifully.
- Ready in Under 2 Hours (with chilling): While the dough needs to chill, the active hands-on time is less than 30 minutes. It’s a straightforward process that fits easily into a lazy afternoon.
- Flexible Recipe: You can easily adapt this to your taste. Swap the chocolate chunks for walnuts or pecans, add a teaspoon of instant espresso powder to intensify the chocolate, or use all dark chocolate for a more grown-up flavour.
- Works Wonderfully for Gifting: A batch of these homemade cookies, packed in a nice tin or box, makes a thoughtful and always-welcome gift for neighbours, teachers, or new parents.
- Family Tested: This is a recipe that gets requested again and again in my house. My kids absolutely devour these every time I make them, and they’re always the first thing to disappear at family gatherings.
Ingredients You’ll Need
For the best results, I always use good quality chocolate – a bar chopped into chunks melts much better than standard chips. I often use Green & Black’s or Lindt for this. Ensure your butter is at the right temperature; it should be soft enough to indent with your finger but not greasy or melted.
- 170g unsalted butter, melted and cooled slightly
- 200g light brown soft sugar
- 100g granulated sugar
- 1 large egg, plus 1 egg yolk (at room temperature)
- 2 tsp vanilla extract
- 280g plain flour
- 1 tsp bicarbonate of soda
- ½ tsp baking powder
- 1 tsp sea salt flakes, plus extra for sprinkling
- 150g dark chocolate (around 70% cocoa), roughly chopped
- 150g milk chocolate, roughly chopped
Ashley’s Tip: Using an extra egg yolk is my secret for an extra chewy, rich cookie. The added fat from the yolk contributes to a fudgy texture that is simply divine. Make sure your egg is at room temperature for a smoother, more uniform dough.
How to Make These Chewy Chocolate Chip Cookies
The process is straightforward. The most important parts are creaming the sugars and butter properly and, of course, not skipping the chilling time. This rest period allows the flour to fully hydrate and the flavours to meld together.
- Combine Wet Ingredients: In a large bowl or the bowl of a stand mixer, add the cooled melted butter, light brown soft sugar, and granulated sugar. Whisk or beat on a medium speed for about 2-3 minutes until the mixture is well combined and has a glossy, wet sand appearance.
- Add Eggs and Vanilla: Add the whole egg, egg yolk, and vanilla extract. Beat again for another minute until the mixture becomes lighter in colour and texture. It’s important to scrape down the sides of the bowl to ensure everything is incorporated.
- Combine Dry Ingredients: In a separate bowl, whisk together the plain flour, bicarbonate of soda, baking powder, and sea salt flakes. This step ensures the leavening agents are evenly distributed, which helps the cookies rise uniformly.
- Mix Dough: Gradually add the dry ingredients to the wet ingredients, mixing on a low speed until just combined. Be careful not to overmix here; stop as soon as you no longer see streaks of flour. Overmixing can develop the gluten too much, leading to a tough cookie.
- Fold in Chocolate: Gently fold in the chopped dark and milk chocolate chunks using a spatula. I like to reserve a handful to press onto the tops of the cookie dough balls before baking.
- Chill the Dough: Cover the bowl with cling film and refrigerate for at least 1 hour, or up to 72 hours. The longer it chills, the more flavourful the cookies will be. This step is crucial for thick, chewy cookies.
- Preheat and Prepare: When you’re ready to bake, preheat your oven to 180°C (160°C fan). Line two large baking trays with parchment paper.
- Shape and Bake: Scoop out balls of dough, roughly 2 tablespoons each. An ice cream scoop works wonderfully for uniform sizing. Arrange them on the prepared trays, leaving at least 5cm of space between each one to allow for spreading. If you reserved some chocolate, press a few chunks onto the top of each ball.
- Bake to Perfection: Bake for 12-15 minutes, or until the edges are golden brown and the centres look slightly underdone. What works best for me is rotating the trays halfway through baking for an even colour.
- Cool and Enjoy: Let the cookies cool on the baking tray for 5 minutes before transferring them to a wire rack to cool completely. They will firm up as they cool. A sprinkle of extra sea salt flakes on top of the warm cookies is a fantastic final touch.
Tips From My Kitchen
- Temperature Control: Having your eggs at room temperature is really important. Cold eggs can cause the butter to seize up, resulting in a lumpy batter. To warm them up quickly, just place them in a bowl of warm water for 5-10 minutes.
- The Secret Step: For those perfect crinkly tops and chewy centres, I learned this trick: about two-thirds of the way through baking, take the tray out of the oven and gently bang it on your worktop a couple of times. This causes the puffy centre to collapse, creating those desirable ripples. Serious Eats has a great article on the science behind it.
- Make-Ahead: The cookie dough can be made and stored in the fridge for up to 3 days. You can also scoop the dough into balls, place them on a tray, and freeze until solid. Then, transfer the frozen dough balls to a freezer bag. You can bake them straight from frozen; just add 2-3 minutes to the baking time.
- Storage: Store the baked cookies in an airtight container at room temperature. They will stay fresh and chewy for up to 5 days. I sometimes place a slice of bread in the container to help keep them soft.
Equipment You’ll Need
- Stand mixer or a large bowl with an electric hand mixer
- 2 large baking trays
- Parchment paper
- Wire cooling rack
- Ice cream scoop (optional, but recommended for uniform cookies)
Common Mistakes to Avoid
- Overcrowding the tray: It’s tempting to fit as many cookies as possible onto one tray, but this is a mistake. When cookies are too close, they steam instead of bake and will often merge into one giant cookie. Always leave at least 5cm (2 inches) of space around each dough ball.
- Wrong oven temperature: An oven that is too hot will burn the bottoms while the inside remains raw. An oven that is too cool will cause the cookies to spread too much before they have a chance to set. An oven thermometer is a great investment for any home baker.
- Skipping the rest time: Chilling the dough is essential. It solidifies the butter, which means the cookies spread more slowly in the oven, resulting in a thicker, chewier final product. It also allows the flavours to deepen. Don’t skip it!
What to Serve With These Chocolate Chip Cookies
While these cookies are spectacular on their own, a simple pairing can elevate the experience. Here are a few of my favourite ways to serve them:
- A Glass of Cold Milk: The classic pairing for a reason. The creamy milk cuts through the richness of the buttery cookie and chocolate.
- Vanilla Bean Ice Cream: Create a simple but decadent dessert by sandwiching a scoop of good quality vanilla ice cream between two warm cookies.
- A Great Cup of Coffee: For an afternoon treat, the slight bitterness of coffee is a wonderful counterpoint to the cookie’s sweetness. This recipe would be fantastic alongside a homemade Instant Coffee Iced Coffee.
Frequently Asked Questions
Chocolate Chip Cookies Recipe
Ingredients
Method
- Combine Wet Ingredients: In a large bowl or the bowl of a stand mixer, add the cooled melted butter, light brown soft sugar, and granulated sugar. Whisk or beat on a medium speed for about 2-3 minutes until the mixture is well combined and has a glossy, wet sand appearance.
- Add Eggs and Vanilla: Add the whole egg, egg yolk, and vanilla extract. Beat again for another minute until the mixture becomes lighter in colour and texture. It's important to scrape down the sides of the bowl to ensure everything is incorporated.
- Combine Dry Ingredients: In a separate bowl, whisk together the plain flour, bicarbonate of soda, baking powder, and sea salt flakes. This step ensures the leavening agents are evenly distributed, which helps the cookies rise uniformly.
- Mix Dough: Gradually add the dry ingredients to the wet ingredients, mixing on a low speed until just combined. Be careful not to overmix here; stop as soon as you no longer see streaks of flour. Overmixing can develop the gluten too much, leading to a tough cookie.
- Fold in Chocolate: Gently fold in the chopped dark and milk chocolate chunks using a spatula. I like to reserve a handful to press onto the tops of the cookie dough balls before baking.
- Chill the Dough: Cover the bowl with cling film and refrigerate for at least 1 hour, or up to 72 hours. The longer it chills, the more flavourful the cookies will be. This step is crucial for thick, chewy cookies.
- Preheat and Prepare: When you're ready to bake, preheat your oven to 180°C (160°C fan). Line two large baking trays with parchment paper.
- Shape and Bake: Scoop out balls of dough, roughly 2 tablespoons each. An ice cream scoop works wonderfully for uniform sizing. Arrange them on the prepared trays, leaving at least 5cm of space between each one to allow for spreading. If you reserved some chocolate, press a few chunks onto the top of each ball.
- Bake to Perfection: Bake for 12-15 minutes, or until the edges are golden brown and the centres look slightly underdone. What works best for me is rotating the trays halfway through baking for an even colour.
- Cool and Enjoy: Let the cookies cool on the baking tray for 5 minutes before transferring them to a wire rack to cool completely. They will firm up as they cool. A sprinkle of extra sea salt flakes on top of the warm cookies is a fantastic final touch.
Notes
I truly believe this is the ultimate chocolate chip cookies recipe, and I hope it brings as much joy to your kitchen as it does to mine. There’s something so rewarding about pulling a tray of these golden, chocolate-studded beauties from the oven. If you give this recipe a go, I would love to hear how it turned out! Please leave a comment below and let me know your thoughts. For another delightful dessert, why not try my Carrot Halwa Recipe? Happy baking! – Ashley
You might also like these recipes
Cheesy Pizza Monkey Bread Recipe
There’s something wonderfully communal about a dish that everyone can dig into at the same…
Easy Banana Split Dump Cake
Some desserts are pure, unadulterated fun, and this Banana Split Dump Cake is exactly that….
Creamy Summer Berry Peach Cheesecake
There’s something truly special about a dessert that captures the essence of a season on…
Tropical Hawaiian Carrot Pineapple Cake
There are some bakes that feel like a little dose of sunshine, and this Hawaiian…
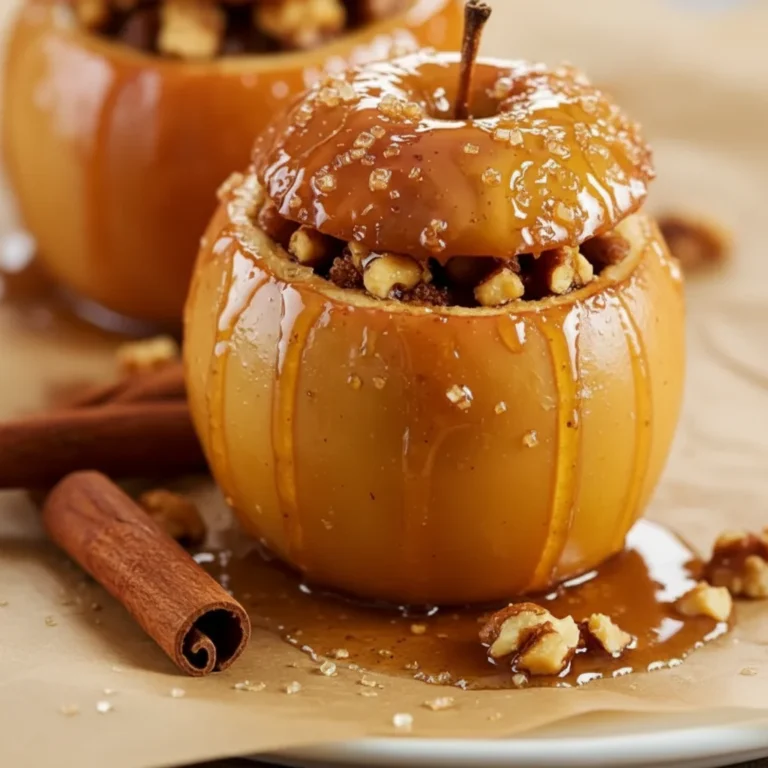
Cozy Cinnamon Maple Baked Apples
There’s a particular magic that happens when the air turns crisp and the leaves start…
Rice Krispie Chocolate Chip Cookies
There’s something universally wonderful about a classic chocolate chip cookie, but I’ve always been on…