Quick Mac And Cheese Recipe
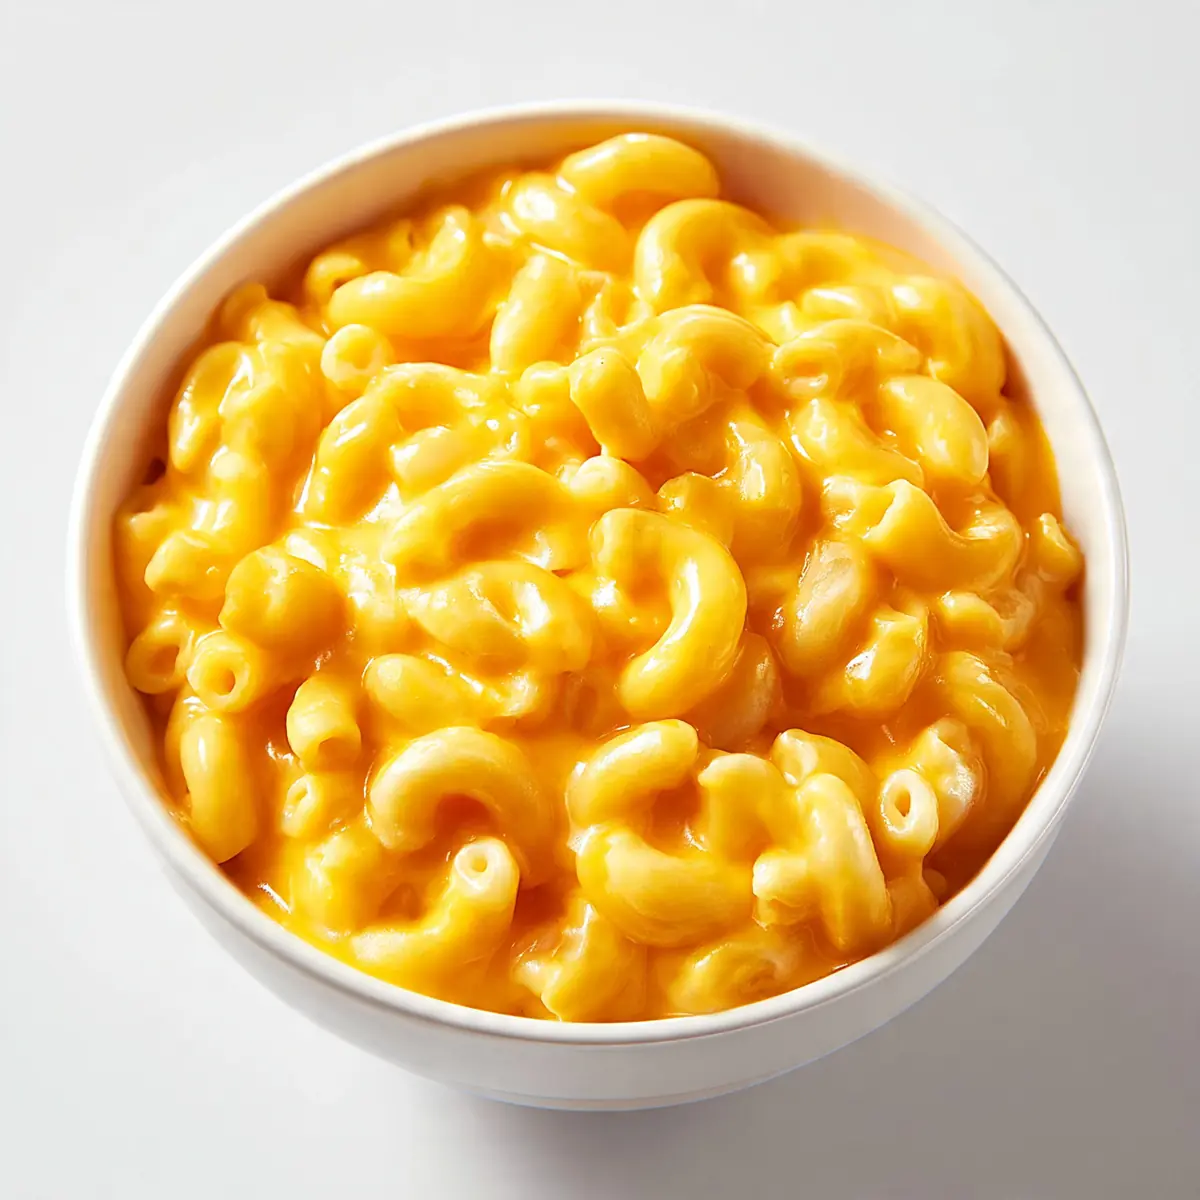
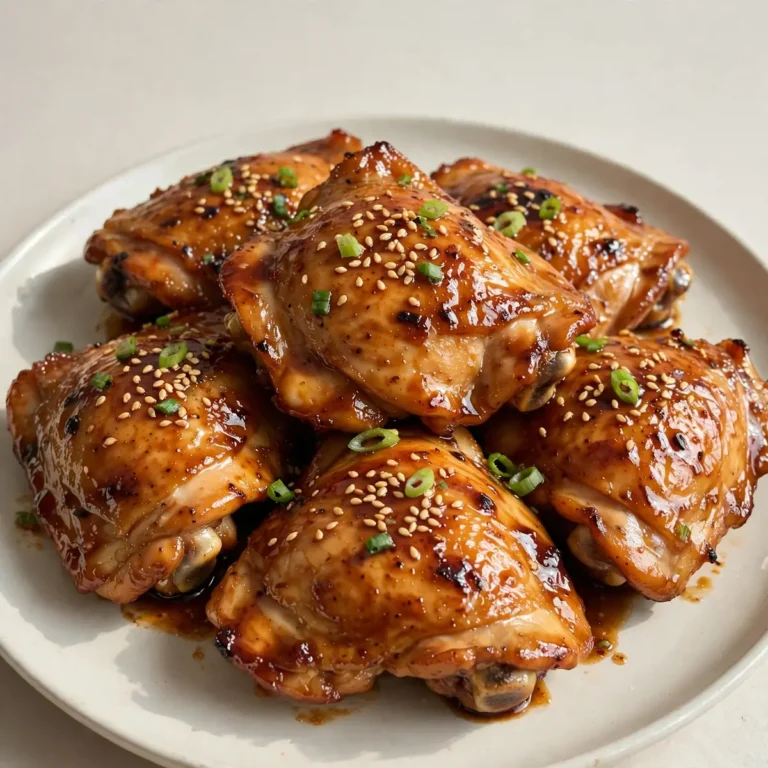
I once spent an entire afternoon perfecting a single bowl of mac and cheese for a dinner party, tweaking the cheese blend and the crumb topping until the sauce clung to each piece of pasta like velvet. This quick mac and cheese recipe is the result of that obsession, and it is designed to look as magnificent on a plate as it tastes, turning a humble supper into something you would confidently serve to guests.
Recipe Overview
- Prep time: 10 minutes
- Cook time: 20 minutes
- Total time: 30 minutes
- Servings: 4 generous portions
- Difficulty: Easy
Why You’ll Love This Quick Mac And Cheese Recipe
- Restaurant-style finish at home: We are focusing on a golden, buttery crumb topping and a creamy, non-grainy sauce that looks elegant when served in individual dishes.
- No roux fussing: This method skips the traditional butter-and-flour paste, saving you time without sacrificing that silky, smooth texture.
- Builds a flavour base: A pinch of mustard powder and a touch of garlic elevate the cheese, making the dish taste more complex than its quick cooking time suggests.
- Perfect for entertaining: The recipe scales up effortlessly, and the final dish holds its heat well, giving you time to finish other elements of your meal.
- Clear visual cues: Each step comes with a specific colour, smell, or sound, so you know exactly when the sauce is ready, even if you are new to making cheese sauces.
Ingredients You’ll Need
- 300g dried macaroni pasta
- 50g unsalted butter, plus extra for greasing
- 50g plain flour
- 600ml whole milk, warm
- 1 teaspoon mustard powder
- ½ teaspoon garlic powder
- 200g mature cheddar cheese, grated
- 100g Gruyère cheese, grated
- Salt and freshly ground black pepper, to taste
- 60g fresh white breadcrumbs (from about 2 slices of bread)
- 20g Parmesan cheese, finely grated
- 1 tablespoon olive oil
- Fresh parsley, finely chopped, for garnish
Tip: Grating your own cheese from a block is non-negotiable here. Pre-shredded bagged cheese contains anti-caking agents that stop the sauce from melting into that smooth, glossy finish we are aiming for.
How to Make Quick Mac And Cheese Recipe
- Preheat your oven to 200°C (180°C fan) and bring a large pot of salted water to a vigorous, rolling boil. You will know the water is ready when the surface looks like a stormy sea, with large bubbles breaking quickly. Add the macaroni and cook for 2 minutes less than the package instructions suggest — the pasta should be firm to the bite, with a tiny white dot in the centre when you cut a piece in half. Drain it in a colander and set it aside.
- While the pasta cooks, start the cheese sauce. In a large saucepan, melt the butter over a medium heat. Once it has completely turned to liquid and begins to foam gently, whisk in the plain flour. Cook this mixture, stirring constantly, for about 1 minute until it smells slightly nutty and turns a pale, biscuit colour — this is your roux.
- Slowly pour in the warm milk, whisking continuously. The mixture will seize up into a thick paste at first, but keep whisking. After about 2 minutes, the sauce will loosen and begin to steam, thickening to the consistency of double cream. You will see it coating the back of a wooden spoon, leaving a clean trail when you run your finger through it.
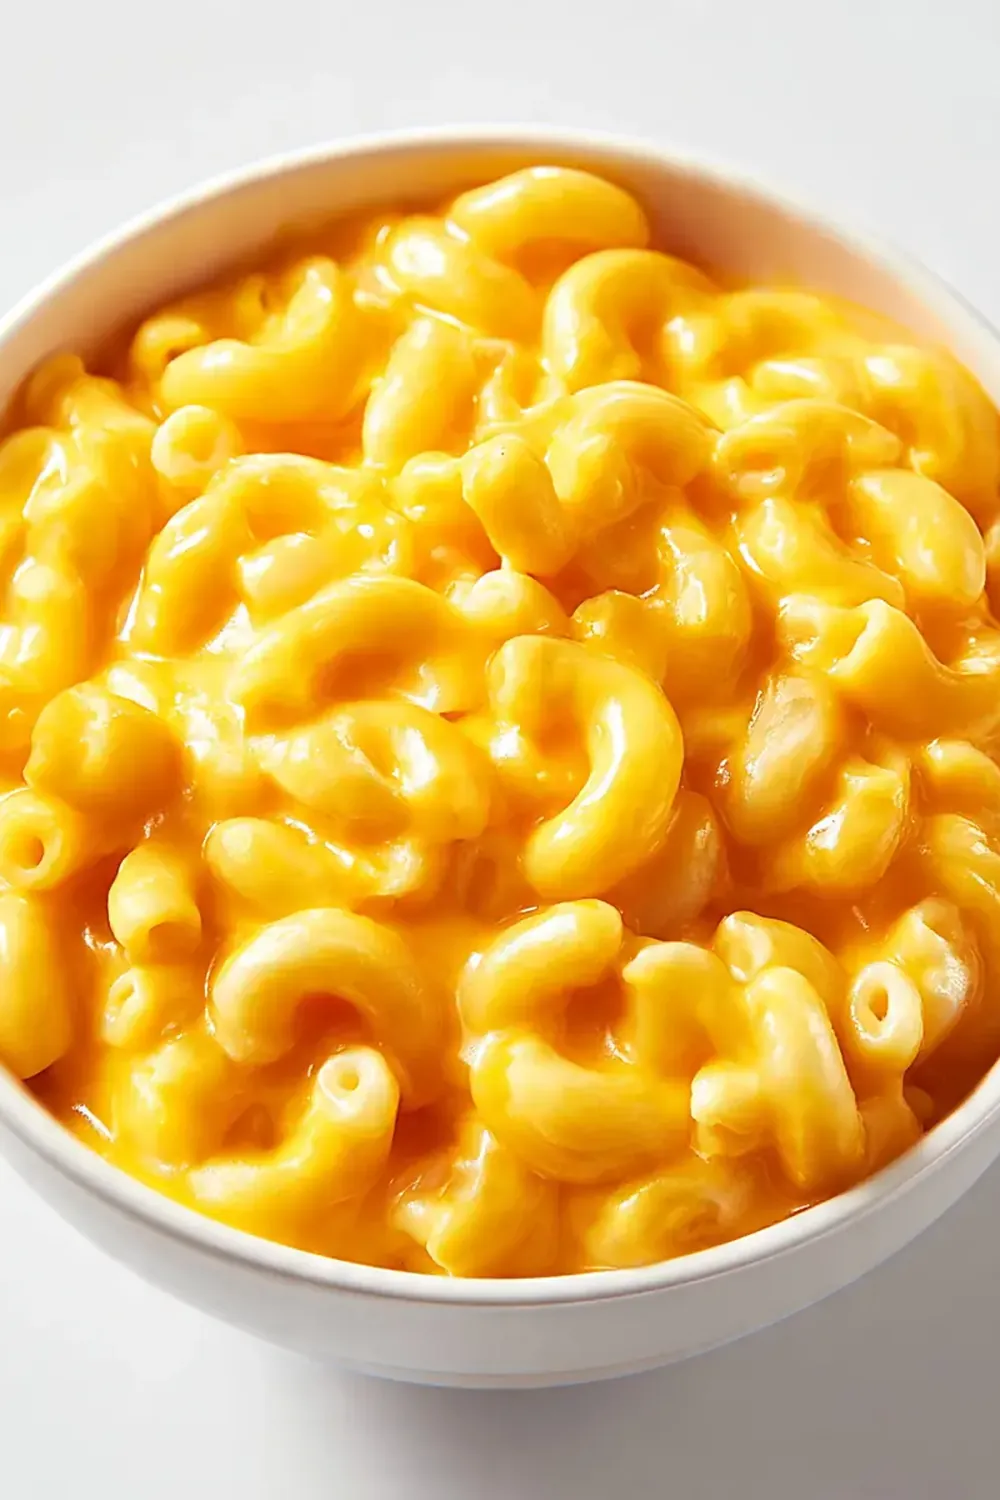
- Remove the pan from the heat and stir in the mustard powder, garlic powder, and a generous pinch of salt and pepper. Add the grated cheddar and Gruyère in three batches, stirring gently after each addition until the cheese has completely melted and the sauce is a glossy, pale yellow. The smell at this stage should be deeply savoury, with a tang from the cheese.
- Fold the drained macaroni into the cheese sauce. Use a spatula to gently combine everything until every piece of pasta is coated. The sauce will look thick and clingy, wrapping around the macaroni rather than pooling at the bottom of the pan. Taste a piece of pasta and adjust the seasoning if needed.
- Transfer the mixture to a buttered baking dish (or four individual ramekins for a more polished presentation). In a small bowl, mix the breadcrumbs, grated Parmesan, and olive oil together until the crumbs look like damp sand. Sprinkle this topping evenly over the mac and cheese, covering the surface completely.
- Bake for 15-18 minutes, or until the topping is golden brown and the sauce is bubbling around the edges. You will hear a gentle sizzle as it bakes, and the kitchen will fill with the aroma of toasted bread and melted cheese. For an extra touch, switch the oven to the grill setting for the final 2 minutes to achieve a deeper, nutty brown colour on the crumb topping. Let it rest for 5 minutes before serving, then garnish with fresh parsley.
Tips From My Kitchen
- Always undercook the pasta by 2 minutes: The macaroni will continue to cook in the oven as it bakes inside the hot sauce. If you cook it to al dente on the hob, it will turn soft and mushy after its time in the oven. The pasta should offer a slight resistance when you bite into it before it goes into the baking dish.
- Warm the milk before adding it to the roux: Cold milk will cause the roux to seize and form lumps that are difficult to smooth out. Heating the milk until it is just warm to the touch (about 40°C) means the sauce will come together in a silky, lump-free state almost immediately, saving you from a lot of frantic whisking.
- Use two types of cheese for depth of flavour: Mature cheddar gives a sharp, tangy backbone, while Gruyère adds a nutty, creamy note and melts exceptionally well. If you use only one cheese, the sauce can taste one-dimensional. After testing this recipe five times, I finally got the balance just right — the Gruyère is the secret to that luxurious mouthfeel.
- Do not skip the breadcrumb resting time after baking: Letting the dish sit for 5 minutes out of the oven allows the sauce to settle and thicken slightly. If you serve it immediately, the sauce will be too runny and the layers will slide apart on the plate. This short rest is what gives you those clean, neat servings that look like they came from a professional kitchen.
- Season the water generously: Pasta water should taste like the sea. This is the only chance you get to season the pasta from the inside out. If the water is under-salted, the final dish will taste flat, no matter how much cheese you add. I use about a tablespoon of salt per 4 litres of water.
- Toast the breadcrumbs before baking for extra crunch: For an even more impressive texture, spread the breadcrumb and Parmesan mixture on a baking tray and toast it in the oven for 3-4 minutes before sprinkling it on the mac and cheese. This double-toasting method ensures the topping stays crisp and golden, even if the dish needs a few extra minutes to heat through.
What to Serve With Quick Mac And Cheese Recipe
When I serve this for guests, I like to pair it with something fresh and bright to cut through the richness. A crisp green salad with a sharp lemon vinaigrette works beautifully, or you could try a simple steamed green vegetable like tenderstem broccoli. For a more substantial meal, I often serve it alongside a Butter Steak Recipe Juicy Beef, where the creamy pasta balances the savoury crust of the steak. Alternatively, a Rice Pilaf Recipe Fluffy Side makes an unexpected but lovely base for the mac and cheese if you want to stretch it into a larger feast.
Frequently Asked Questions
Quick Mac And Cheese Recipe
Ingredients
Method
- Preheat your oven to 200°C (180°C fan) and bring a large pot of salted water to a vigorous, rolling boil. You will know the water is ready when the surface looks like a stormy sea, with large bubbles breaking quickly. Add the macaroni and cook for 2 minutes less than the package instructions suggest — the pasta should be firm to the bite, with a tiny white dot in the centre when you cut a piece in half. Drain it in a colander and set it aside.
- While the pasta cooks, start the cheese sauce. In a large saucepan, melt the butter over a medium heat. Once it has completely turned to liquid and begins to foam gently, whisk in the plain flour. Cook this mixture, stirring constantly, for about 1 minute until it smells slightly nutty and turns a pale, biscuit colour — this is your roux.
- Slowly pour in the warm milk, whisking continuously. The mixture will seize up into a thick paste at first, but keep whisking. After about 2 minutes, the sauce will loosen and begin to steam, thickening to the consistency of double cream. You will see it coating the back of a wooden spoon, leaving a clean trail when you run your finger through it.
- Remove the pan from the heat and stir in the mustard powder, garlic powder, and a generous pinch of salt and pepper. Add the grated cheddar and Gruyère in three batches, stirring gently after each addition until the cheese has completely melted and the sauce is a glossy, pale yellow. The smell at this stage should be deeply savoury, with a tang from the cheese.
- Fold the drained macaroni into the cheese sauce. Use a spatula to gently combine everything until every piece of pasta is coated. The sauce will look thick and clingy, wrapping around the macaroni rather than pooling at the bottom of the pan. Taste a piece of pasta and adjust the seasoning if needed.
- Transfer the mixture to a buttered baking dish (or four individual ramekins for a more polished presentation). In a small bowl, mix the breadcrumbs, grated Parmesan, and olive oil together until the crumbs look like damp sand. Sprinkle this topping evenly over the mac and cheese, covering the surface completely.
- Bake for 15-18 minutes, or until the topping is golden brown and the sauce is bubbling around the edges. You will hear a gentle sizzle as it bakes, and the kitchen will fill with the aroma of toasted bread and melted cheese. For an extra touch, switch the oven to the grill setting for the final 2 minutes to achieve a deeper, nutty brown colour on the crumb topping. Let it rest for 5 minutes before serving, then garnish with fresh parsley.
Notes
I would love to hear how you present this at your own table. Do you serve it in individual ramekins, or do you prefer a large sharing dish with a salad on the side? Drop your thoughts and any tweaks you made in the comments below — I am always looking for new ideas to try in my own kitchen.