Crispy Fried Chicken Recipe Golden
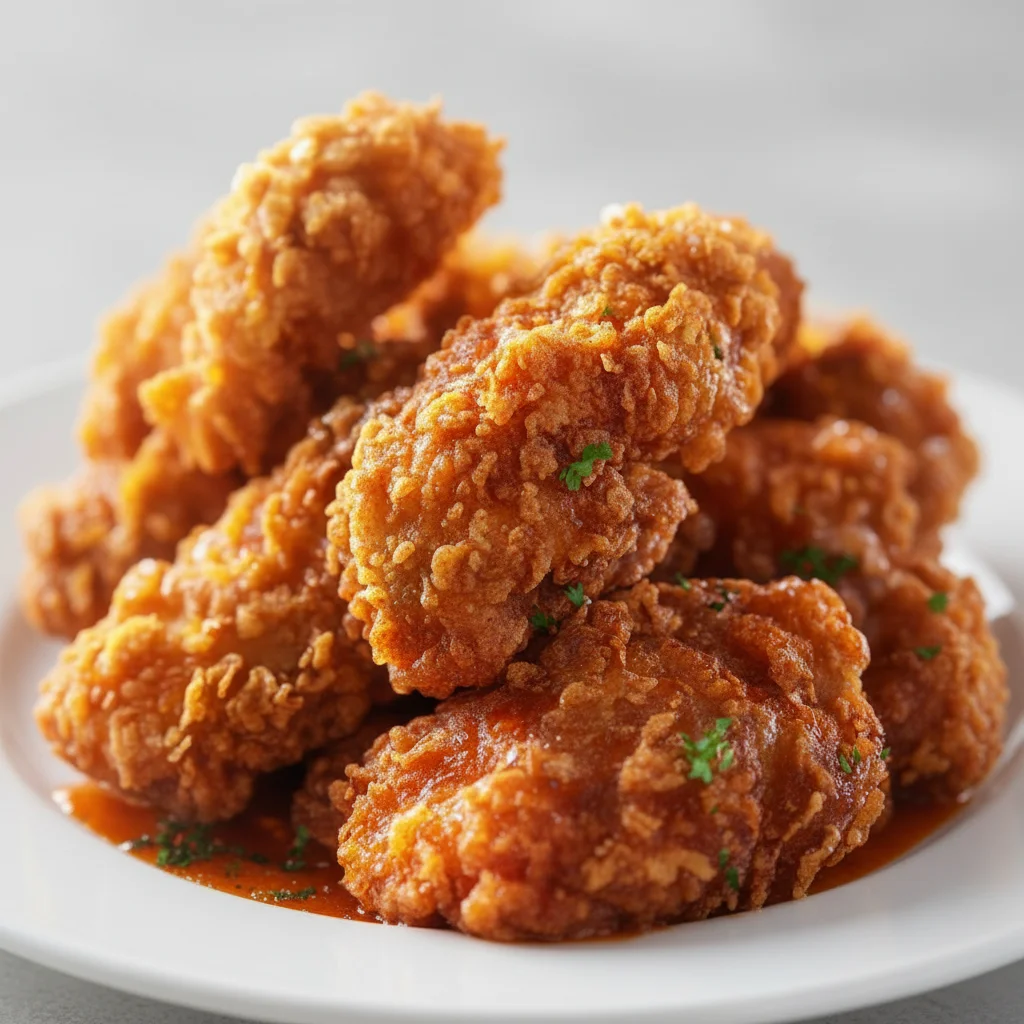
There are some aromas that just instantly signal happiness in our home, and the scent of seasoned chicken sizzling away to a perfect golden brown is right at the top of that list. This isn’t just any fried chicken; this is the result of countless attempts to create that elusive, shatteringly crisp crust that clings to incredibly juicy, flavourful meat. It’s the kind of meal that makes everyone put their phones down and gather around the table. My journey to perfecting this crispy fried chicken recipe was inspired by a little family-run diner I visited years ago on a road trip, and I’ve been chasing that memory ever since.
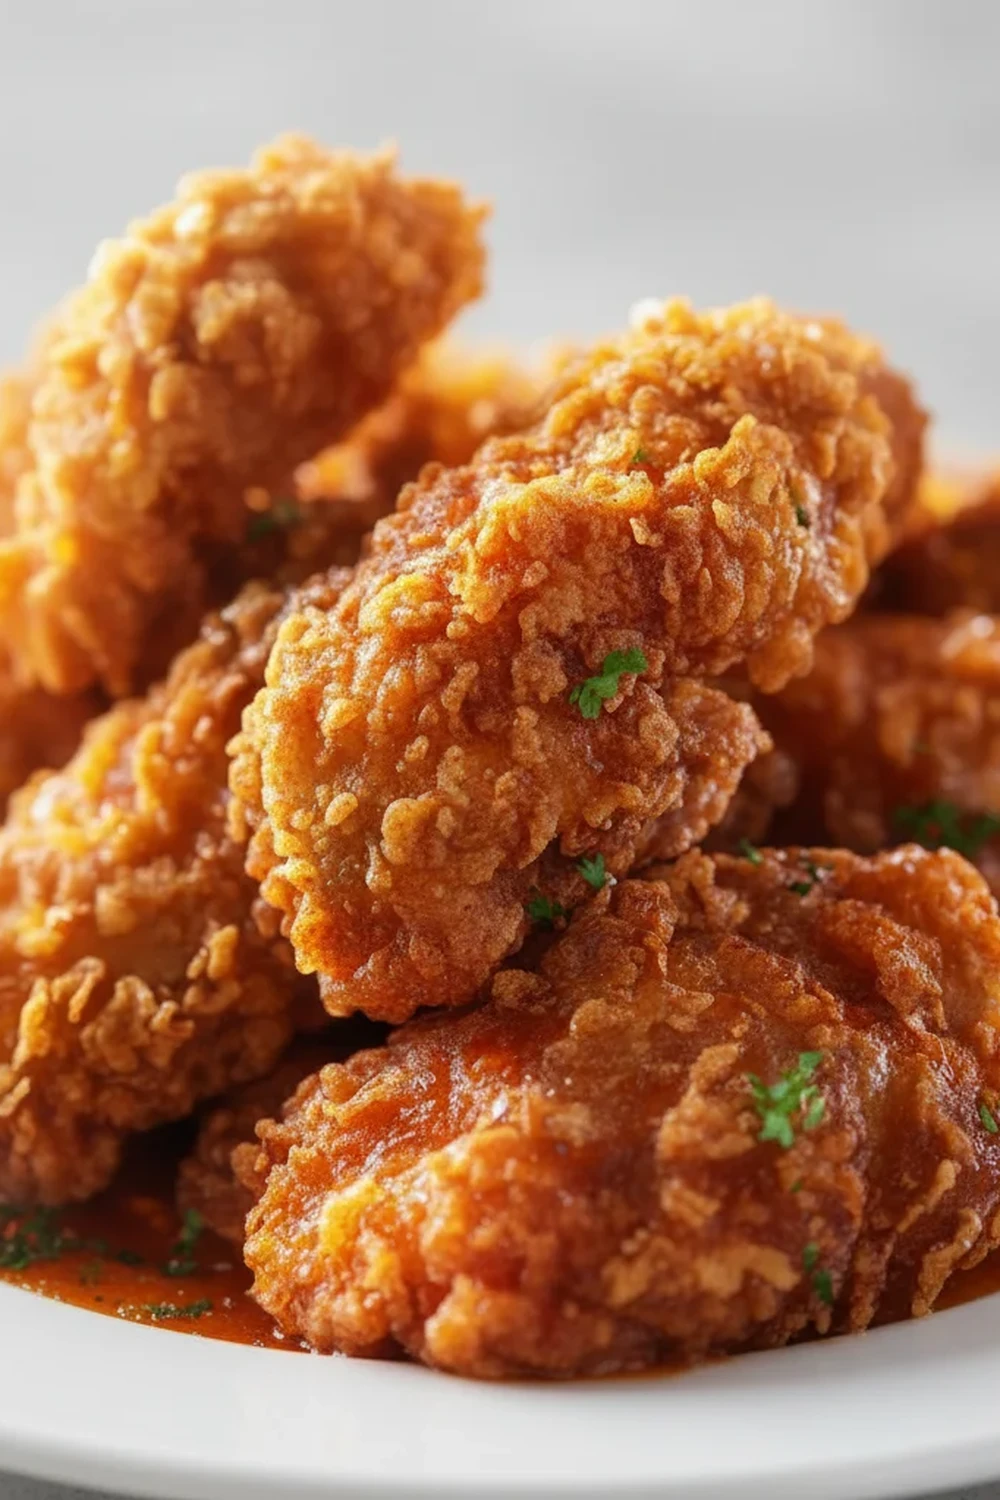
What makes this particular chicken recipe so special is the double-dredge technique combined with a flavour-packed buttermilk marinade. The buttermilk doesn’t just tenderise the chicken; it also gives the seasoned flour something to really grip onto, creating those wonderful nooks and crannies that become unbelievably crunchy when fried. The spice blend is key, too – it’s a savoury, slightly smoky mix with just a hint of warmth that seasons the chicken right to the bone.
This is the ultimate weekend treat, a fantastic centrepiece for a family get-together, or just the thing when you need a truly satisfying meal. It’s a recipe that always gets compliments, and I’m so excited to share all my little tips and tricks with you so you can make the best fried chicken of your life, right in your own kitchen.
Recipe Overview
This recipe guides you through creating exceptionally crispy, golden chicken with a juicy, tender interior. We use a buttermilk brine to ensure the meat is moist and flavourful, and a special double-dredging method to achieve that signature craggy crust. After testing several spice blends, I found this balance of paprika, garlic, and cayenne gives a beautiful warmth without being overwhelmingly spicy.
- Prep Time: 25 minutes (plus 4 hours marinating)
- Cook Time: 20-25 minutes
- Total Time: 4 hours 50 minutes
- Servings: 4 people
- Difficulty: Medium
Why You’ll Love This Crispy Fried Chicken Recipe
- Unbeatable Texture: We achieve a truly craggy, crunchy crust that stays crisp, while the buttermilk marinade guarantees the chicken inside is succulent and never dry.
- Deeply Seasoned Flavour: The spices aren’t just in the coating; they’re also in the marinade, ensuring every single bite is packed with savoury, smoky notes.
- Straightforward Method: While it takes time to marinate, the active steps are logical and simple to follow, breaking down the process of making restaurant-quality fried chicken at home.
- Works Beautifully for Gatherings: Ideal for a Sunday dinner or a casual get-together with friends. It feels like a special occasion meal but without any overly complicated steps.
- Family Tested and Approved: This is a huge hit in my house. My husband, who’s usually picky about fried food, asked for seconds the first time I made it this way!
Ingredients You’ll Need
For this southern fried style chicken, using good quality chicken is key. I always opt for free-range chicken thighs and drumsticks as they have more flavour and stay juicier than breast meat. For the flour, a simple plain flour works best; no need for anything fancy.
- For the Buttermilk Marinade:
- 8 pieces of bone-in, skin-on chicken (a mix of thighs and drumsticks works well, about 1.2kg total)
- 500ml buttermilk
- 1 tbsp salt
- 1 tsp black pepper
- 1 tsp garlic powder
- 1 egg, lightly beaten
- For the Crispy Coating:
- 300g plain flour
- 50g cornflour
- 2 tbsp smoked paprika
- 1 tbsp garlic powder
- 2 tsp onion powder
- 2 tsp fine sea salt
- 1 tsp cayenne pepper (or more, to your taste)
- 1 tsp freshly ground black pepper
- For Frying:
- Approx. 1 litre vegetable or rapeseed oil
Ashley’s Tip: Don’t be tempted to use a buttermilk substitute. Real, full-fat buttermilk contains acids and enzymes that are crucial for tenderising the chicken. It makes a world of difference to the final texture.
How to Make This Crispy Fried Chicken Recipe
The process is all about layering flavour and texture. The marinating time is essential, so please don’t skip it! It’s what makes the chicken incredibly juicy. We will then create our seasoned flour and use a double-dredge method for that ultimate crispy coating.
- Marinate the Chicken: In a large bowl, whisk together the buttermilk, 1 tbsp salt, 1 tsp black pepper, 1 tsp garlic powder, and the lightly beaten egg. Add the chicken pieces, ensuring they are all fully submerged. Cover the bowl with cling film and place it in the fridge to marinate for at least 4 hours, or preferably overnight.
- Prepare the Coating: In a separate wide, shallow bowl or dish, combine the plain flour, cornflour, smoked paprika, garlic powder, onion powder, sea salt, cayenne pepper, and black pepper. Whisk everything together thoroughly until the spices are evenly distributed.
- Set Up Your Station: Take the chicken out of the fridge about 30 minutes before you plan to cook it. Set up a dredging station: your bowl of marinated chicken, your dish of seasoned flour, and a wire rack set over a baking tray for the coated chicken to rest on.
- The First Dredge: Working with one piece at a time, lift a piece of chicken from the buttermilk, allowing the excess to drip off. Place it in the seasoned flour and toss to coat completely. Gently shake off any excess flour and place it on the wire rack. Repeat for all pieces.
- The Second Dredge: This is the secret to an extra-crispy crust! Let the chicken rest on the rack for 10-15 minutes. The flour will start to look a bit damp as it absorbs moisture. Then, dip each piece back into the buttermilk mixture for just a second, and then back into the flour for a final, thorough coating. Press the flour onto the chicken to help it adhere. Place back on the wire rack. What works best for me is really making sure every nook and cranny is covered this second time.
- Heat the Oil: Pour the oil into a large, heavy-bottomed pan or Dutch oven to a depth of about 4-5cm (around 1.5-2 inches). Heat the oil over a medium-high heat until it reaches 175°C (350°F). Use a cooking thermometer for accuracy – this is crucial.
- Fry the Chicken: Carefully place 3-4 pieces of chicken into the hot oil, skin-side down. Don’t overcrowd the pan, as this will lower the oil temperature. Fry for 6-8 minutes on the first side, until deep golden brown.
- Finish Frying: Using tongs, carefully turn the chicken pieces over. Continue to fry for another 6-8 minutes on the second side, until the chicken is a beautiful golden brown all over and cooked through. The internal temperature should reach 74°C (165°F) when checked with a meat thermometer.
- Drain and Rest: Remove the cooked chicken from the oil and place it on a clean wire rack to drain. This keeps the bottom from getting soggy. Let it rest for a few minutes before serving. Repeat the frying process with the remaining chicken pieces, making sure the oil returns to 175°C between batches.
Tips From My Kitchen
- Temperature Control is Everything: The single most important factor for non-greasy, crispy chicken is maintaining the oil temperature. Too low, and the chicken absorbs oil and becomes greasy. Too high, and the crust will burn before the meat is cooked. I strongly recommend using a digital kitchen thermometer.
- The Secret is the Rest: Don’t skip the 15-minute rest after the first dredge. I learned that this step allows the flour to hydrate, creating a sort of glue that helps the second coating stick much better, leading to that thick, craggy crust we all love. For a deeper dive into the science, Serious Eats has a fantastic explanation.
- Make-Ahead Tip: You can prepare the seasoned flour mixture days in advance and store it in an airtight container. The chicken can (and should) be marinating overnight, so on the day of cooking, you just need to dredge and fry.
- Storage and Reheating: Leftover fried chicken can be stored in an airtight container in the fridge for up to 3 days. To reheat and bring back the crispiness, place it on a wire rack on a baking sheet and bake in the oven at 200°C (180°C fan) for 15-20 minutes.
Equipment You’ll Need
- Large, heavy-bottomed pan or Dutch oven
- Digital kitchen thermometer (highly recommended)
- Tongs
- Large mixing bowls
- Wire cooling rack and baking tray
Delicious Variations to Try
Once you’ve mastered the basic recipe, it’s fun to experiment with different flavour profiles. Here are a few ideas to get you started:
- Spicy Southern Fried Chicken: Add 1-2 tablespoons of your favourite hot sauce (like Frank’s RedHot) to the buttermilk marinade. You can also increase the cayenne pepper in the flour mixture to 2-3 teaspoons for a fiery kick.
- Herby Fried Chicken: Add 1 tablespoon of dried mixed herbs, such as thyme and oregano, to the seasoned flour mixture for a fragrant, savoury twist.
- Chicken Tenders: This recipe works wonderfully with boneless, skinless chicken breasts cut into strips. The cooking time will be shorter, around 3-4 minutes per side. These are fantastic for dipping.
What to Serve With This Crispy Fried Chicken Recipe
A great piece of fried chicken deserves equally great side dishes. These pairings complement the rich, crispy chicken beautifully.
- Creamy Coleslaw: The cool, crunchy, and tangy profile of a good coleslaw cuts through the richness of the fried chicken.
- Mashed Potatoes and Gravy: A classic for a reason! Fluffy mashed potatoes are the perfect vehicle for a savoury chicken gravy.
- Corn on the Cob: Simple, sweet, and buttery, corn on the cob adds a lovely freshness to the meal. For another vegetable side, my Stuffed Peppers With Rice Recipe Dinner is also a great option.
- Drink Pairing: A crisp, cold lager or a light pilsner works wonderfully to cleanse the palate. For a non-alcoholic option, a sparkling lemonade or a classic iced tea is fantastic.
Frequently Asked Questions
Crispy Fried Chicken Recipe
Ingredients
Method
- Marinate the Chicken: In a large bowl, whisk together the buttermilk, 1 tbsp salt, 1 tsp black pepper, 1 tsp garlic powder, and the lightly beaten egg. Add the chicken pieces, ensuring they are all fully submerged. Cover the bowl with cling film and place it in the fridge to marinate for at least 4 hours, or preferably overnight.
- Prepare the Coating: In a separate wide, shallow bowl or dish, combine the plain flour, cornflour, smoked paprika, garlic powder, onion powder, sea salt, cayenne pepper, and black pepper. Whisk everything together thoroughly until the spices are evenly distributed.
- Set Up Your Station: Take the chicken out of the fridge about 30 minutes before you plan to cook it. Set up a dredging station: your bowl of marinated chicken, your dish of seasoned flour, and a wire rack set over a baking tray for the coated chicken to rest on.
- The First Dredge: Working with one piece at a time, lift a piece of chicken from the buttermilk, allowing the excess to drip off. Place it in the seasoned flour and toss to coat completely. Gently shake off any excess flour and place it on the wire rack. Repeat for all pieces.
- The Second Dredge: This is the secret to an extra-crispy crust! Let the chicken rest on the rack for 10-15 minutes. The flour will start to look a bit damp as it absorbs moisture. Then, dip each piece back into the buttermilk mixture for just a second, and then back into the flour for a final, thorough coating. Press the flour onto the chicken to help it adhere. Place back on the wire rack. What works best for me is really making sure every nook and cranny is covered this second time.
- Heat the Oil: Pour the oil into a large, heavy-bottomed pan or Dutch oven to a depth of about 4-5cm (around 1.5-2 inches). Heat the oil over a medium-high heat until it reaches 175°C (350°F). Use a cooking thermometer for accuracy – this is crucial.
- Fry the Chicken: Carefully place 3-4 pieces of chicken into the hot oil, skin-side down. Don’t overcrowd the pan, as this will lower the oil temperature. Fry for 6-8 minutes on the first side, until deep golden brown.
- Finish Frying: Using tongs, carefully turn the chicken pieces over. Continue to fry for another 6-8 minutes on the second side, until the chicken is a beautiful golden brown all over and cooked through. The internal temperature should reach 74°C (165°F) when checked with a meat thermometer.
- Drain and Rest: Remove the cooked chicken from the oil and place it on a clean wire rack to drain. This keeps the bottom from getting soggy. Let it rest for a few minutes before serving. Repeat the frying process with the remaining chicken pieces, making sure the oil returns to 175°C between batches.
Notes
I truly hope you and your family enjoy making this crispy fried chicken recipe as much as we do. There’s something so satisfying about pulling that first piece of golden chicken from the pan and hearing that incredible crunch. It’s a labour of love, but one that is absolutely worth it. If you try it, please let me know how it turned out in the comments below – I love hearing from you! Happy cooking, Ashley.