Airline Chicken Recipe Pan Seared
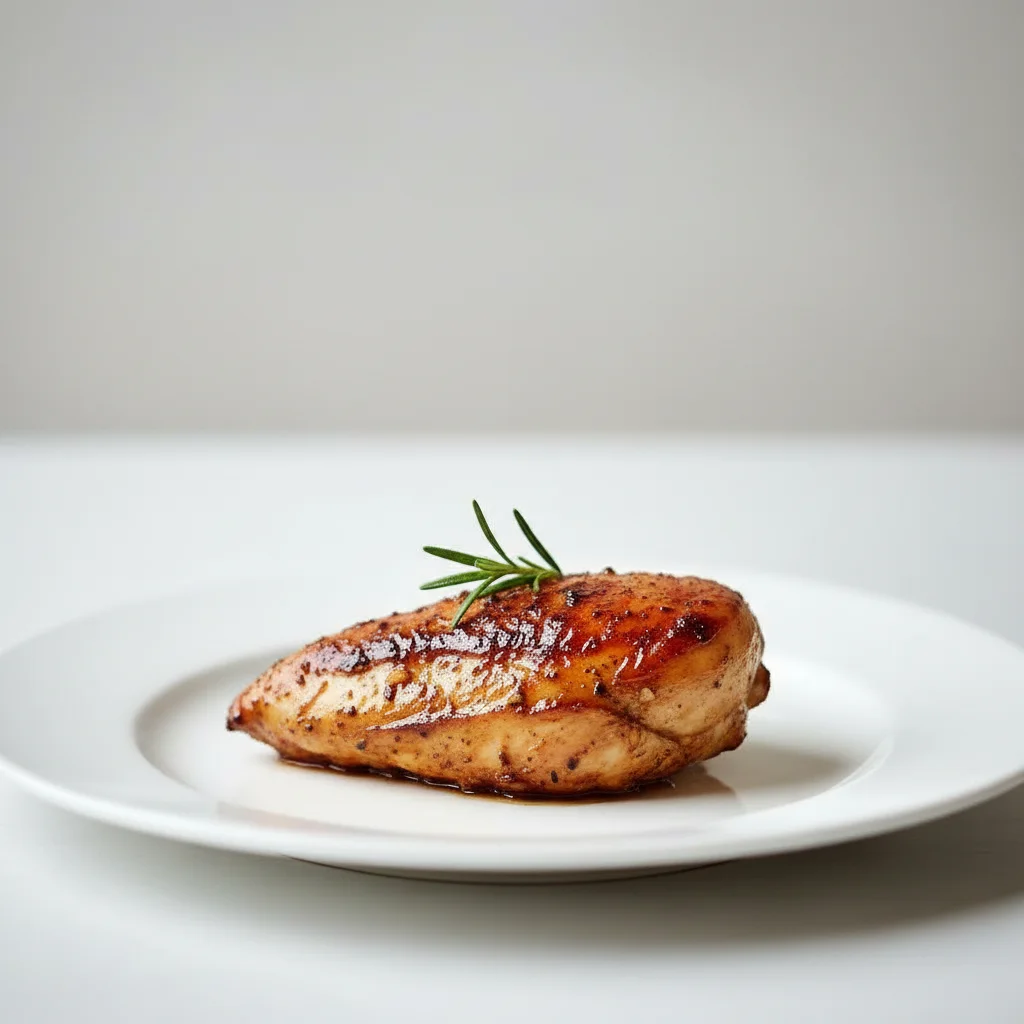
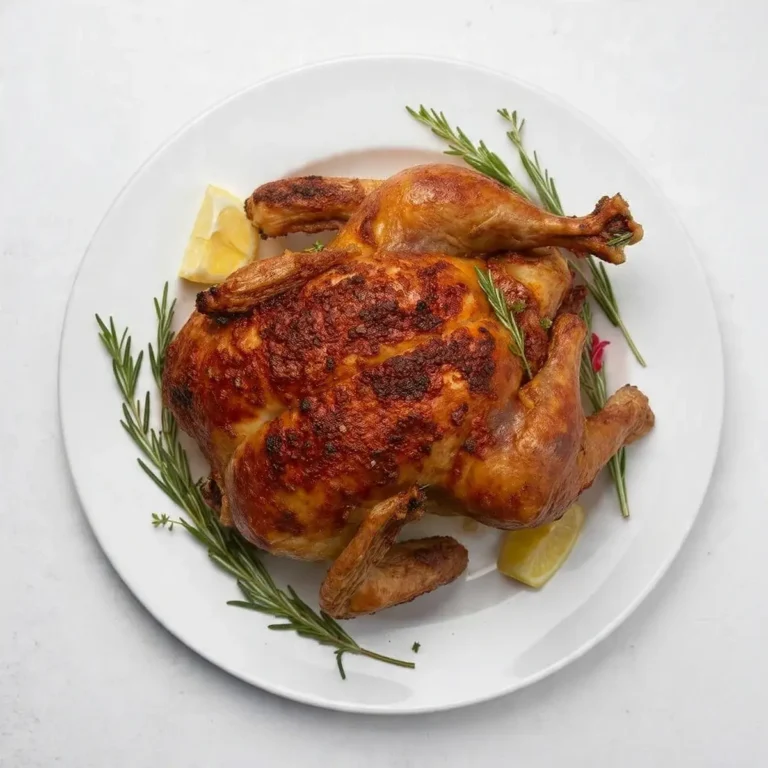
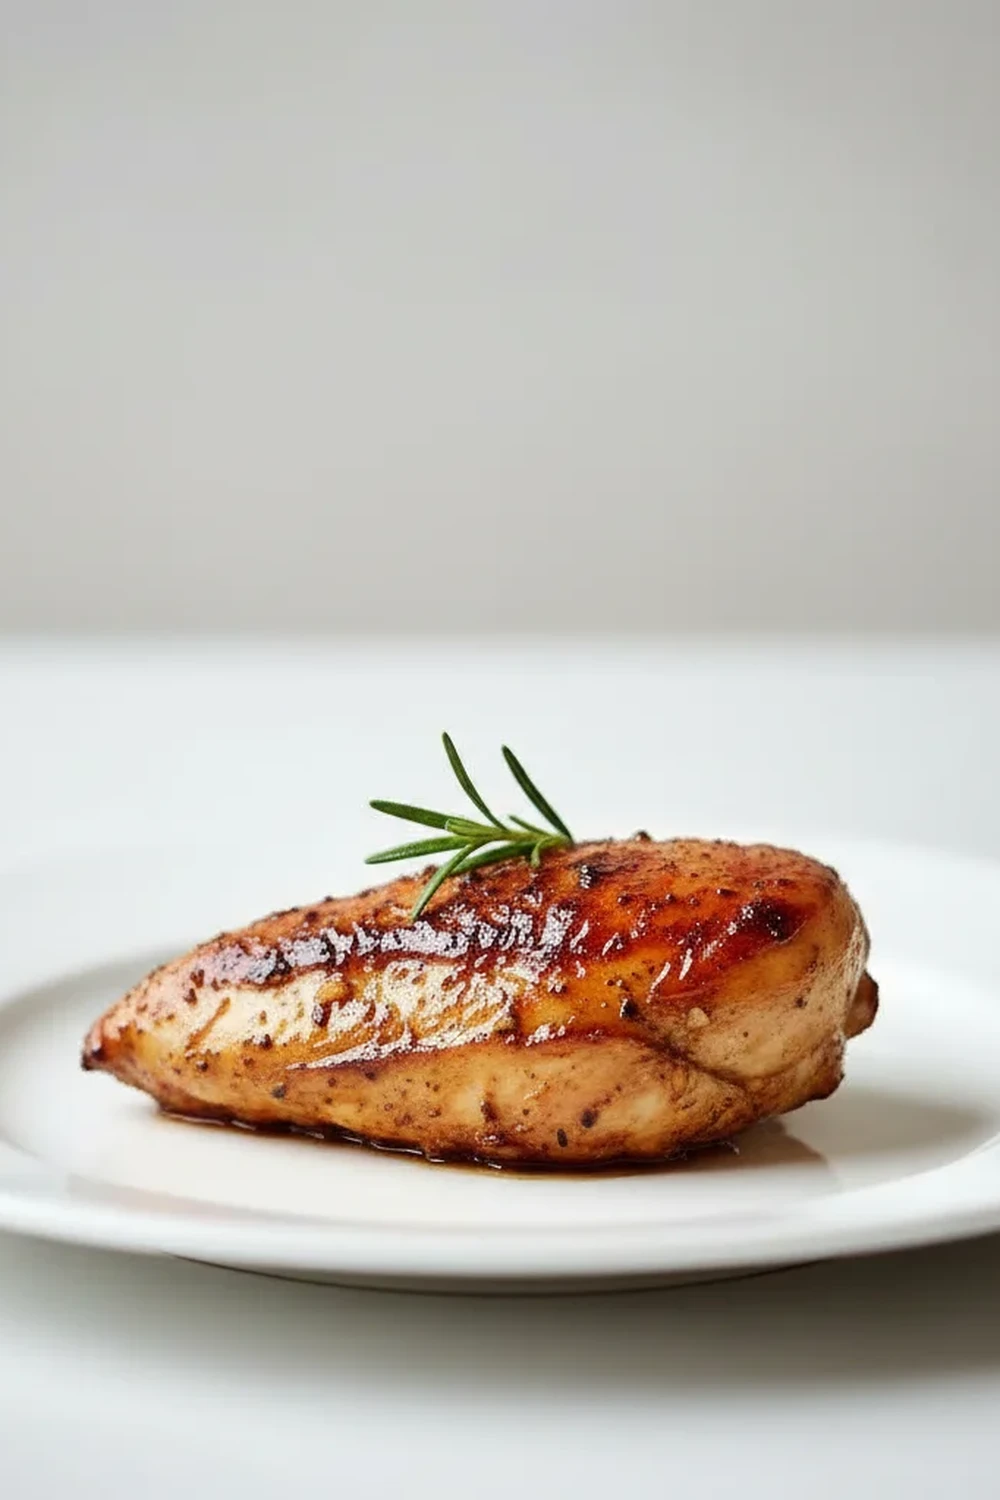
There’s something undeniably special about serving a dish that looks like it came straight from a high-end restaurant, but was actually made in your own kitchen. This airline chicken recipe is exactly that. If you’ve never heard of it, an airline chicken breast, or a ‘frenched breast’, is a beautiful cut of boneless chicken breast with the skin on and the first wing joint (the drumette) still attached. This little ‘handle’ not only looks elegant but also helps keep the breast meat incredibly moist and flavourful as it cooks.
This recipe focuses on creating the most fantastic texture combination: shatteringly crisp, golden-brown skin giving way to succulent, tender meat. We achieve this with a classic pan-searing technique, finishing in the oven, and then creating a simple, yet divine, pan sauce with the leftover drippings. After testing this recipe five times, I finally got it just right, ensuring that skin is perfectly crispy every single time without fail. It’s the kind of main course that feels sophisticated and thoughtful, yet is surprisingly straightforward to master.
It works wonderfully for a special date night at home, a celebratory dinner, or any time you simply want to elevate your evening meal. It transforms a simple chicken recipe into an event. The aroma of garlic and thyme sizzling in butter as you baste the chicken is just heavenly, and the final result is a dish you’ll be genuinely proud to serve.
Recipe Overview
This airline chicken recipe guides you through creating a restaurant-quality dish at home. The process involves pan-searing the chicken to achieve an irresistibly crispy skin, then finishing it in the oven to ensure the meat is cooked through and remains juicy. We’ll then use the same pan to whip up a quick and flavourful garlic and thyme sauce. I found that a final baste with the herby butter just before it goes into the oven is the key to that glossy, golden finish.
- Prep Time: 15 minutes
- Cook Time: 25 minutes
- Total Time: 40 minutes
- Servings: 2 people
- Difficulty: Medium
Why You’ll Love This Airline Chicken Recipe
- Genuine Flavour: The combination of the rich, crackling chicken skin, tender meat, and a simple thyme and garlic pan sauce is pure elegance. The flavour comes directly from the chicken and aromatics, not a complicated list of ingredients.
- Ready in Under an Hour: From prep to plate, this impressive meal comes together in about 40 minutes, making it achievable for a weeknight when you want something a bit more special.
- Flexible Recipe: The core technique is brilliant, but you can easily adapt the flavours. Swap the thyme for fresh rosemary, add a splash of white wine to the pan sauce for extra depth, or throw in some sliced shallots with the garlic.
- Great for Special Occasions: This is my go-to for anniversary dinners or when we’re celebrating a little win at home. It has all the hallmarks of a fancy dinner without the fuss.
- Family Tested: My husband, who can be quite particular about chicken, asked for seconds the first time I made this! It’s one of those dishes that always gets compliments.
Ingredients You’ll Need
We are using a small list of high-quality ingredients to let the airline chicken itself be the star of the show. I always try to buy the best free-range chicken I can find; the difference in taste and texture is really noticeable. Your local butcher should be able to prepare a frenched breast for you if you can’t find it pre-packaged.
- 2 airline chicken breasts (frenched breast), skin-on (approx. 225g each)
- 1 tbsp olive oil
- 2 tbsp unsalted butter
- 4 cloves of garlic, lightly smashed
- 4-5 sprigs of fresh thyme
- 1 tsp coarse sea salt
- 1/2 tsp freshly ground black pepper
- 120ml low-sodium chicken stock
Ashley’s Tip: Don’t be shy with the salt! Patting the chicken skin dry and seasoning it well with coarse salt about 15 minutes before cooking helps draw out moisture. This is one of the most important steps for getting that super crispy skin we’re after.
How to Make This Airline Chicken Recipe
The process is all about temperature control and technique. By starting on the stovetop and finishing in the oven, we get the best of both worlds: crisp skin and perfectly cooked, juicy meat. Follow these steps closely, and you’ll have a fantastic result.
- Prepare the Chicken: Take the chicken out of the fridge about 20-30 minutes before you plan to cook. Use paper towels to pat the skin until it is completely dry. This is critical for a good sear. Season all over generously with the sea salt and black pepper.
- Heat the Pan: Place a large, oven-safe frying pan or skillet over medium-high heat. Add the olive oil. You’ll know the pan is ready when the oil begins to shimmer lightly.
- Sear the Chicken: Carefully place the chicken breasts in the hot pan, skin-side down. You should hear a satisfying sizzle. Let them sear, undisturbed, for 6-8 minutes. The goal is a deep, golden-brown crust. Resist the urge to move them around too much.
- Flip and Add Aromatics: Using tongs, flip the chicken over. Reduce the heat to medium. Add the butter, smashed garlic cloves, and thyme sprigs to the pan.
- Baste Generously: As the butter melts, tilt the pan towards you and use a spoon to continuously baste the top of the chicken with the foaming, aromatic butter for about 1-2 minutes. What works best for me is to really get the herbs and garlic infused into the butter before spooning it over.
- Finish in the Oven: Transfer the entire pan to a preheated oven at 200°C (180°C fan). Let it roast for 10-15 minutes, or until the chicken is cooked through.
- Check for Doneness: The chicken is cooked when the juices run clear, and a meat thermometer inserted into the thickest part reads 75°C. For a detailed guide on checking temperatures, the Food Standards Agency provides excellent resources.
- Rest the Chicken: Remove the chicken from the pan and place it on a wire rack or cutting board to rest for at least 5-10 minutes. This is a crucial step that allows the juices to redistribute, ensuring the meat is moist.
- Make the Pan Sauce: Return the pan to the stovetop over medium heat. Pour in the chicken stock to deglaze, scraping up any browned bits from the bottom of the pan with a wooden spoon. Let the sauce simmer and reduce by about half, which should take 3-4 minutes.
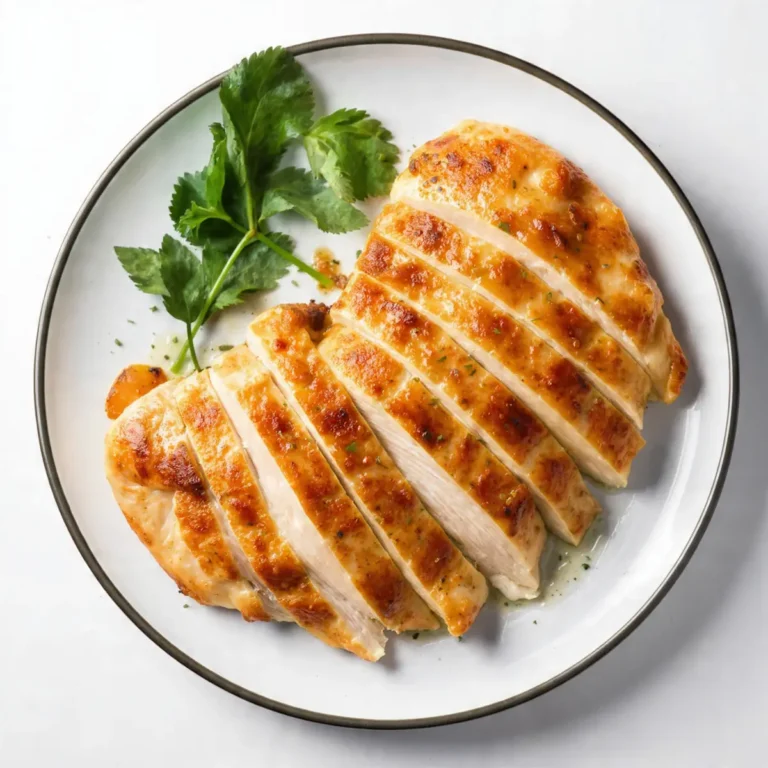
- Serve: Slice the chicken breast or serve it whole. Drizzle the warm pan sauce over the top and serve immediately.
Tips From My Kitchen
- Temperature Control: Start with a medium-high heat for that initial sear to render the fat and crisp the skin. Once you flip the chicken and add the butter, drop the heat to medium to prevent the butter and garlic from burning.
- The Secret Step: I learned that resting the chicken on a wire rack, not just a plate, is a game-changer. It allows air to circulate underneath, preventing the wonderfully crispy skin from steaming and going soft while it rests.
- Make-Ahead: You can season the chicken up to 24 hours in advance. Leave it uncovered on a plate in the fridge. This further dries out the skin and acts as a dry brine, seasoning the meat more deeply.
- Storage: Store any leftovers in an airtight container in the refrigerator for up to 3 days. To reheat, place it in a 180°C oven for 10-12 minutes or until warmed through. This will help re-crisp the skin much better than a microwave.
Equipment You’ll Need
- Large, oven-safe frying pan or cast-iron skillet
- Tongs
- A large spoon (for basting)
- Sharp knife and cutting board
- Meat thermometer (highly recommended)
Common Mistakes to Avoid
- Overcrowding the pan: Using a pan that’s too small will cause the chicken to steam rather than sear, preventing that crispy skin from forming. If you’re doubling this chicken recipe, it’s better to use two pans or cook in batches.
- Wrong temperature: If your pan is too hot, the skin and butter will burn before the inside is cooked. If it’s not hot enough, the skin will never get properly crisp. A steady medium-high heat for the sear is your best friend.
- Skipping the rest time: Cutting into the chicken immediately after it comes out of the oven will cause all the delicious juices to run out onto the plate, leaving you with dry meat. Patience is key!
Delicious Variations to Try
Once you’ve mastered the basic technique, feel free to get creative. This airline chicken recipe is a wonderful canvas for other flavours.
- Lemony Herb Version: Add a few thick slices of lemon to the pan along with the garlic and thyme. A final squeeze of fresh lemon juice over the finished dish adds a lovely brightness.
- Mushroom and Wine Sauce: After removing the chicken to rest, add a handful of sliced chestnut mushrooms to the pan and sauté until golden. Deglaze with a splash of dry white wine before adding the chicken stock.
- Different Protein: This pan-searing and basting method works beautifully for other proteins. Try it with a thick-cut pork chop or even a duck breast for another type of fancy dinner.
What to Serve With This Airline Chicken Recipe
This elegant main deserves side dishes that complement its rich flavour without overpowering it. Here are a few of my favourite pairings:
- Creamy Mashed Potatoes: The ultimate partner for soaking up every last drop of that delicious pan sauce.
- Garlic and Parmesan Asparagus: Simply toss asparagus spears with a little olive oil, garlic, and parmesan, then roast until tender-crisp.
- A Simple Green Salad: A lightly dressed salad with a vinaigrette provides a fresh, acidic contrast to the rich chicken.
- Wine Pairing: A buttery Chardonnay or a light-bodied Pinot Noir both work beautifully with the flavours of the chicken and thyme.
Frequently Asked Questions
Airline Chicken Recipe
Ingredients
Method
- Prepare the Chicken: Take the chicken out of the fridge about 20-30 minutes before you plan to cook. Use paper towels to pat the skin until it is completely dry. This is critical for a good sear. Season all over generously with the sea salt and black pepper.
- Heat the Pan: Place a large, oven-safe frying pan or skillet over medium-high heat. Add the olive oil. You'll know the pan is ready when the oil begins to shimmer lightly.
- Sear the Chicken: Carefully place the chicken breasts in the hot pan, skin-side down. You should hear a satisfying sizzle. Let them sear, undisturbed, for 6-8 minutes. The goal is a deep, golden-brown crust. Resist the urge to move them around too much.
- Flip and Add Aromatics: Using tongs, flip the chicken over. Reduce the heat to medium. Add the butter, smashed garlic cloves, and thyme sprigs to the pan.
- Baste Generously: As the butter melts, tilt the pan towards you and use a spoon to continuously baste the top of the chicken with the foaming, aromatic butter for about 1-2 minutes. What works best for me is to really get the herbs and garlic infused into the butter before spooning it over.
- Finish in the Oven: Transfer the entire pan to a preheated oven at 200°C (180°C fan). Let it roast for 10-15 minutes, or until the chicken is cooked through.
- Check for Doneness: The chicken is cooked when the juices run clear, and a meat thermometer inserted into the thickest part reads 75°C. For a detailed guide on checking temperatures, the Food Standards Agency provides excellent resources.
- Rest the Chicken: Remove the chicken from the pan and place it on a wire rack or cutting board to rest for at least 5-10 minutes. This is a crucial step that allows the juices to redistribute, ensuring the meat is moist.
- Make the Pan Sauce: Return the pan to the stovetop over medium heat. Pour in the chicken stock to deglaze, scraping up any browned bits from the bottom of the pan with a wooden spoon. Let the sauce simmer and reduce by about half, which should take 3-4 minutes.
- Serve: Slice the chicken breast or serve it whole. Drizzle the warm pan sauce over the top and serve immediately.
Notes
I really hope you enjoy making this elegant airline chicken recipe. It’s one of those dishes that proves a truly memorable meal doesn’t need to be complicated, it just needs a little care and good technique. It’s a wonderful way to turn any evening into a special occasion. If you do try it, I’d love to hear how it turned out for you in the comments below!
Happy cooking,
Ashley